Hi everyone! I can’t wait to show you how I got all crafty today. So without further ado…here’s the Covert Robin gift I made for Becky from Belle + Bee.
I have to tell you all when I first signed up for the Covert Robin gift swap I was dead set on making pot holders. I had never made then before, but I wanted to make a quilted pair for who ever my giftee was. I went to Joann’s and picked out 4 Fat Quarter prints that I adored and hoped my giftee would too. Then I received my giftee email from Rachel at Imgaine Gnats. I was creating a gift for Becky. So I popped over to her blog to get a feel for who I had and what she might like…and to confirm pot holders would still be a good idea. *Eeehhnnnttt*
Becky can totally embroider and sew and makes beautiful quilts. There was NO WAY I has sending someone so talented my first attempt pot holders. Now what to do? I got to thinking, Becky’s blog is named after her girls, so why not tweak an idea I floating around that I saw for Becky. Yes!
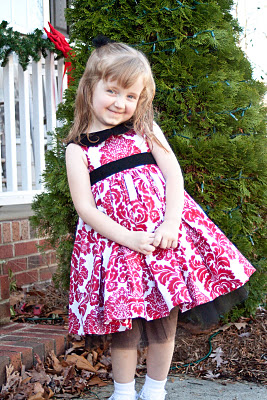
I had seen a cool way of using paint chips to make wall art pinned from The Remodeled Life. I know next to nothing about paint chips, but the concept was good and I knew I could make it my own for Becky. So off to Michael’s I went. I only knew one thing, red was going to be the base for this project. I found this picture on Becky’s blog of a dress she made and thought is was the perfect inspiration for my project.
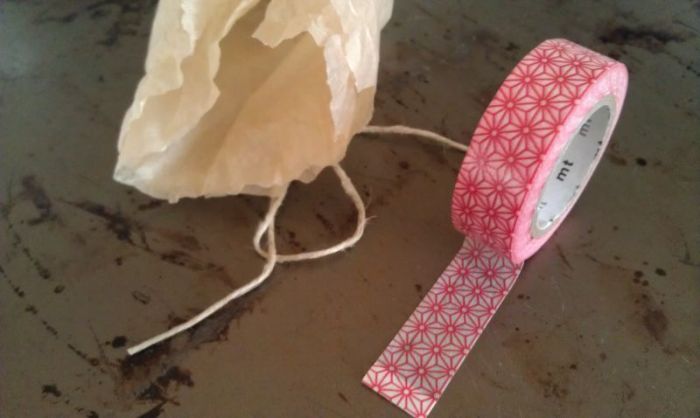
I found some scrapbook paper I thought worked together and order some red patterned washi tape from Pretty Tape on Etsy and got to creating. I have to tell you, I had no idea about washi tape until I started this project back in March. With all the hype it’s gotten lately I’m totally on trend. That never happens. haha!
Scrapbook Paper Wall Art
Equipment:
1 – 8″ x 10″ wood picture frame
Medium grit sandpaper
White paint
Paint brush
1 – 8″ x 10″ piece of white card stock grade paper
1 roll washi tape
Little girls silhouette {Google is great for this, but I included the one I used below}
Black sticker letters
3 pieces of scrapbook paper in coordinating print/solid colors
Printer
Balloon template {Google again}
Mod Podge
Paint brush
Pencil
Scissors
Ruler
Method:
Sand down the picture frame to remove any lacquer/paint previously present.
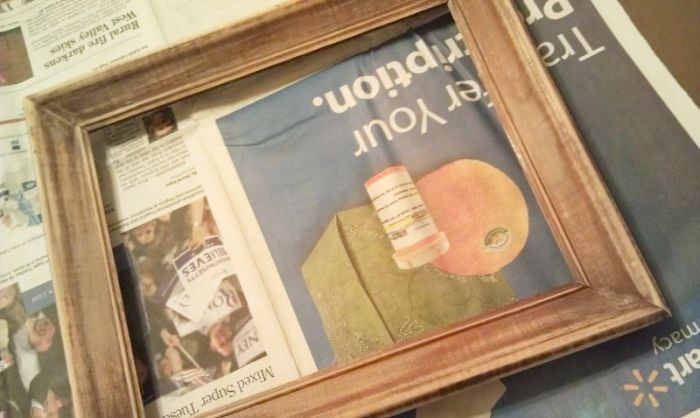
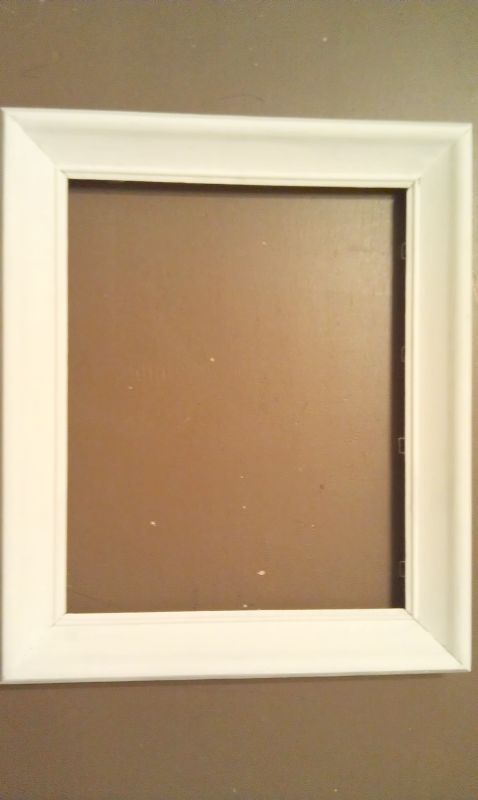
Paint the picture frame with white paint.
You made up to 3 coats depending on the paint you use.
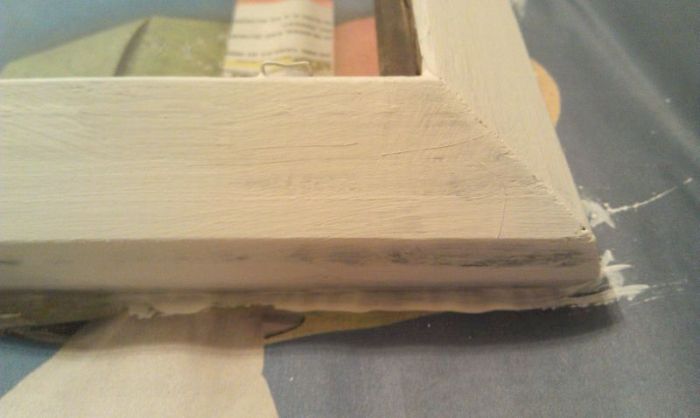
If you want an antiqued looked, use fewer coats of paint (above).
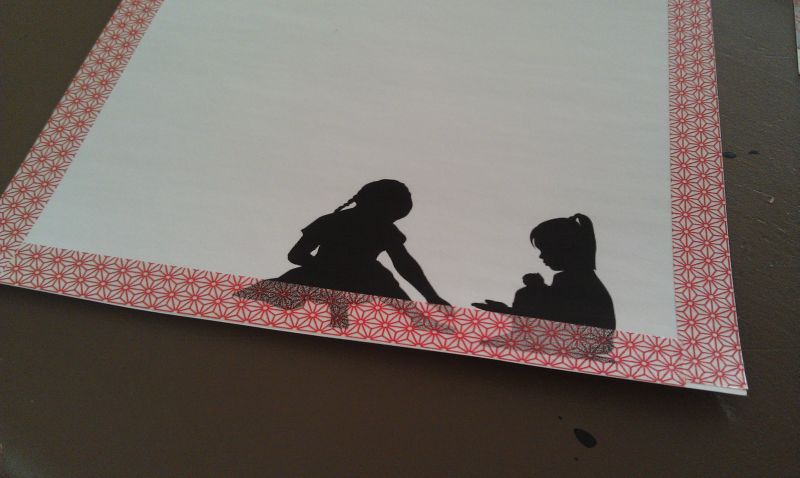
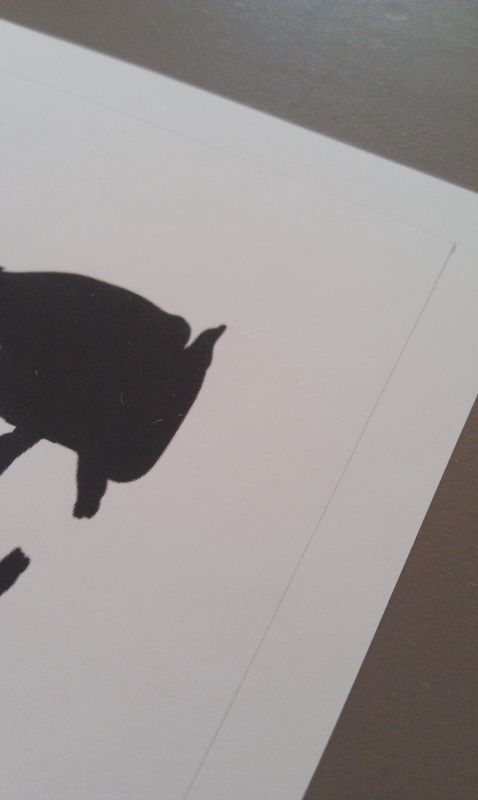
Next, print out little girls silhouette onto white card stock paper.
Print your silhouettes first or this could happen…
Using the picture frame’s glass, trace a rectangle onto the card stock to cut out a paper size that will fit the picture frame.
Cut out paper using traced line.
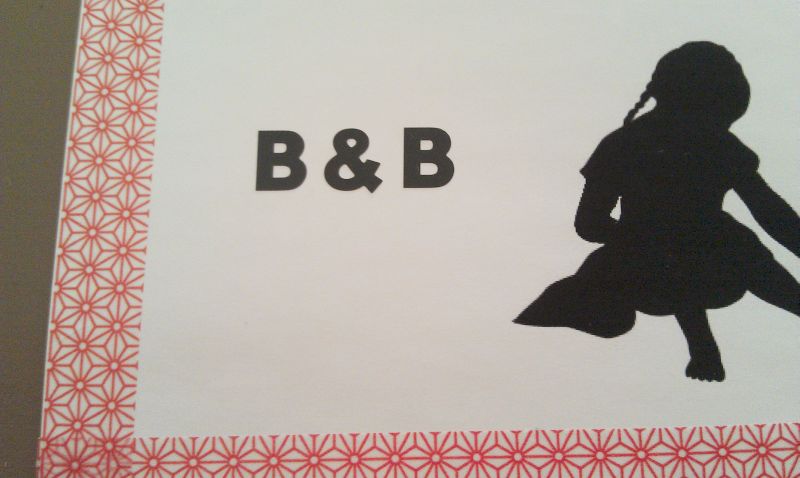
Edge the paper in washi tape.

Next to silhouette personal the paper, if desired.
{I wasn’t going to put anything with Becky’s blog name in this project originally. However, since her blog name are her girls’ names I went ahead and added the monograms in.}
See all the pretty papers I found at Michael’s!
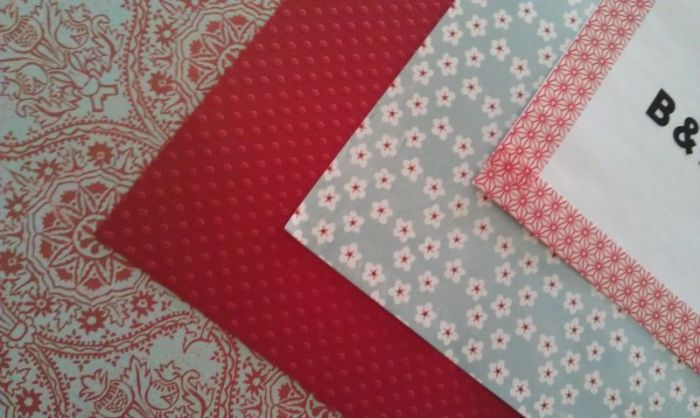
The blue filigree print one totally reminded me of the dress I saw on Becky’s blog.
I used that paper to influence the other paper choices.

Print out your balloon template in two sizes – smaller and larger.
Trace the template onto the backs of your scrapbook paper – no lines showing for me thanks.
There should be 5-6 small balloons and 4-5 large balloons for each paper.

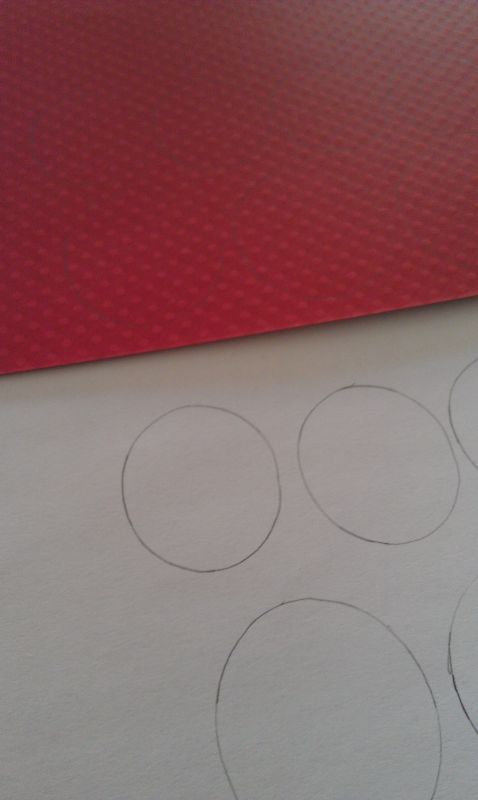
Cut out all the balloons.
Arrange the balloons into a bunch on the paper.
This will help you get a feel for where you will glue everything down, discard any balloons not needed.
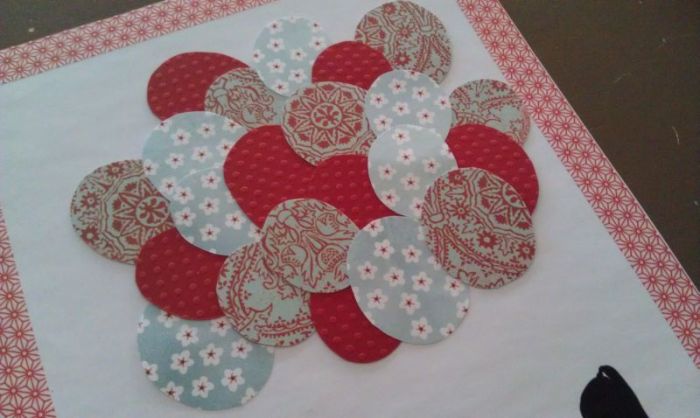
Layer your pieces from the top down and from the left side across – in a diagonal.
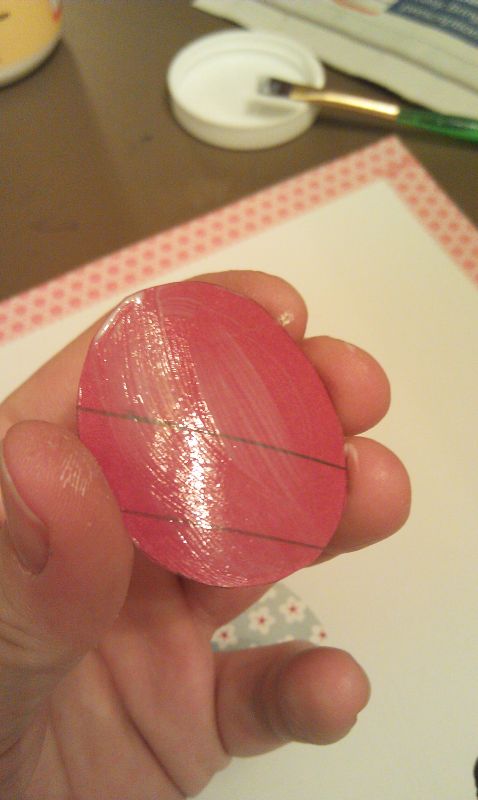
Remove balloon pieces and grab your Mod Podge.
Coat the back of each balloon piece with a semi-thin layer of glue.
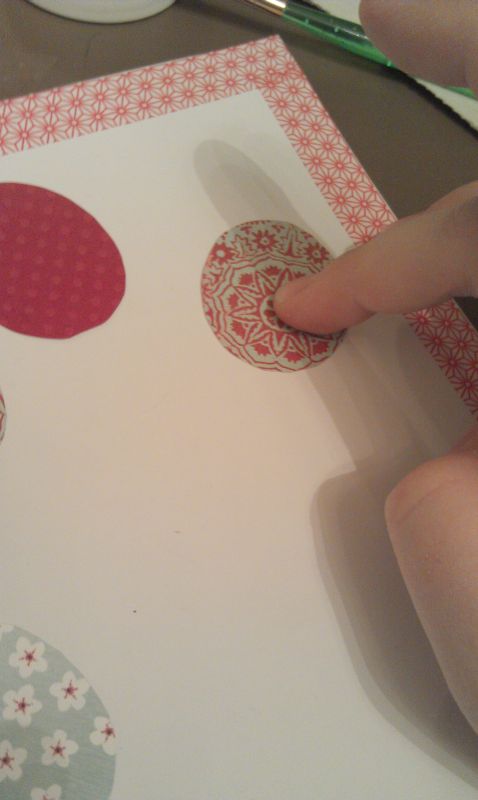
Apply the pieces to your white paper, layering the same way as before.
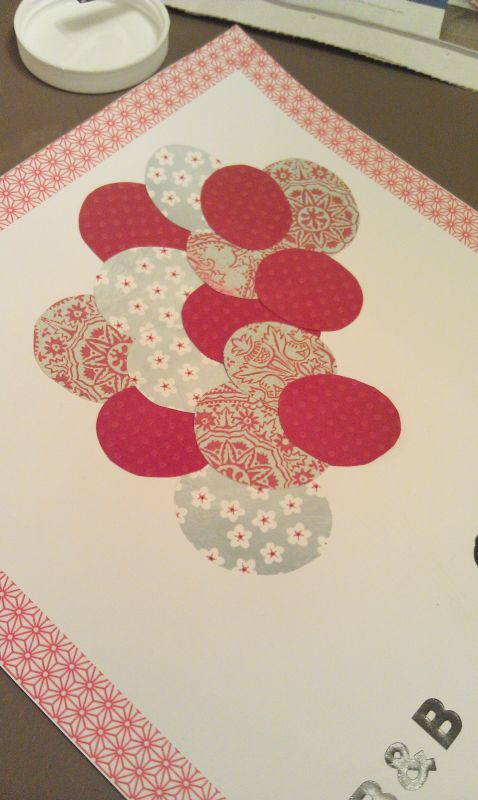
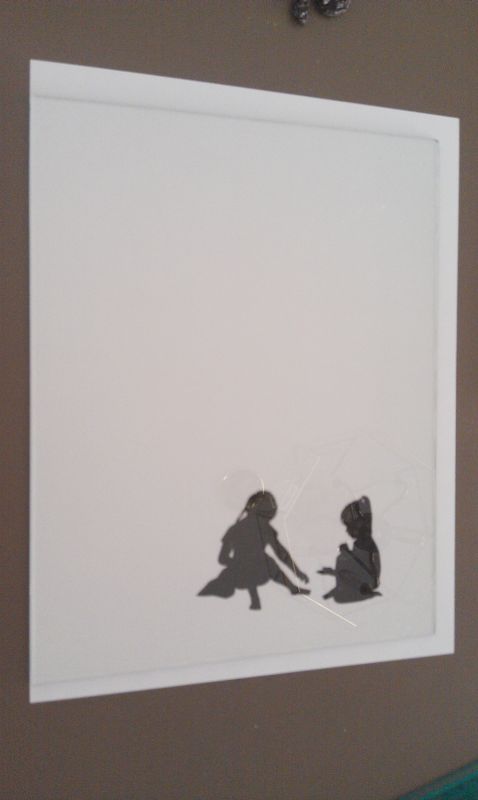
Okay class, everyone’s papers should look a little something like this:
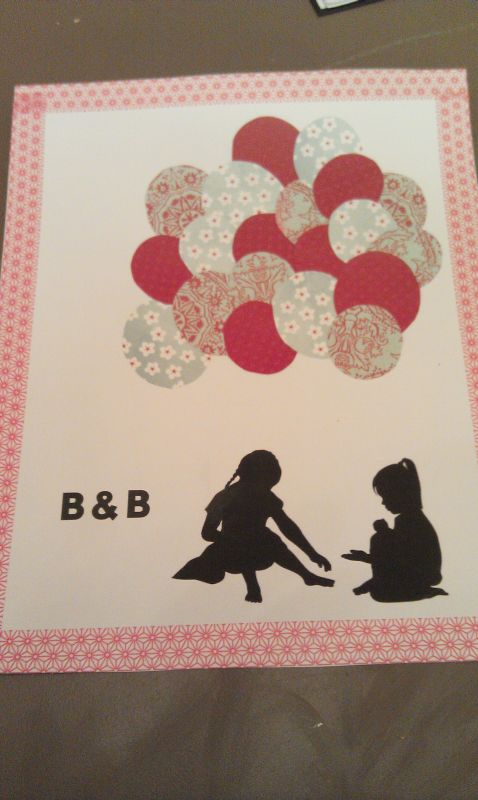
Take your ruler and draw lines from the balloons to the girls’ hands.
There should be 4 lines per girl. One for each of the bottom balloons and one to a higher up balloon.

And that’s it!
Frame your picture behind the glass and your gift is ready to go.
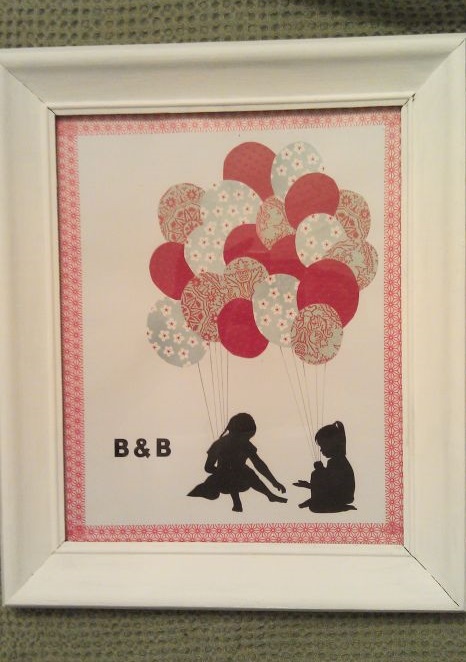
I hope you like your present Becky!
And a big thank you to Rachel for setting the Covert Robin up.
I had so much fun with my project and I’m thinking about doing something along these lines for my birthday now too.
As promised, here’s a little girls silhouette.
