Kate here again from Candidly Kate.
For way to many years, my husband and I have been students. With a PhD and a Masters in the house it takes a while to get through all of school. We were fortunate enough to receive a lot of hand-me-down furniture from both of our families, but when we finally finished up and moved to a new state with a real job, the Mr. and I were very happy to leave behind the bedroom furniture that we inherited. There was no way I was going to let the dressers and headboard take up that much space in our moving van. Well here we are, months later, with no dressers and no headboard. Until now.
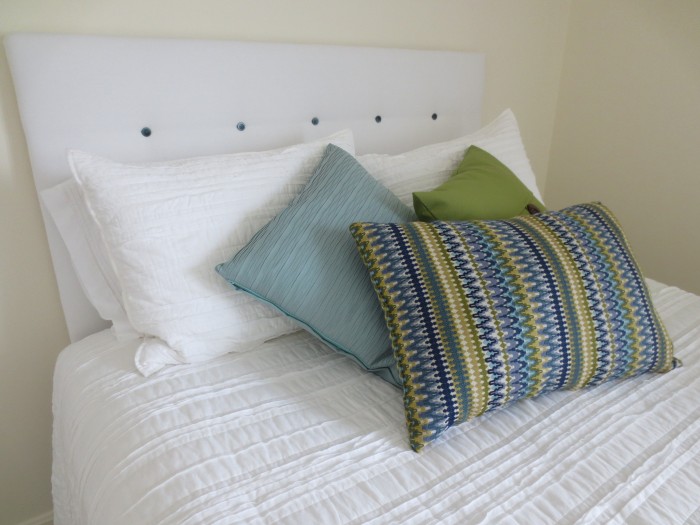
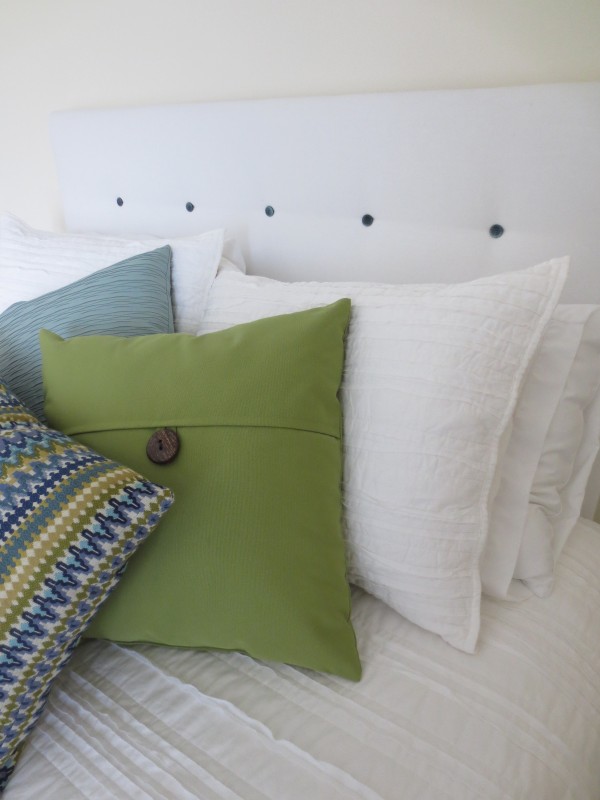
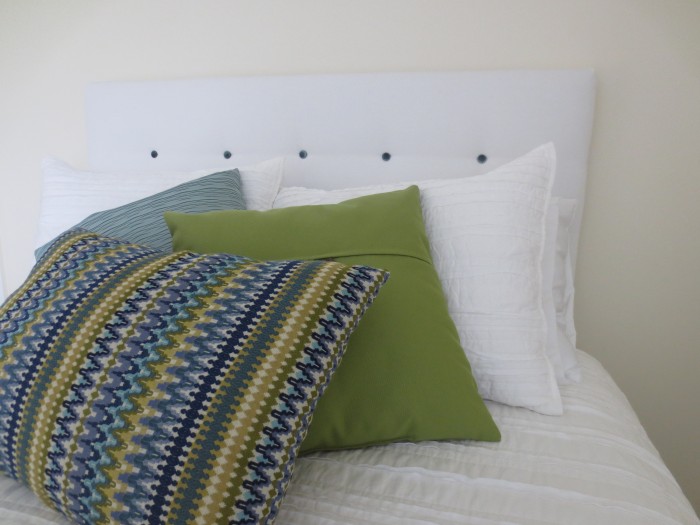
For some reason, that save-every-penny mentality has been totally ingrained in me. So this headboard is the inexpensive and easy version of many of the “tufted headboard” tutorials that you have seen out there.
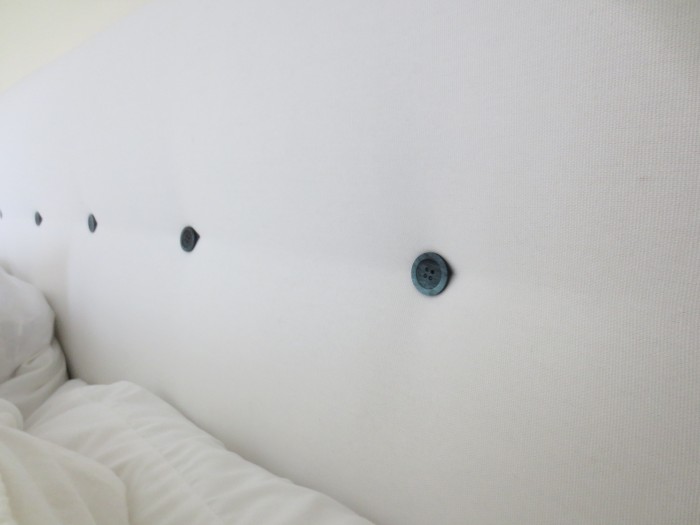
Instead of sewing each and every button on, I took a shortcut. A staple gun and a glue gun make it easy to secure the buttons. No sewing involved.
To make your own, you will need:
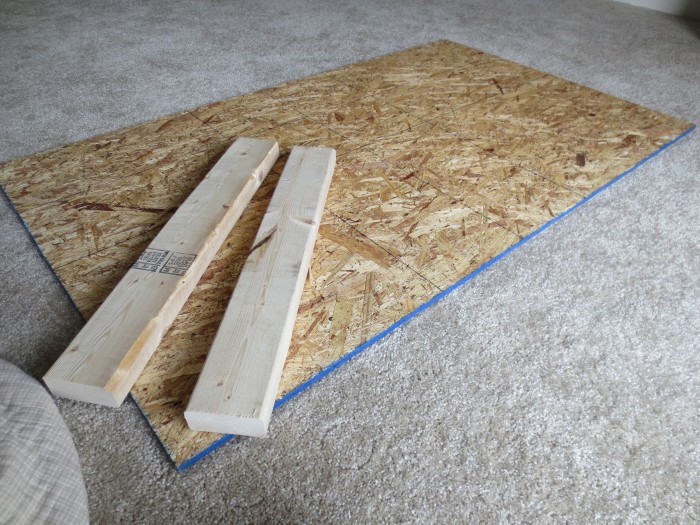
- a piece of plywood the size you want your headboard
- foam (1.5 to 2 inches thick) to size of your plywood (or…if you want to save some money, use an old quilt instead)
- enough batting to fit over the plywood and wrap around to the back a few inches
- upholstery fabric or other thick fabric the size of your headboard plus about 5 inches on every side
- staple gun with staples
- hot glue gun
- buttons
- two 2 x 4’s (as tall as you want the bottom of your headboard plus 5 inches
- screws to secure the 2 x 4’s to the plywood
If you are using foam, you will need to cut the foam to the size of your plywood. If desired, use spray glue to attach the plywood and the foam together to secure it in place. If you are using an old quilt, you will repeat the following steps a lot of times for each layer going on the headboard.
First, set your plywood on top of the old quilt near one of the corners. Leave a few inches around two of the edges.
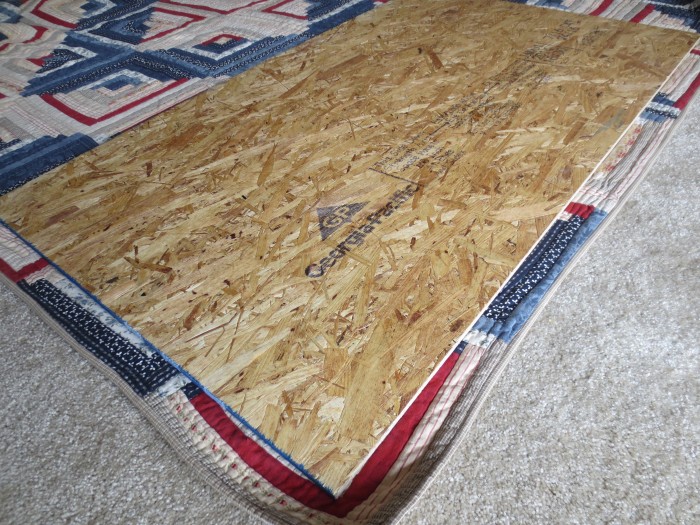
Trim the other two edges so that you have an inch or two on every side.
Using a staple gun, staple one side of the blanket to the back of the plywood.
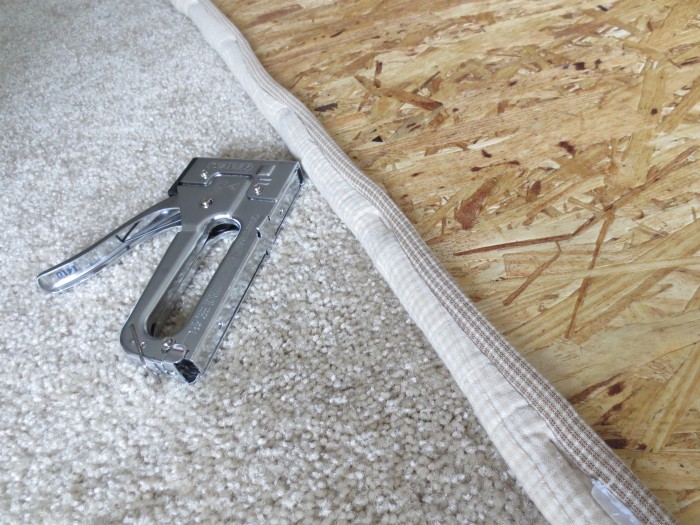
Now move to the opposite side of the plywood. Pull the blanket tight and staple this side as well.
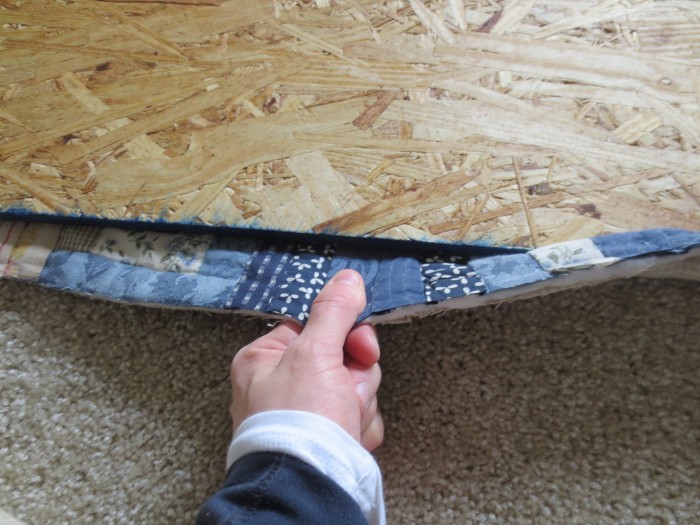
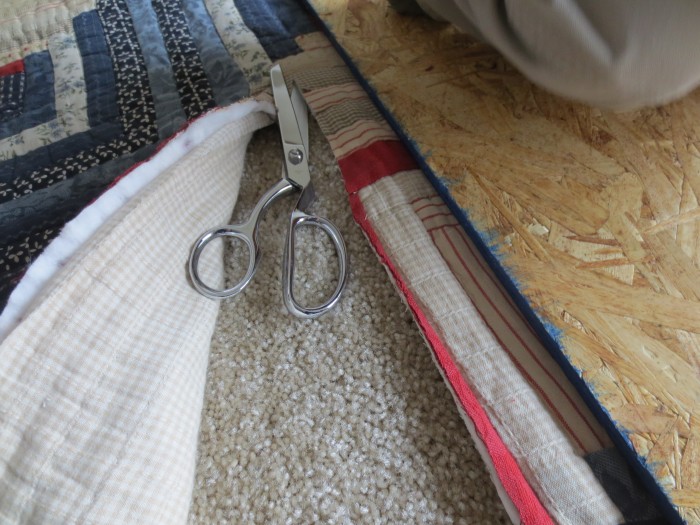
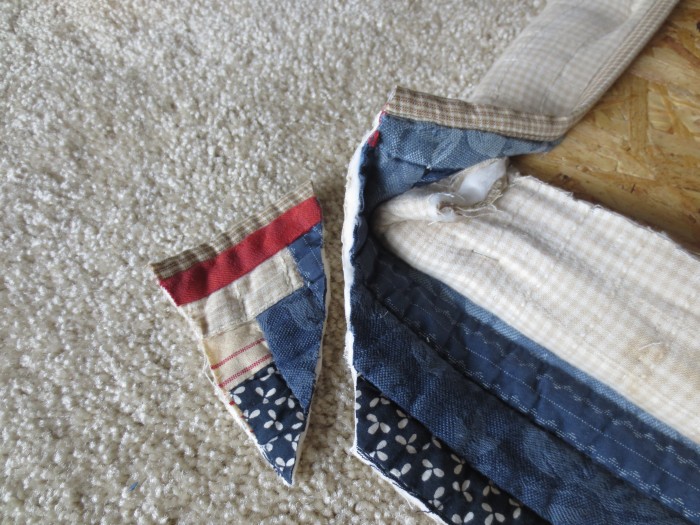
Now move to the other two sides, continuing in the same way. Pull tight and stapling. When you get to a corner, trim it off before stapling. This will remove some of the bulk and make the corners less bunchy.
When all four sides are stapled, add a few more layers of blanket. Each time, leave an extra inch or two around the edges so that you can pull the blanket to the back and over the previous layer to get a good staple with the plywood.
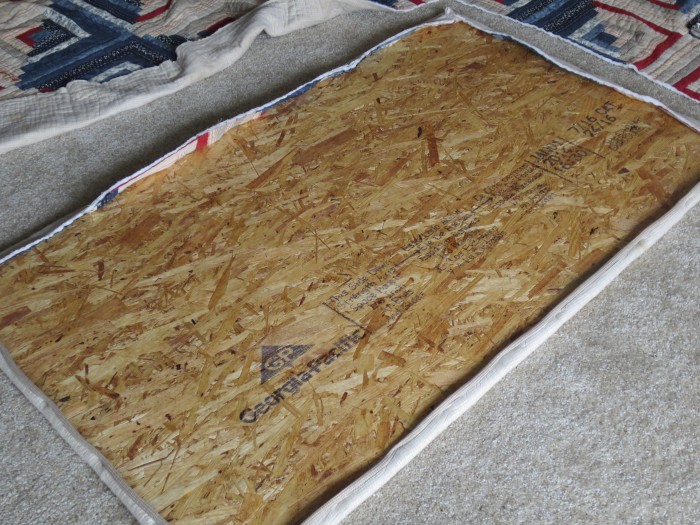
Once you are finished with the foam (or layers of blankets) add the batting on top, followed by your fabric of choice using the same method as above. Cut, pull tight, and staple.
Next, calculate where you want your buttons.
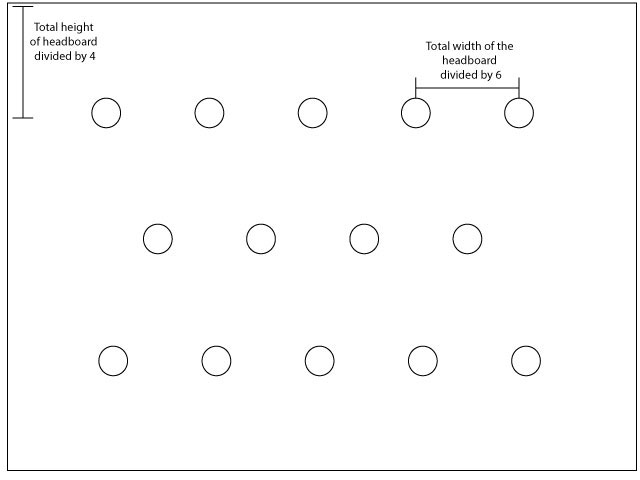
Then, use the staple gun to put staples where the buttons go. Use a glue gun to glue on the buttons. And your finished!
Now we have some sort of headboard. It makes our room seem so much more put together. Now off to find a few dressers, nightstands, and lamps!