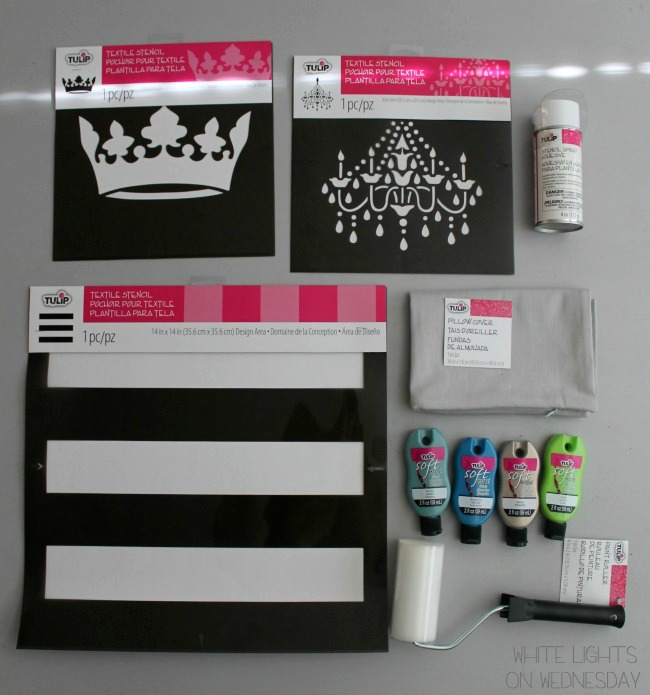
You know what’s my favorite? Seeing the UPS and FedEx trucks pull up. It means a happy mail day! I love opening new boxes of goodies. A few weeks ago The FedEx guy showed up with a box full of fun paint supplies from the Tulip for Your Home collection. There were stencils, paint, a roller, spray adhesive, and instructions to make a super cute pillow case.
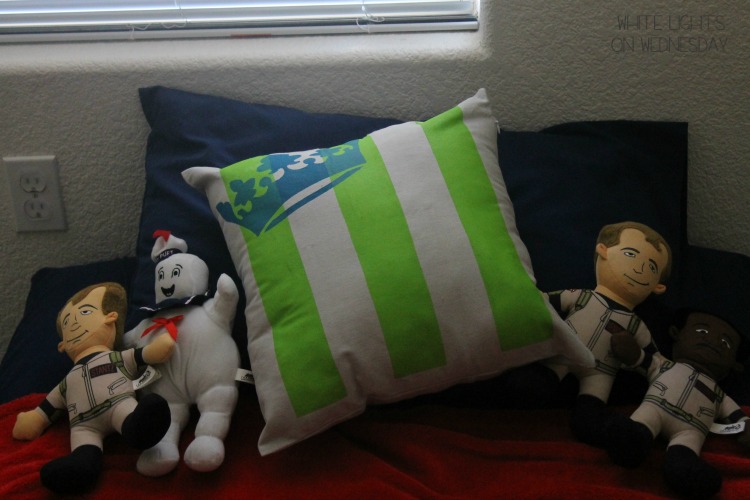
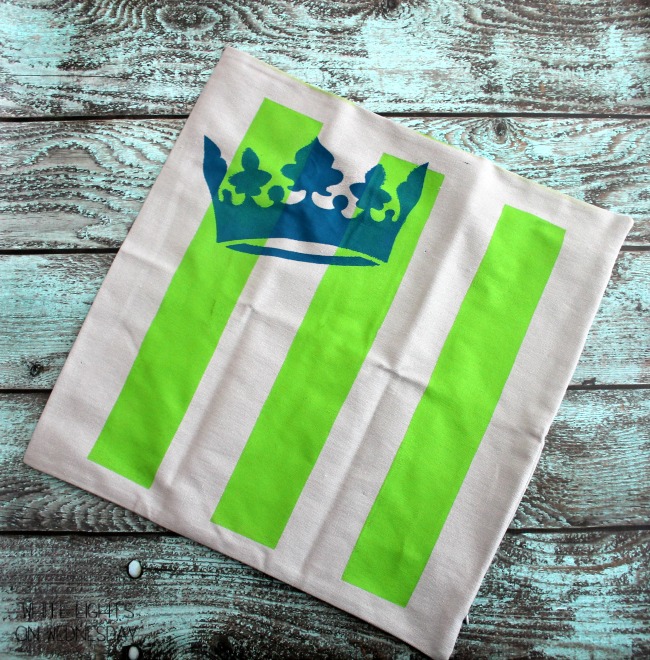
I wanted to make this project fun for the boys too. So I let them pick out the stencil to put over the stripes and the paint colors. Big shock that they picked out the green and blue paint. Those are their favorite colors. I let Otto help me paint. He loved it!
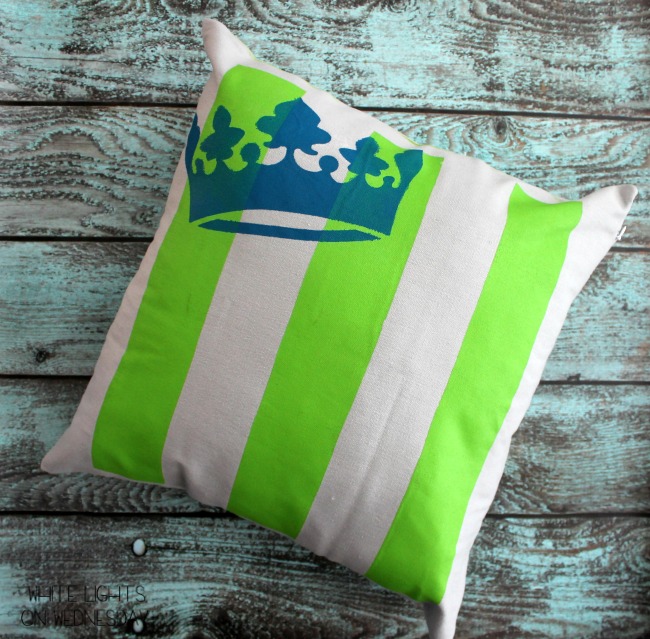
Once I sprayed the stencil and placed it, he was free to paint…with a little help. The edges were darn near perfect with the stencil/spray combination. And let’s face it, I’m not the most professional crafter or DIYer and the Tulip products made putting together this pillow case fool proof.
Let’s make one!
Equipment:
Plain pillowcase {I used a zippered Tulip pillow case}
2 or 3 colors of Tulip soft fabric paint
Tulip stencil spray adhesive
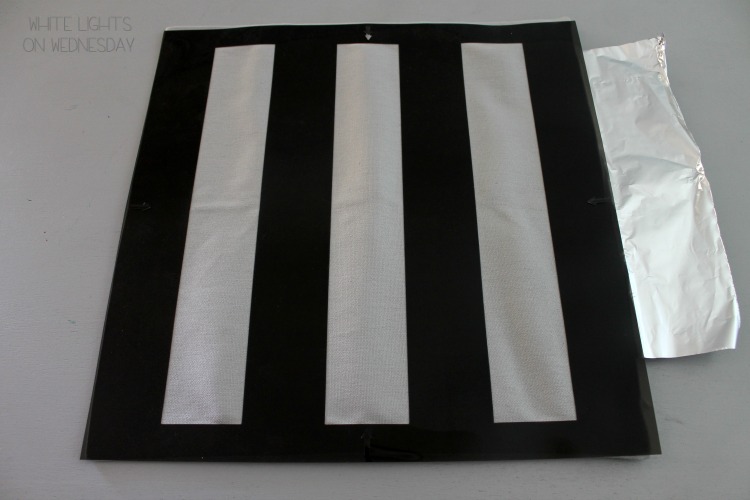
1 large Tulip textile stencil (14″ x 14″)
1 smaller Tulip textile stencil (8″ x 8″)
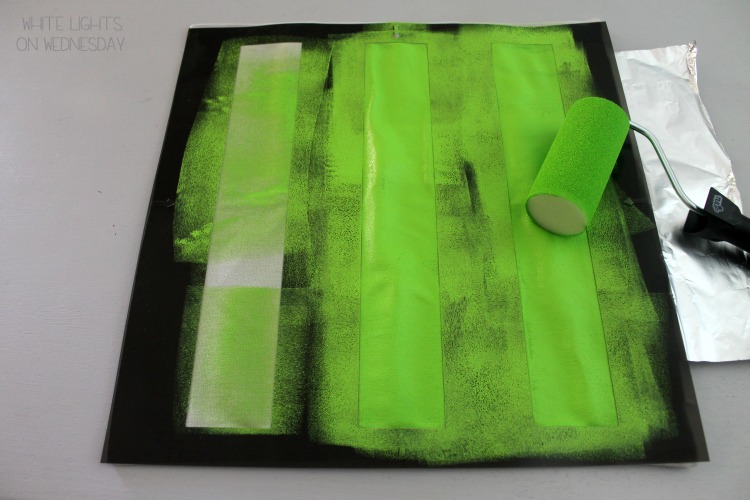
1 Tulip paint roller
Waxed paper or aluminum foil
Baby oil, for cleaning/
Method:
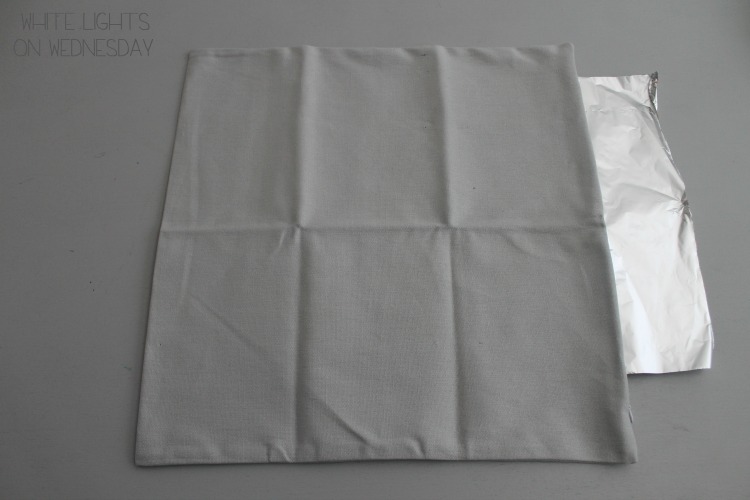
Place a piece of waxed paper or foil inside of your pillowcase to prevent any accidental paint bleeding.
Apply a medium coating of spray adhesive to the back (not shiny side) of your large stencil. You don’t want to adhesive to be too light (it won’t stick) or too heavy (it’ll leave residue). Place the stencil over the pillowcase where you want your design. Press the stencil onto the pillowcase, being sure to really seal the edges where the paint will be applied.
Coat your paint roller in one paint color. Roll the paint over the pillowcase to fill in the open areas of the stencil until color is even. {If you’re using more than one color for your stripes, be careful to only apply paint to the stripes you want that color. Rinse your paint roller and then apply the second color to the remaining stencil areas.} Leave everything alone for a minute so the paint doesn’t smear when you remove the stencil. Starting at one corner, gently lift the stencil off the pillowcase while pulling the pillowcase away from the stencil.
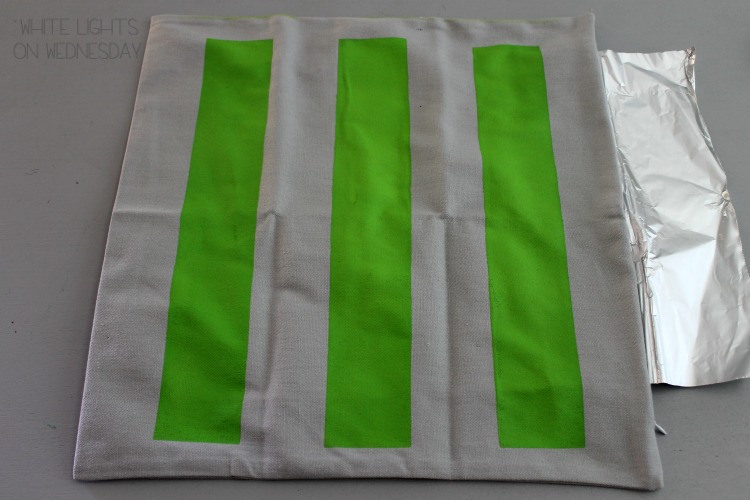
Let the paint dry completely before moving on to the next step.
Apply a medium coat of spray adhesive to the back (not shiny side) of the smaller stencil. Apply the stencil where you’d like it on the pillow case. Press the stencil down onto the pillowcase begin sure to really seal the detail sections of the stencil. Using your roller, apply paint carefully to the stencil, and be sure not to go outside the stencil area. You want to apply a good coat of paint to make sure the stripes don’t take over the smaller stencil coloring.
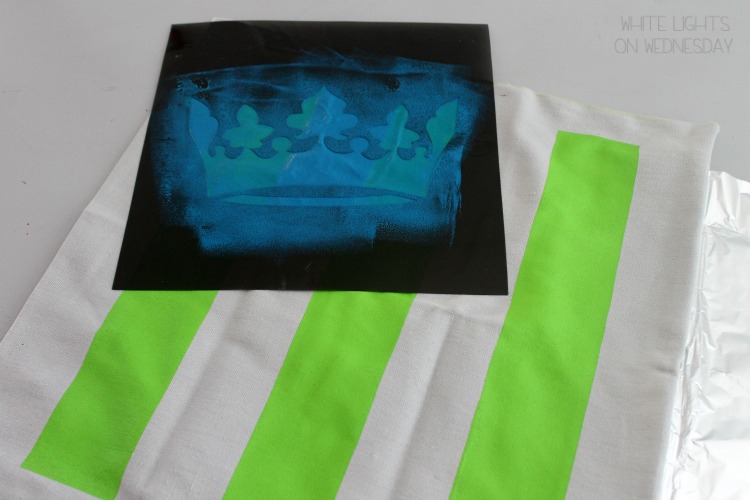
Leave the stencil in place for a minute, then carefully peel of the stencil. Let the paint dry all the way, and that’s it!
Super easy. Done in a flash. And SO cute!! The boys loved the pillowcase. I’m on the hook for another pillowcase for Otto now. I’m going to flip the colors so they’re not identical. I can’t wait! I’m totally using the stencils for some more projects too. I have a big house to decorate and this is just the beginning.
Get more project ideas from Tulip on Facebook, Twitter, Pinterest, and Tulip’s Blog.
See more Tulip for Your Home Projects by clicking the images below.
This post is sponsored by Tulip. I received product and conpensation for my review. All opinions are 100% my own.