In one short week it will be Thing 2’s first Christmas. The last two years have been nice, but this year I’m feeling especially Christmassy. {Yes, I’m still using my word} It could be because I have so many blogs and pins on Pinterest showing me how amazing my house could be or it could be because we are having a normal Christmas.
Two years ago me moved into our house on December 1st…we didn’t bother getting a tree since we were half way moved in and Thing 1 was 5 months old. Last year, I was waiting tables . I had to work Christmas Eve and Christmas Day, not much Christmas excitement for me. This year, I’m home! Mike has the day off and we have both our little men. Let’s do this holiday!!

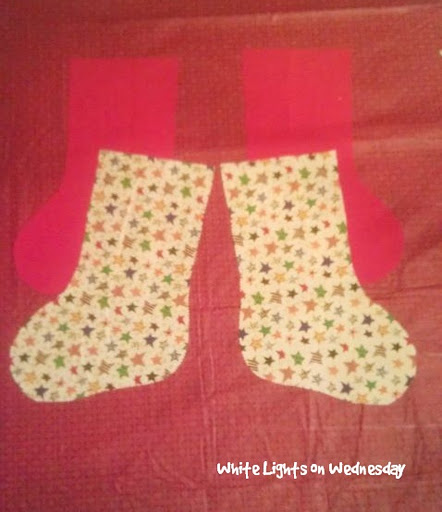
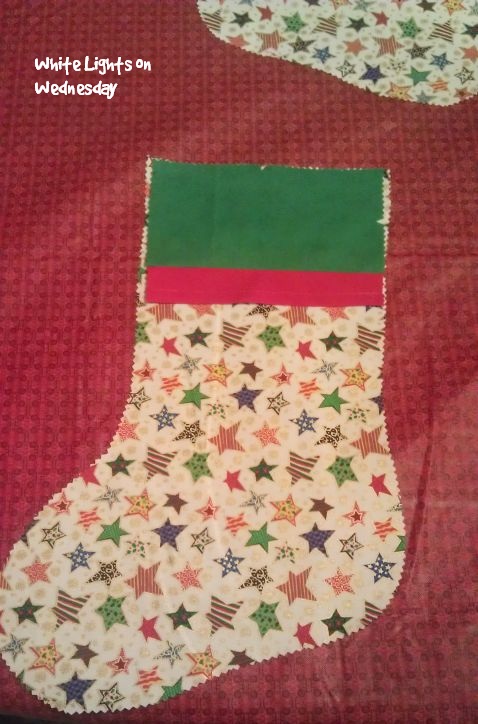
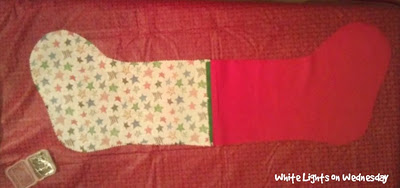
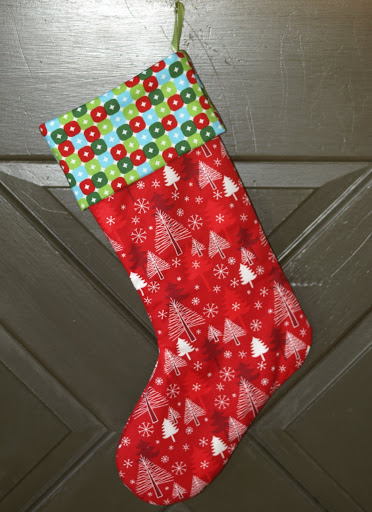
Store bought stockings are fine. In fact, I still have my stocking from when I was little. But I wanted to make our stockings. I really wanted to make our stockings. So I am. 🙂 Yesterday morning I went to Joann’s Fabric, grabbed my Simplicity pattern and all the fabric I needed. It was all on sale too, whoopee! I love the star fabric I found. Every time I look at it I seriously geek out.

Mike had a little “you spent $40 to make stockings?!?!” moment. I don’t think he realizes how much a nice store bought stocking costs, let alone the “I made this for my family and it’s special” -ness that goes with creating something yourself. And technically it was only $36 – that’s only $9 per stocking, so there.
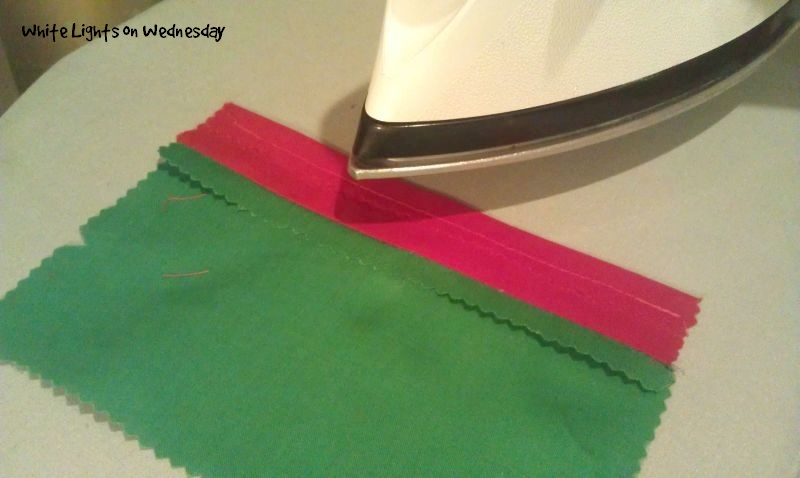
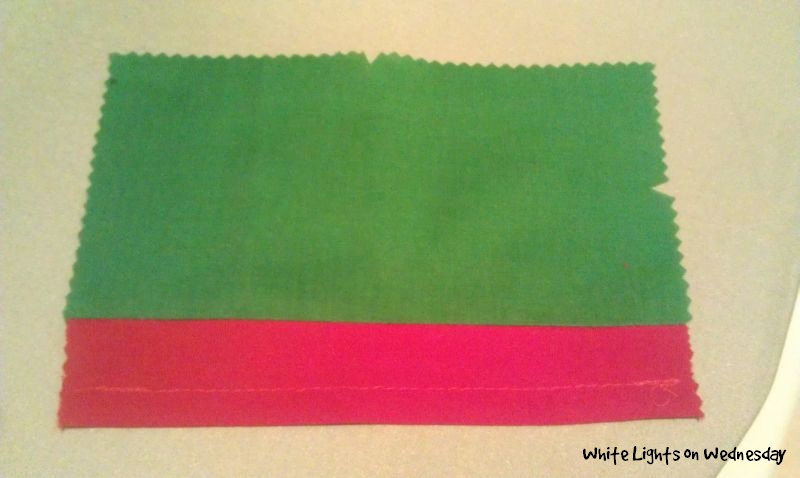
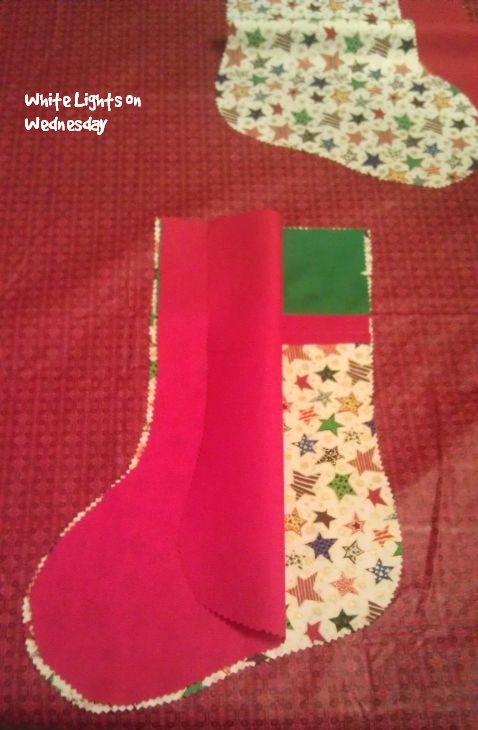
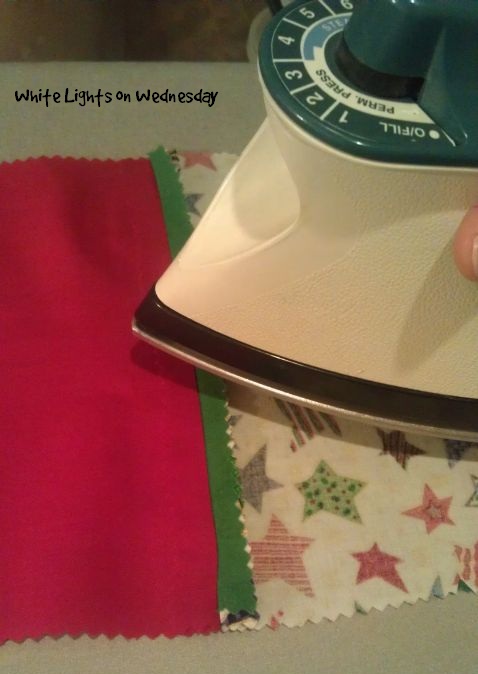
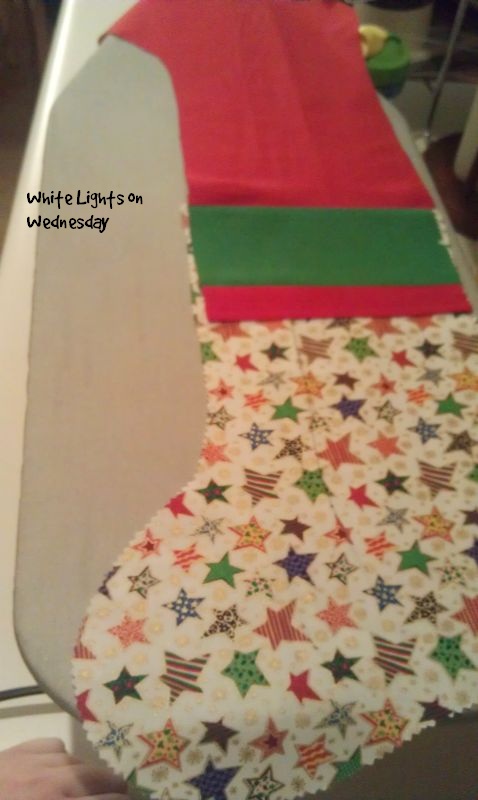
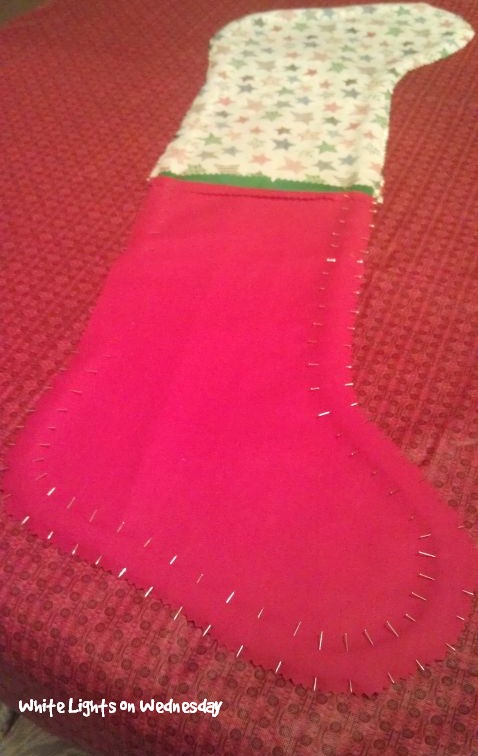
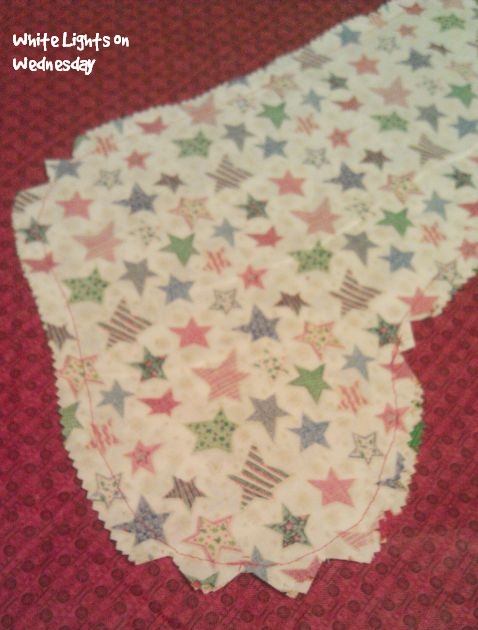
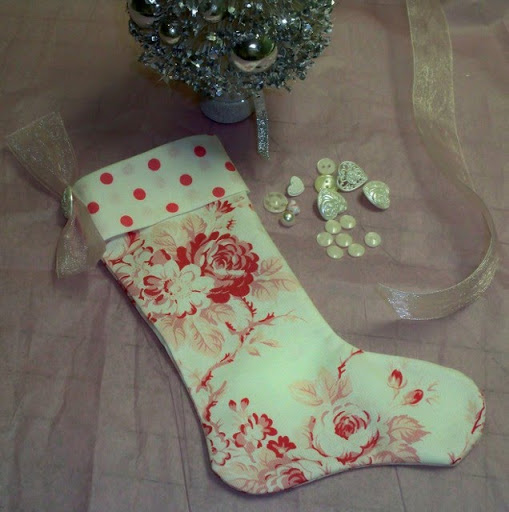
I cut out all my pattern pieces from the Simplicity pattern I had bought (on sale $1.99, woo!). I made my first stocking with batting and according to the Simplicity directions. Here’s what I got:

I’m posting a ridiculous amount of pictures and being really explicit with each step in the hopes that my beginner mistakes will help someone else get it right the first time. I haven’t sewn since I was 13 and in Home Economics class making shorts. If I can make these stockings, you can make these stockings.


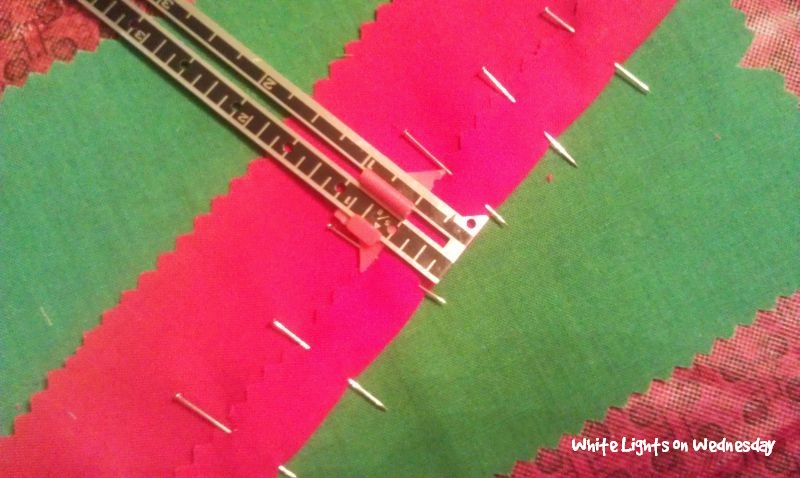
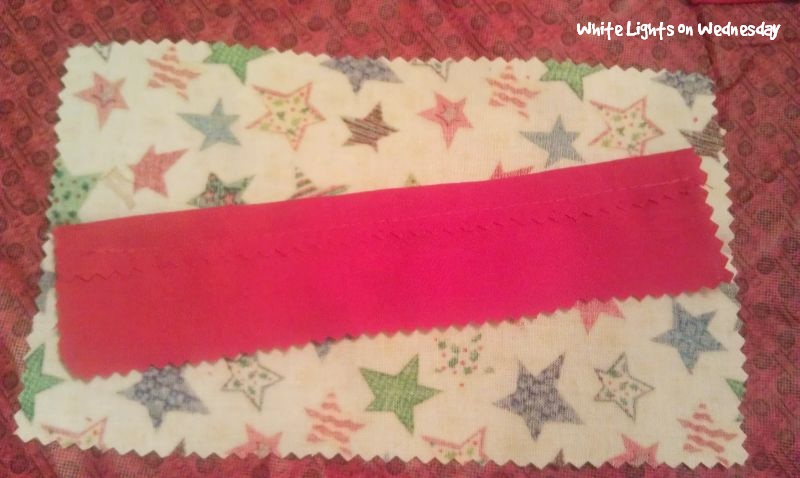

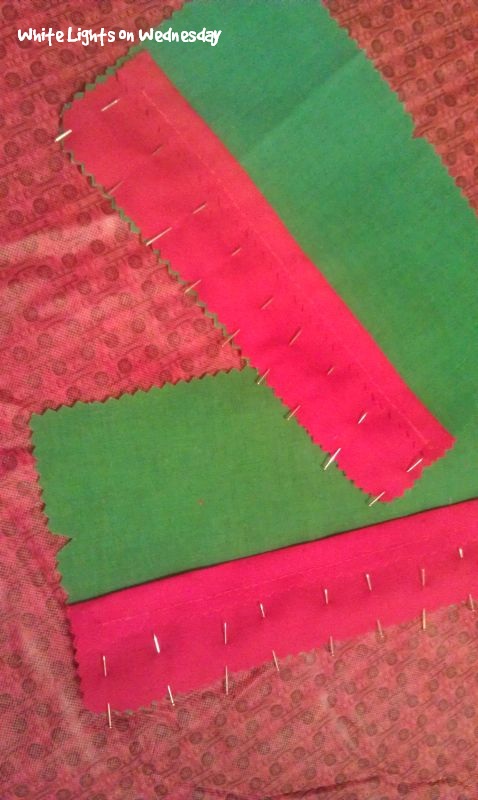


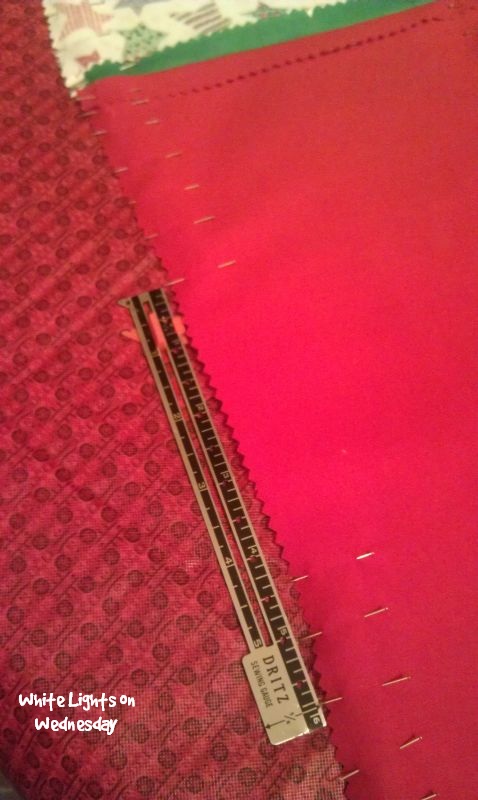
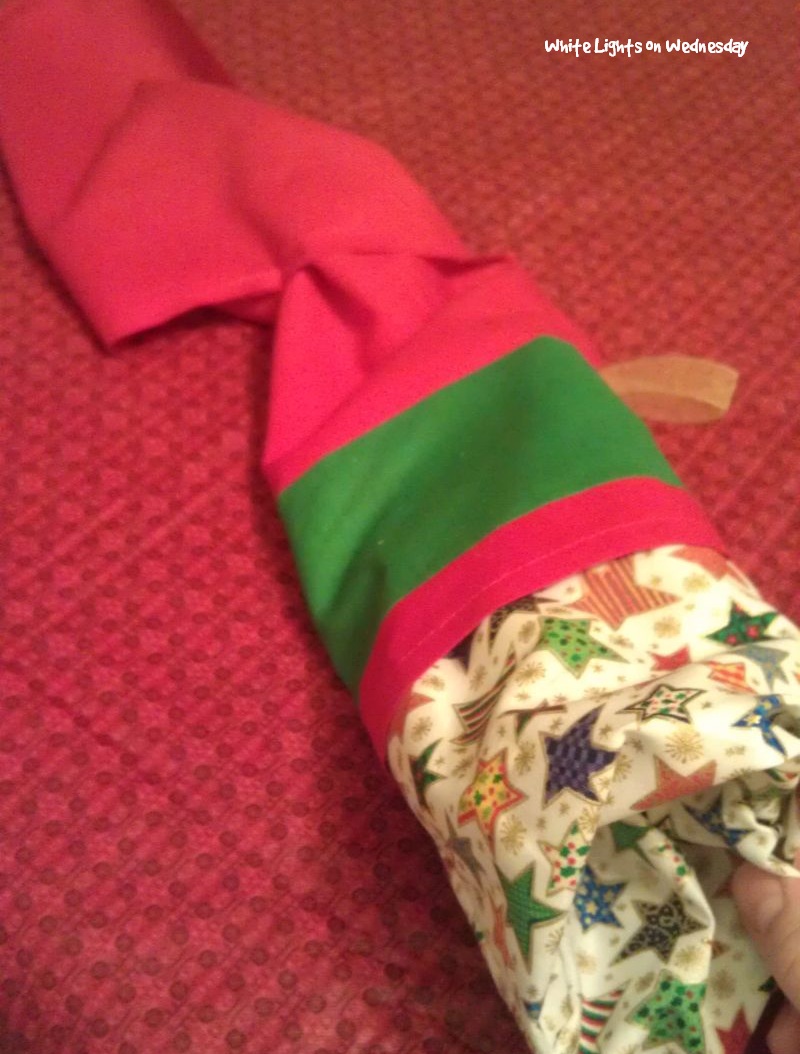
Lay the LINING fabric over the OUTER fabric and CUFF.
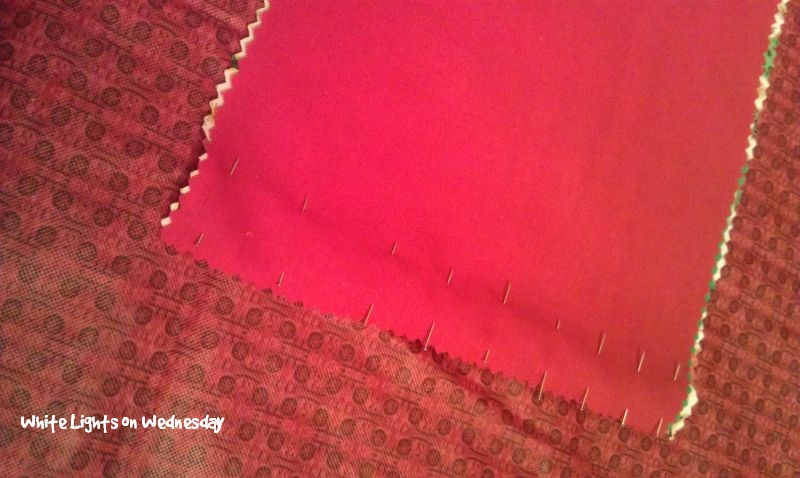
Pin top edges together.


Repeat with second set of OUTER fabric, CUFF, and LINING fabric pieces.

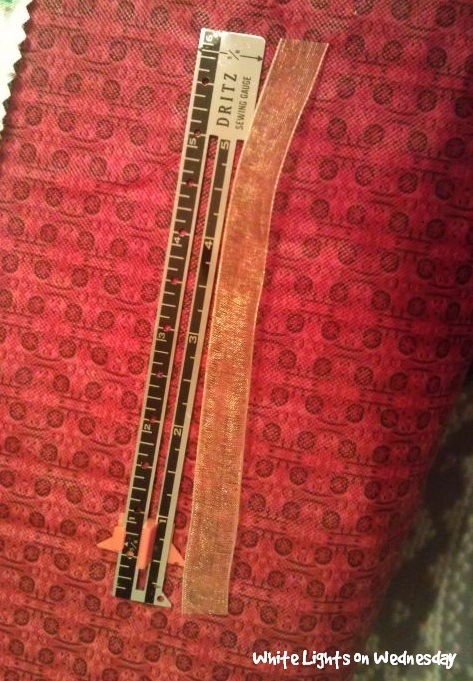

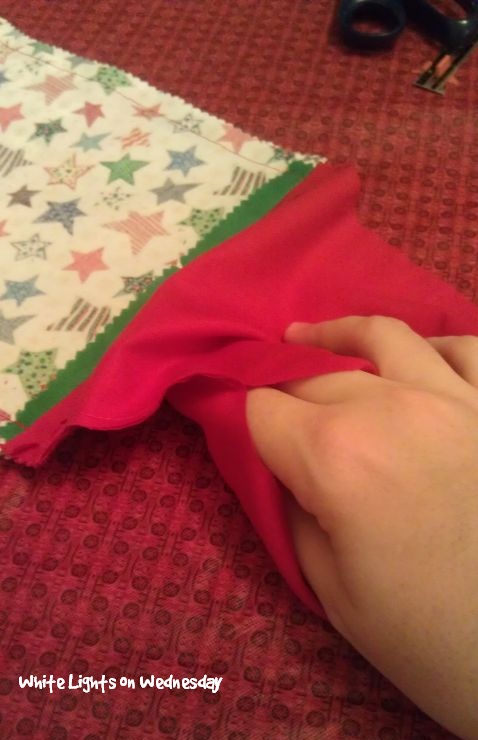
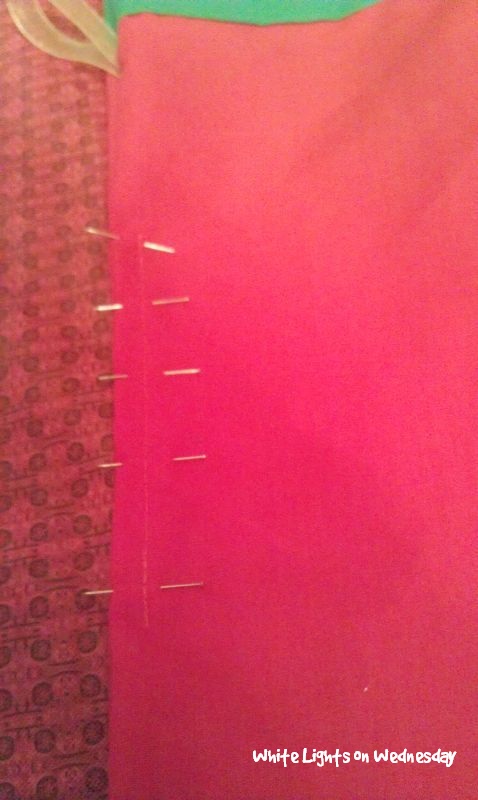
Fold the ribbon in half.
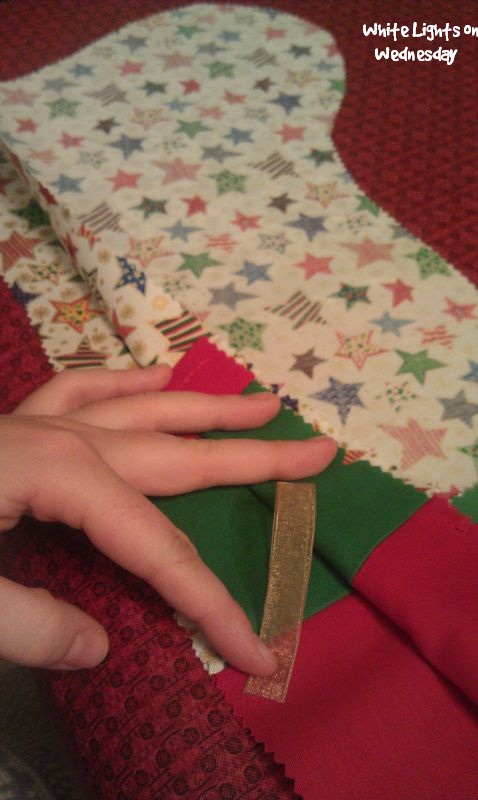
Insert the ribbon into the LINING side of the stocking. You want the fold to be “inside” the stocking. Place the ribbon so that the fold is pointed away from the edge and towards the OUTER fabric side of the stocking.
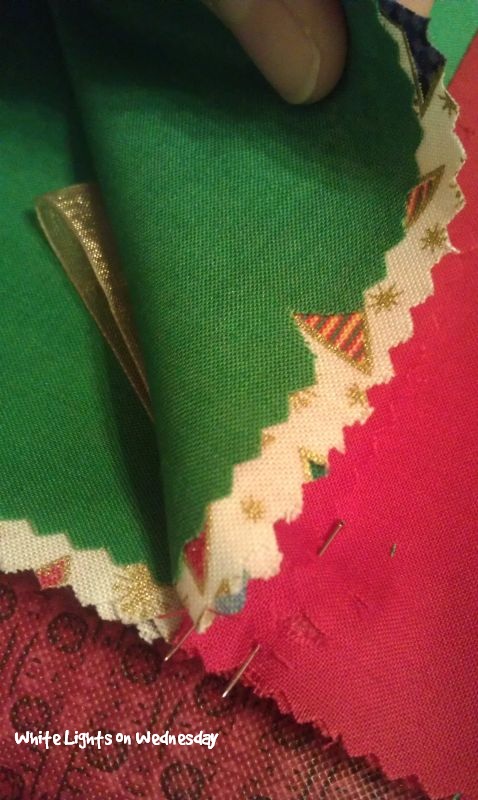
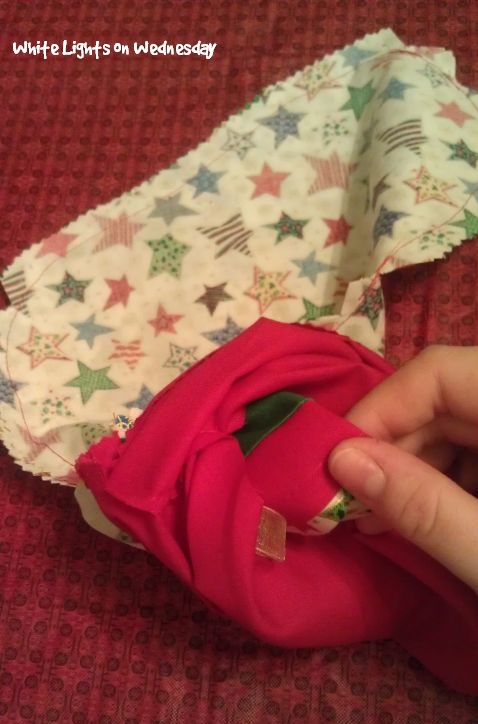
Pin together the edges of both pieces, all the way around.
I don’t need the ribbon popping off while it’s holding up a stocking full of presents.
Remove pins.


This sounds like a lot to do, but it’s really not…promise. And this method is way easier compared to the pattern instructions.

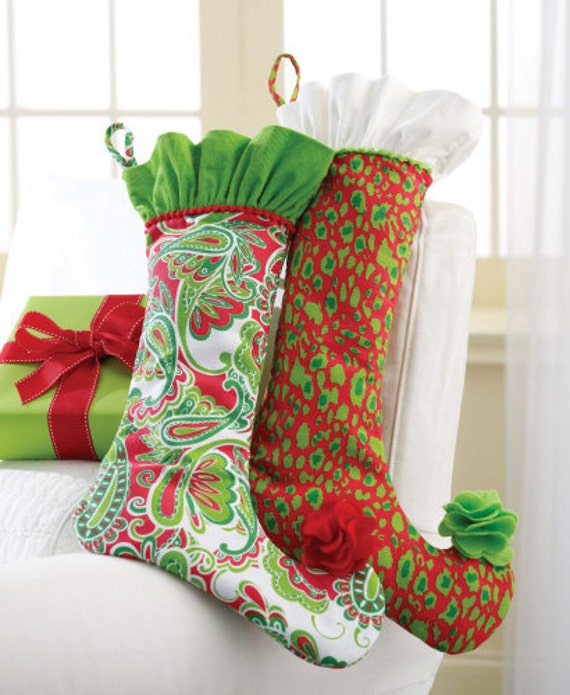
If you are looking for some stocking inspiration of your own, here are some ideas I love from around the web. Oh, and if you know anyone who has been naughty and deserves some coal in their stocking, check out this Coal Candy from Sprinkle Bakes.


And for making our stockings so wonderful.