Thing 1 is without a St. Patrick’s Day shirt this year…so far. Instead of buying some $10 or $15 shirt he’ll wear once, maybe – big maybe – twice, I’m making him a shirt. Yes! Okay and I may be using the blog an an excuse to do this project. Don’t judge me. Let’s get started!
“Lucky” Tattoo St. Patrick’s Day Shirt
Equipment:
8″ x 10″ sheet of each: yellow, green, and black felt
White T-shirt
Black thread
Scissors
Shamrock stencil
Sewing machine
Straight pins
Method:
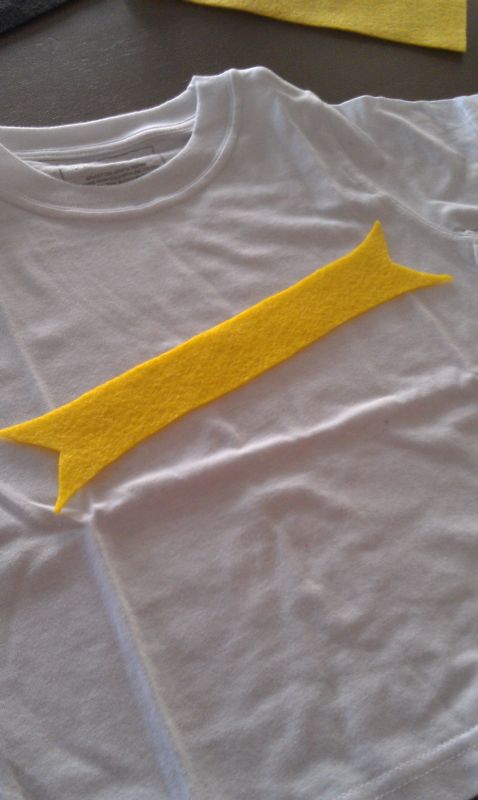
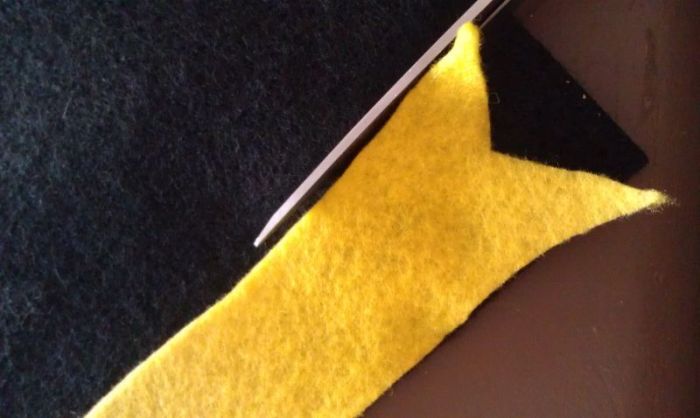
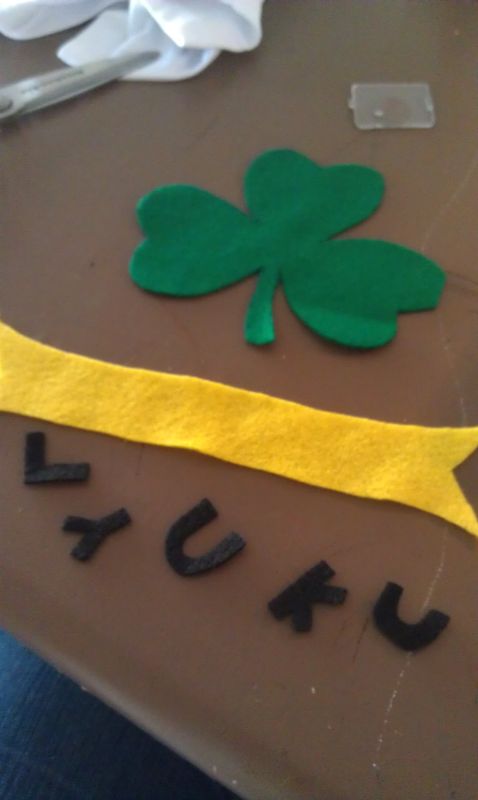
Cut out a 1 1/2″ to 2″ thick rectangle of yellow felt from the 8″ side of the sheet. Cut curved edges and points into rectangle, as shown.
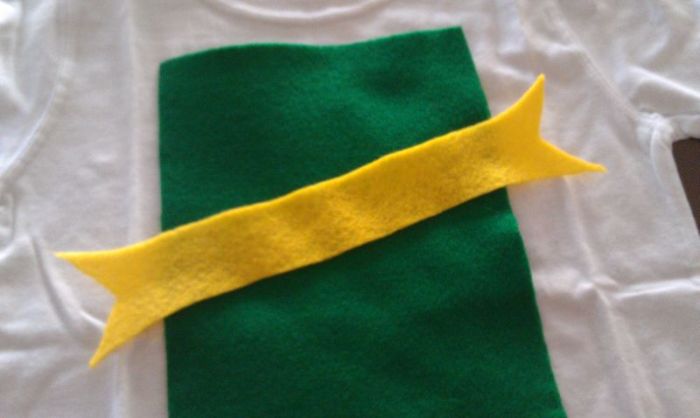
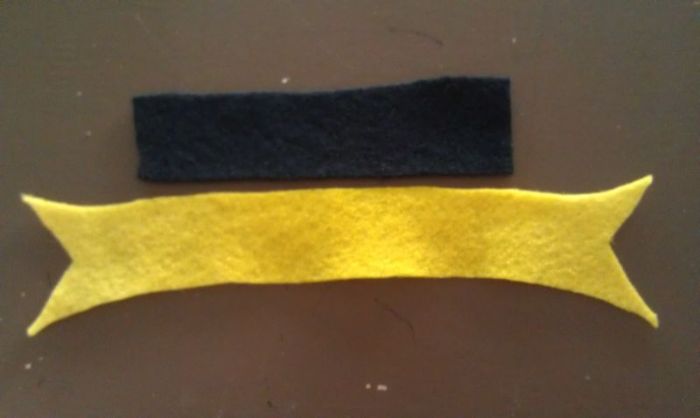
Cut green felt down so that the width fits within the yellow felt rectangle.
Use yellow felt banner to measure size of black rectangle. Cut out black felt rectangle.
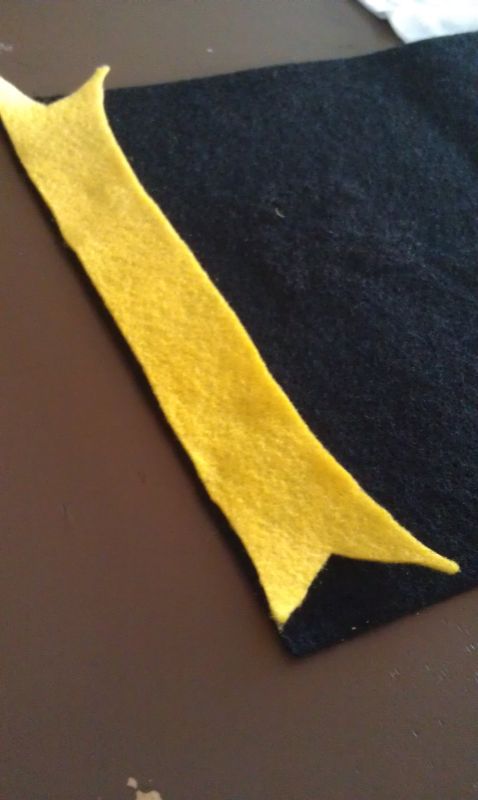
Cut black rectangle down to fit within yellow banner.
Cut 5 individual pieces out of black felt, 1 piece per letter.
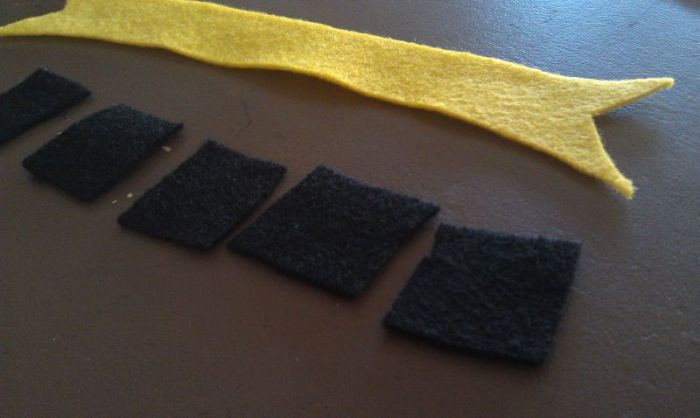
Using one black felt piece per letter, cut out L-U-C-K-Y.
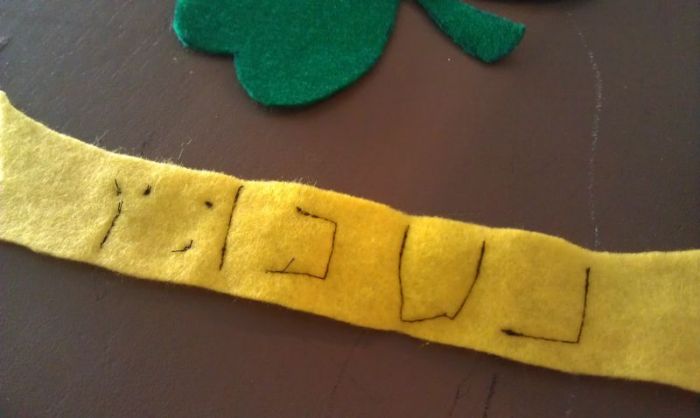
I did this free had, you had use a stencil or fabric cutting machine if you have something like that.
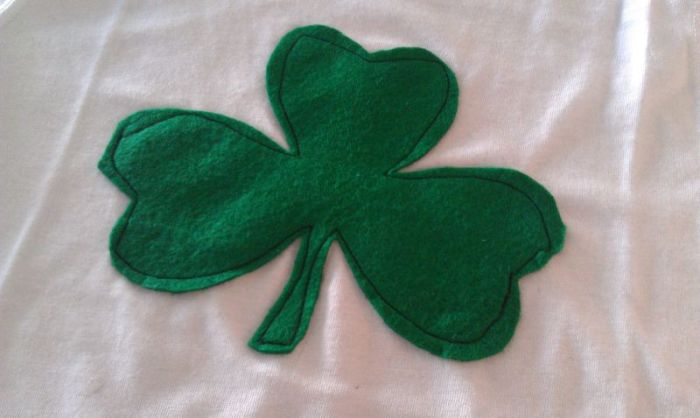
Find a shamrock clip art or picture you like. Print out the picture and cut out the shape.

Trace the shamrock onto your green felt. It’s probably a good idea to print your shamrock before you cut your green felt down to size. Not that I learned about this the hard way.
Cut out your shamrock.

Tah Dah! If you don’t want the trace lines showing on your felt, turn over your stencil and then flip the felt over, right side will be up with no tracing lines. 🙂
Get your felt pieces together.
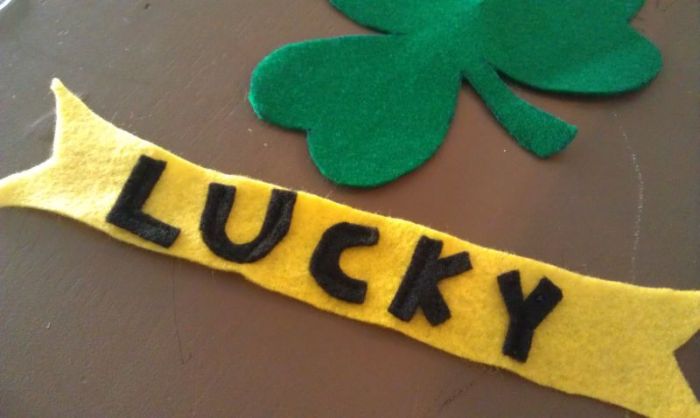
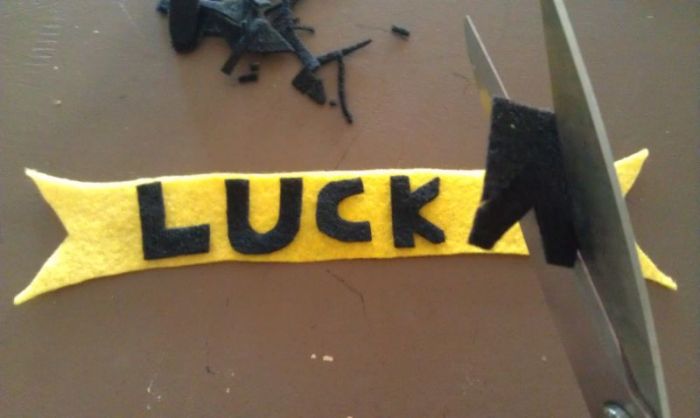
Lay out your L-U-C-K-Y letters so you know the spacing you want.
Sew you letters onto the yellow banner with black thread.
{my awesome sewing skills. this will matter later}
I used the button hole option on my sewing machine to tack down the Y and K ends.
Pin down your shamrock.
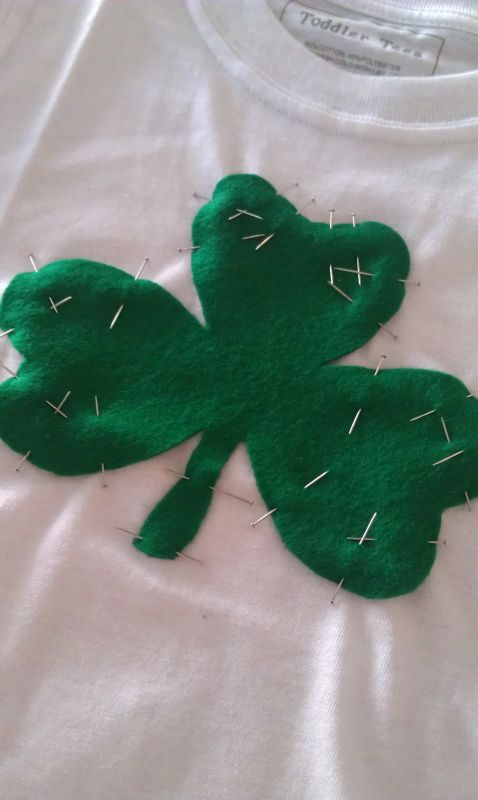
Place the shirt of the sewing machine arm. (sorry for the lack of picture)
You will able to sew half the shamrock which ever way you pull the shirt over the sewing machine arm. To do the other half of the shamrock, you will need to turn the shirt around. Go slow if you need to for the turns, and pivot for the sharp turns and points.
Lucky for me, the banner is going to cover those funky lines on the two side leaves. Yay!

Pin banner over the top of the shamrock where you like it.
I liked the banner over my bad thread lines.
If you want your thread to match, feel free to switch thread colors as needed.
I don’t mind the contrast stitching.
Using the 1 ][ 3 button hole setting on your sewing machine, tack down each side point of the banner.
Using the same setting tack down the L, C, and Y letters. You could tack down the banner with each letter, but I didn’t feel like going there. This shirt won’t be worn enough for that to matter for me.
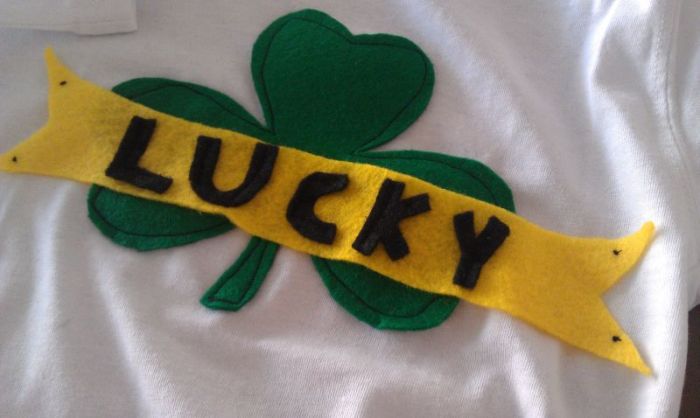
All done. Fast and easy.
Seriously. If I can make this shirt, you can definitely make this shirt.
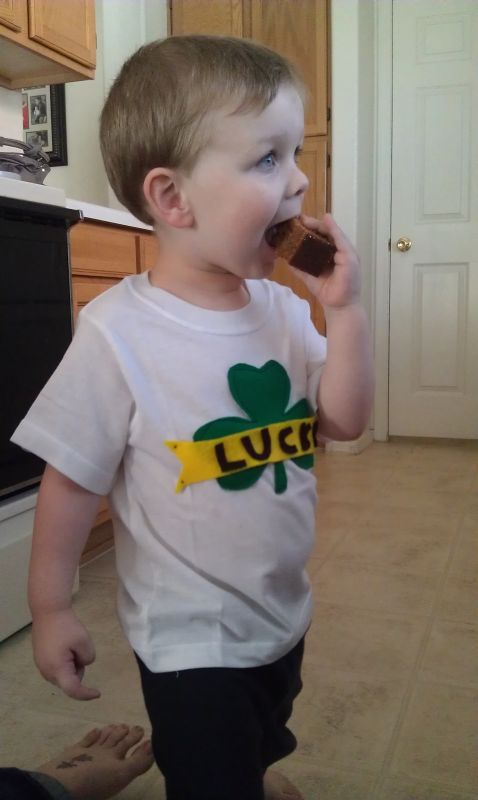
I may or may not have bribed Thing 1 with Gingerbread to get him out of his Superman shirt and into his “Lucky” shirt long enough to snap a picture.
Cake makes him happy.