Hey! I’m Kate from CandidlyKate and I am so excited to be over here today at WLOW.
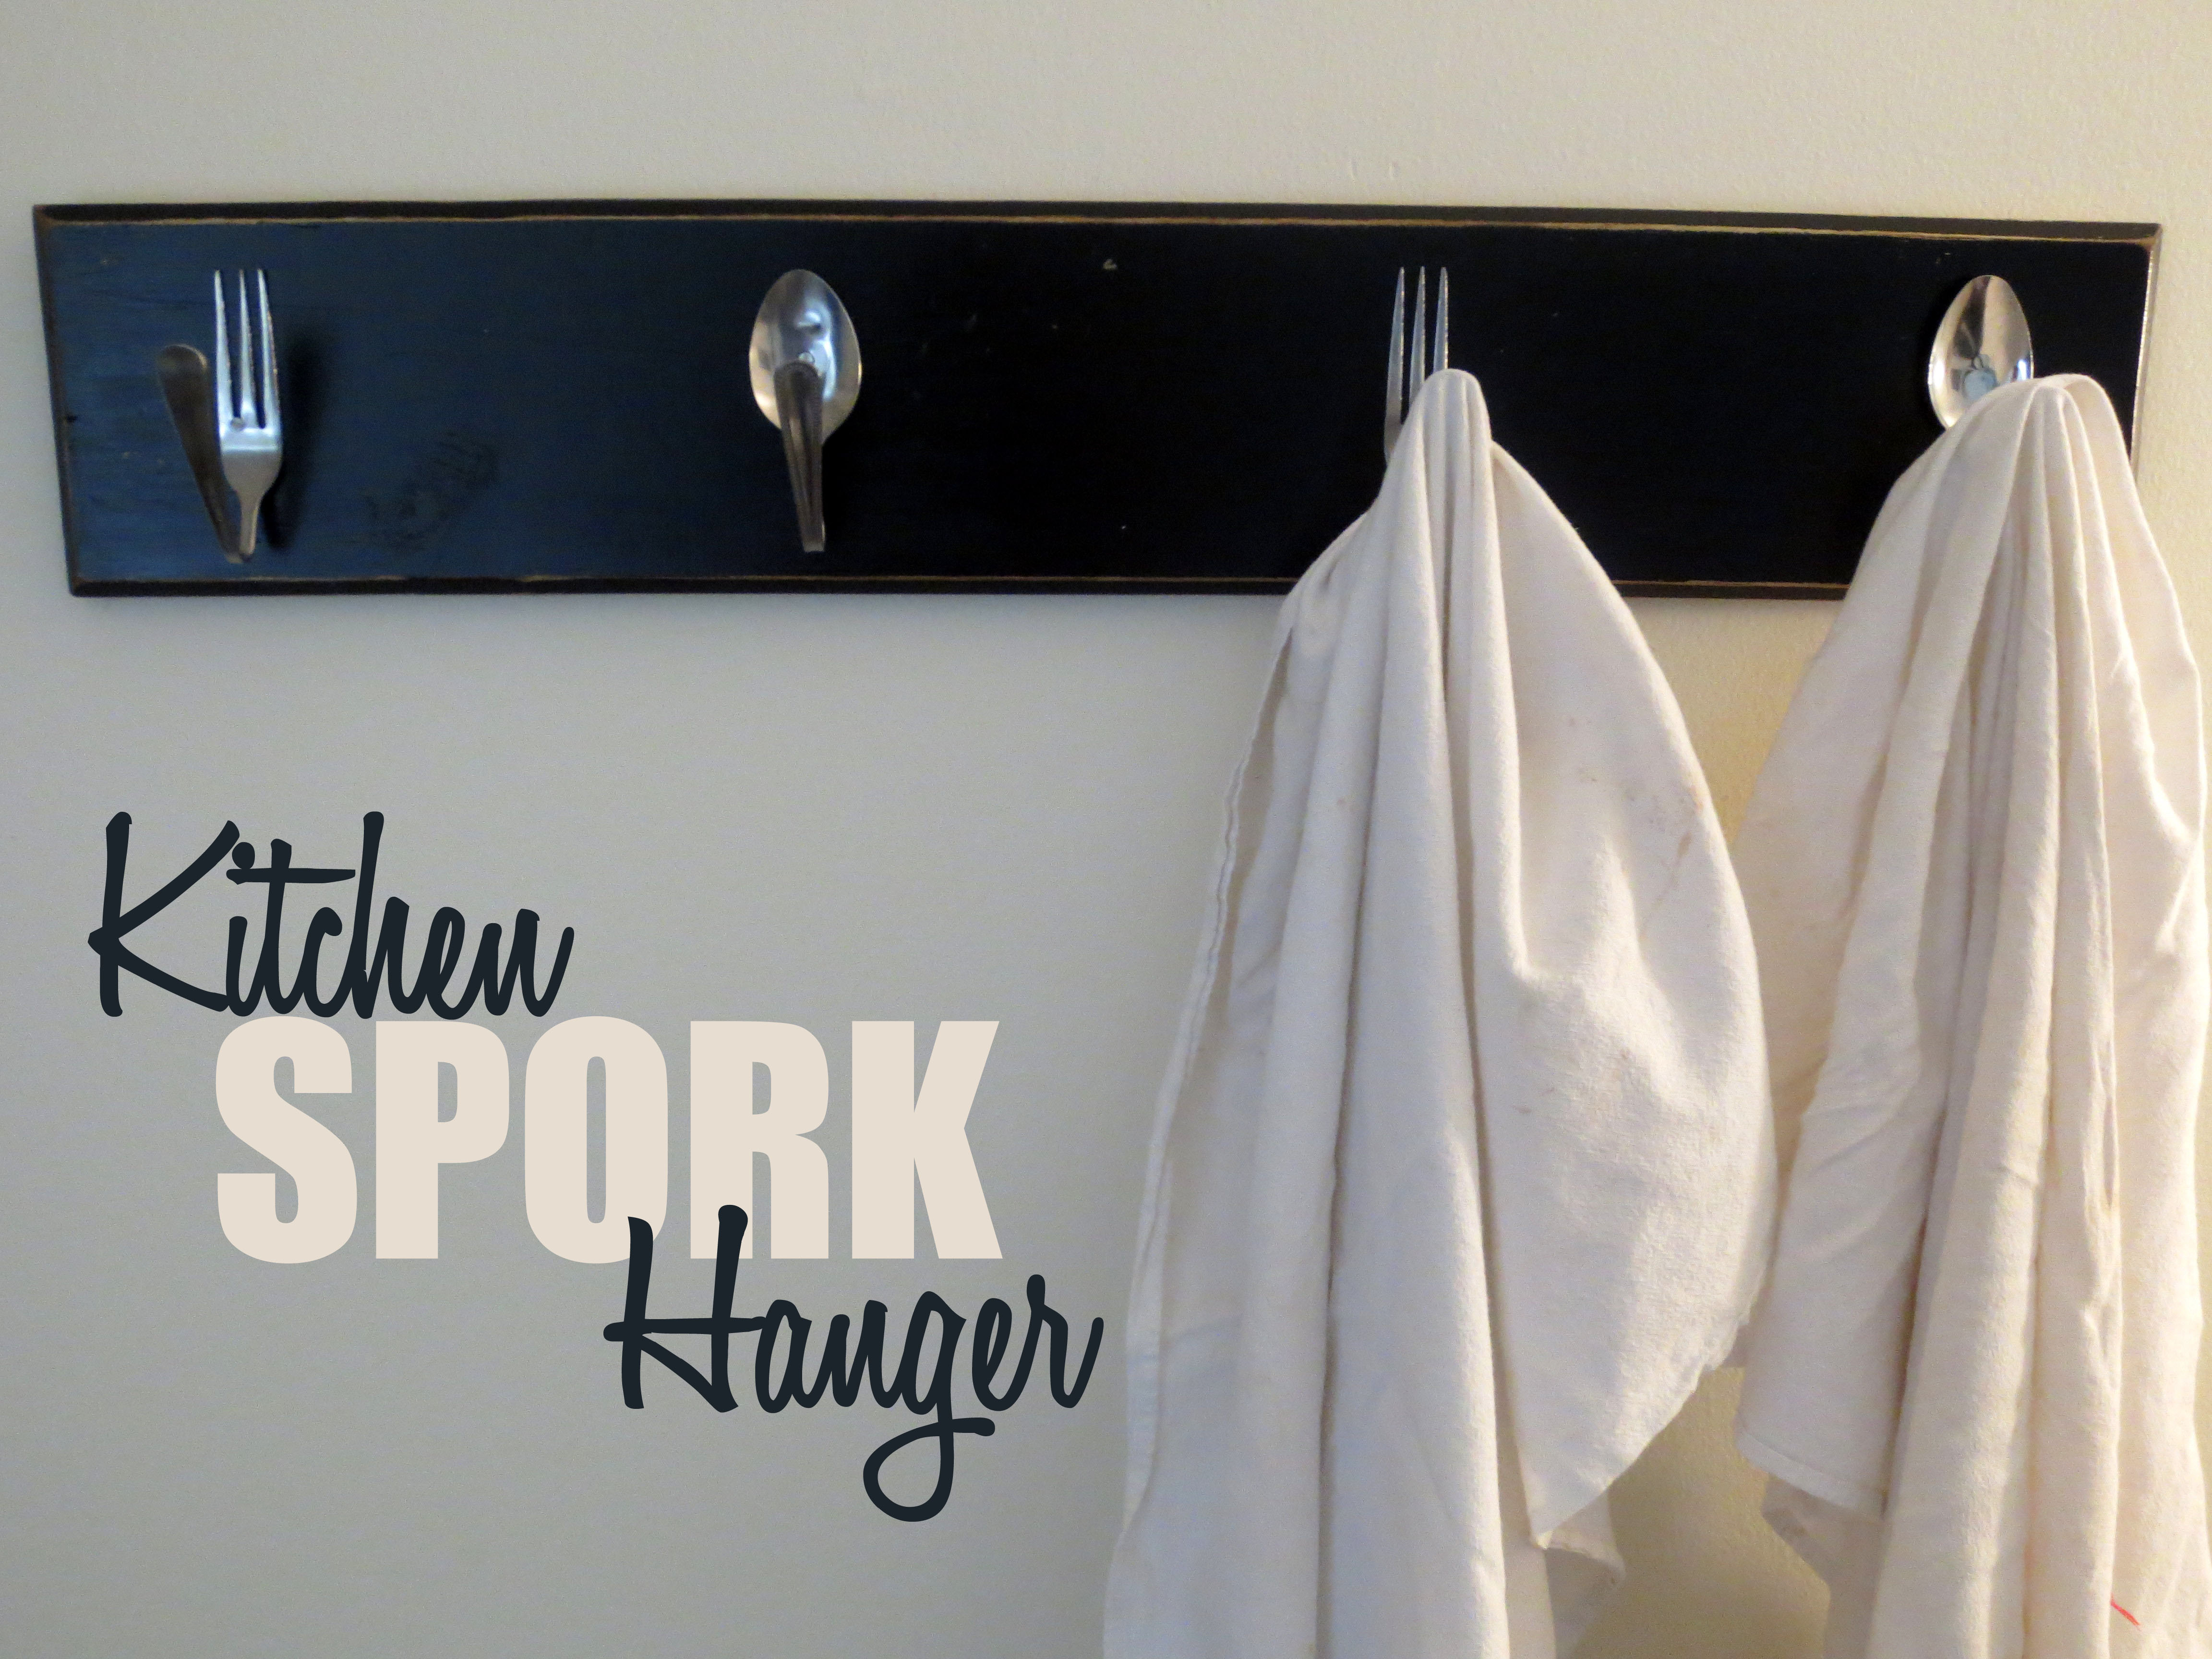
Do you remember those awesome plastic sporks from elementary school lunch? They are awkward little things aren’t they? They don’t really scoop and they can’t really stab. Who thought it was a good idea to give those to a bunch of first graders anyway? Well, today I wanted to share a little something I make with forks AND spoons (sporks…ha!) to make my kitchen space work for me and my little family. 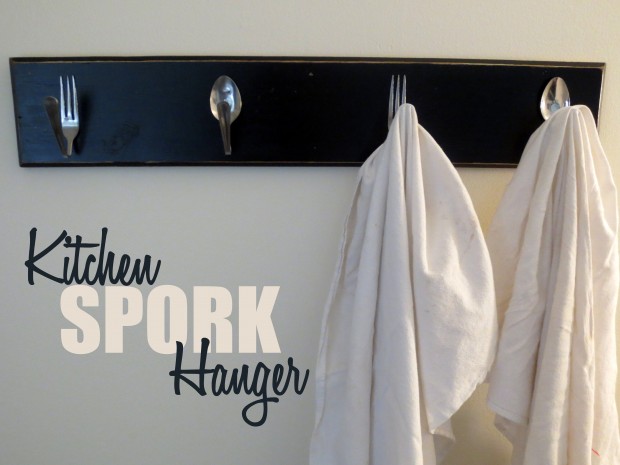
I wanted to create a dish towel hanger with things that I already had around the house. I love a good zero dollar project!
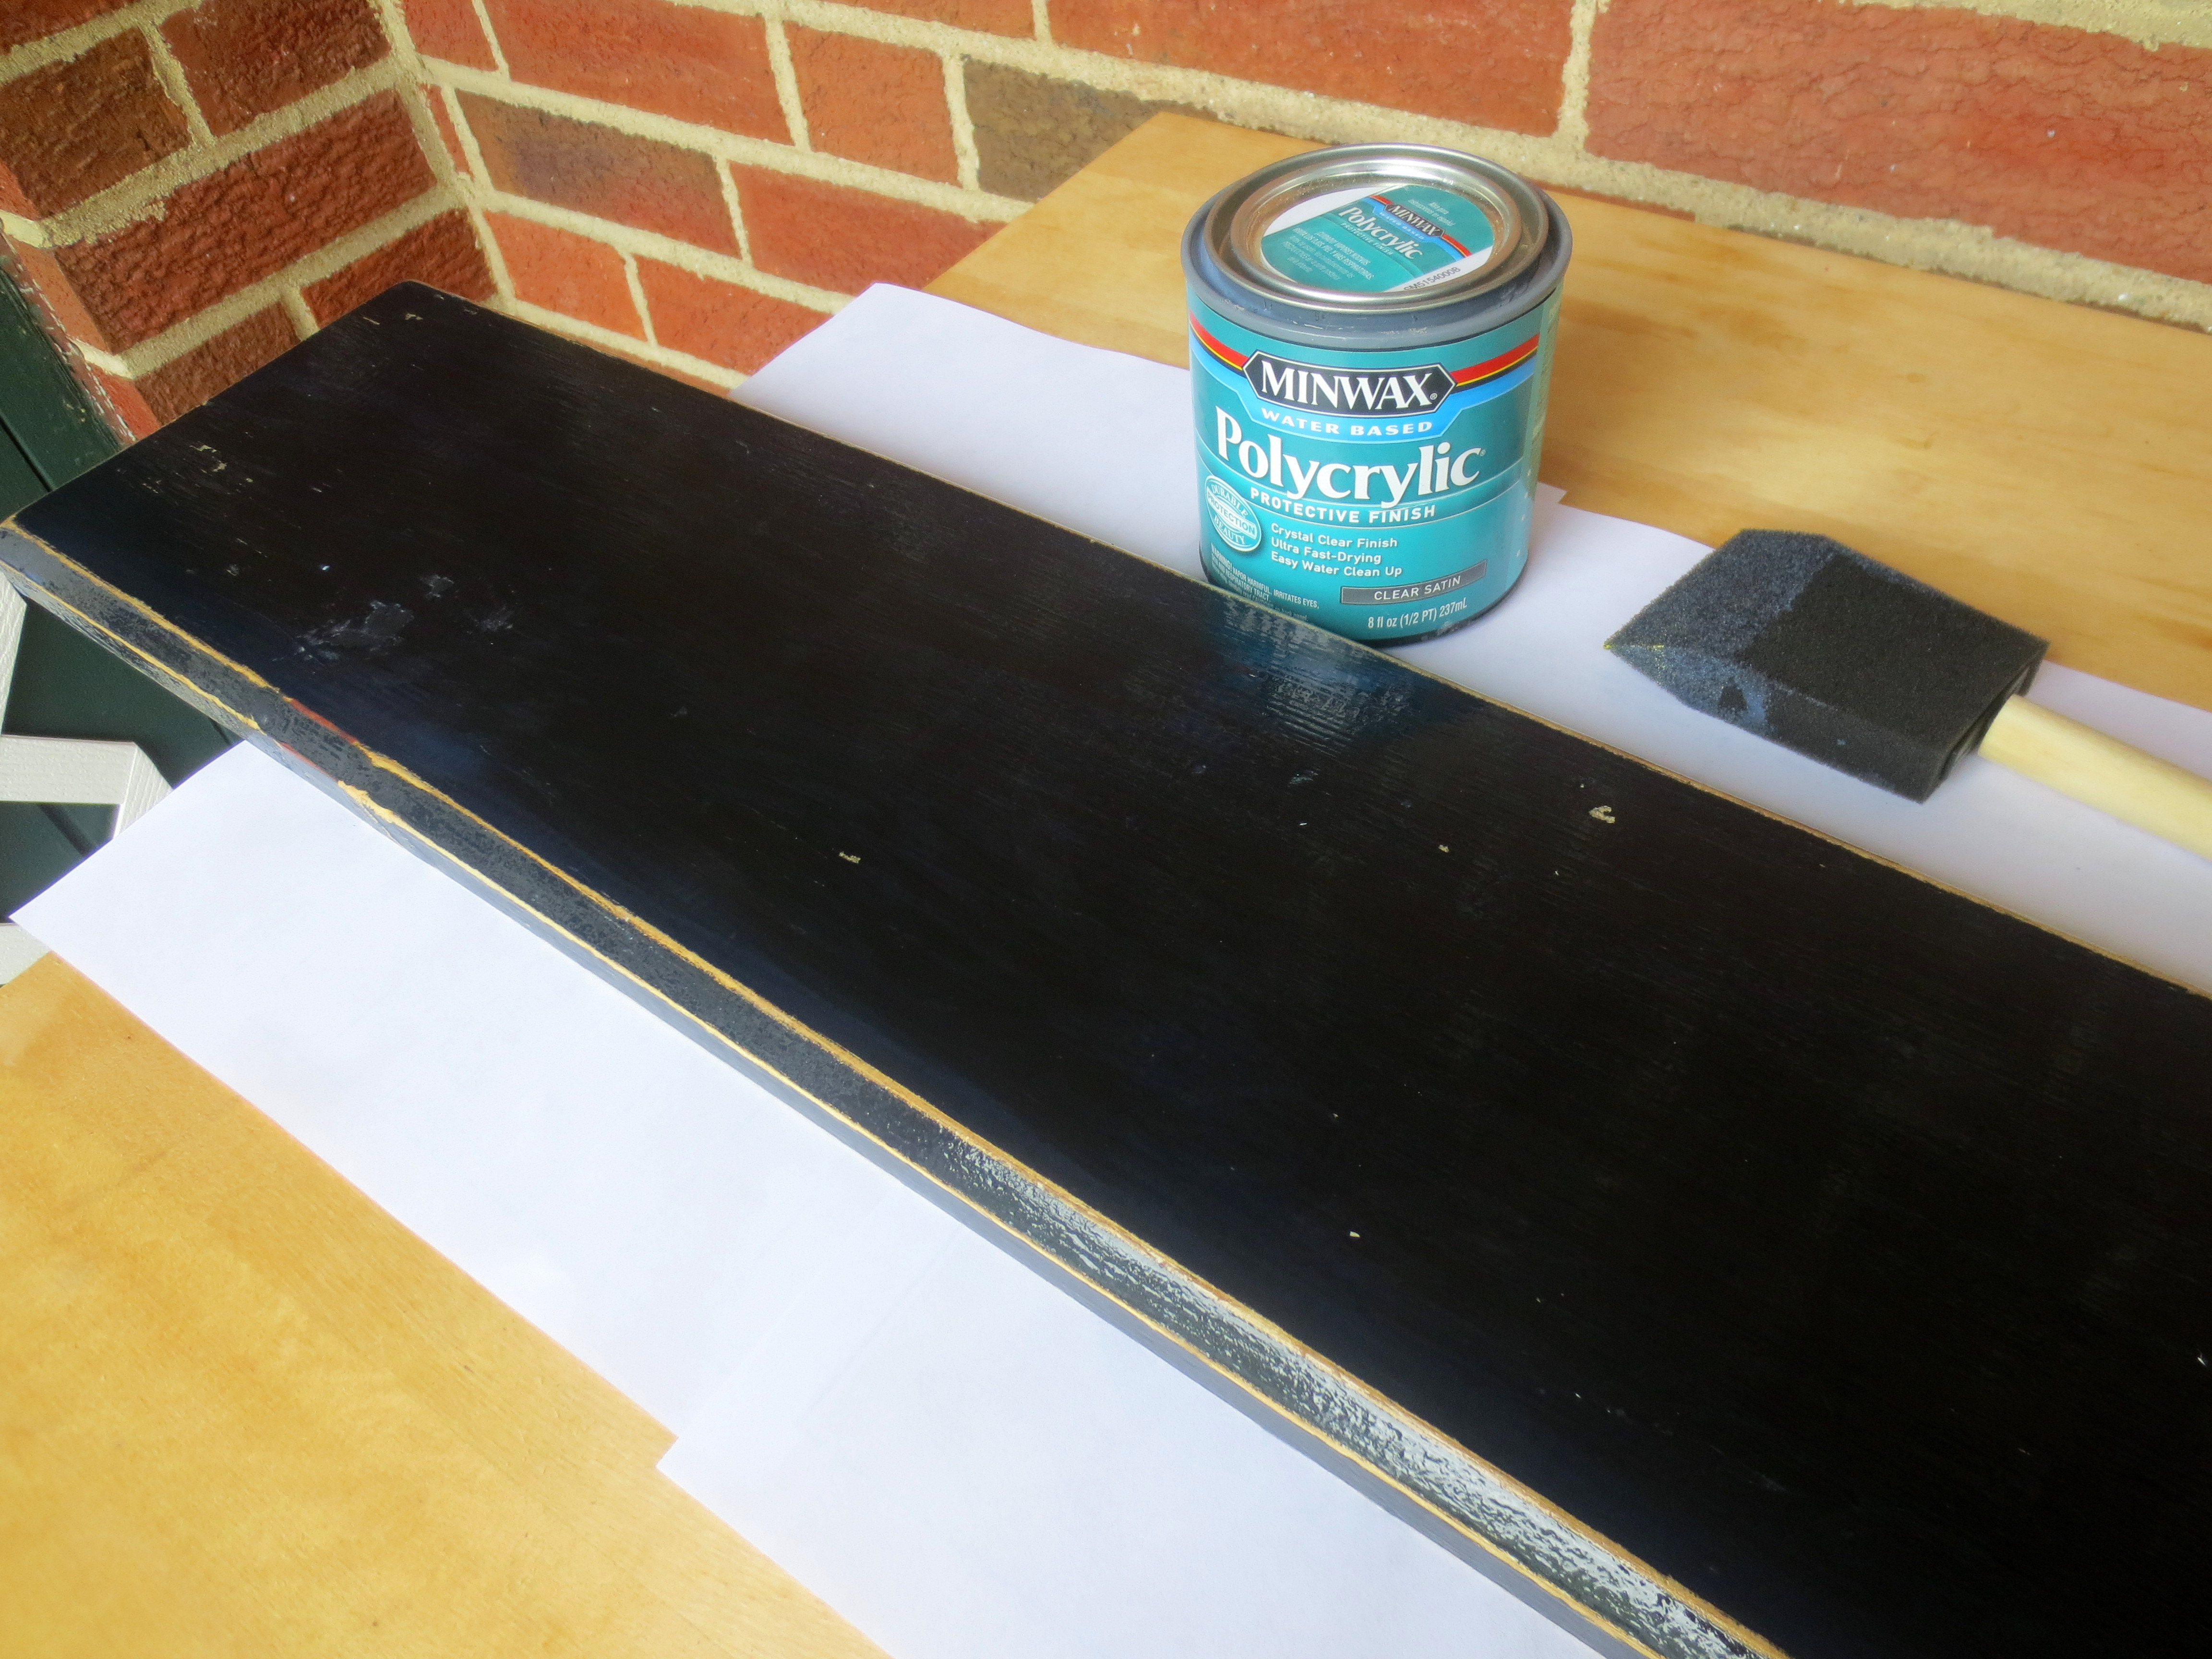
The three prong forks (thorks?) and spoons were given to me in a random box of utensils from the mother-in-law when were were first married, and the wood is from an old sign that had vinyl lettering on it. I peeled the vinyl off, sanded the board a little bit, and coated it with a clear protective coat.
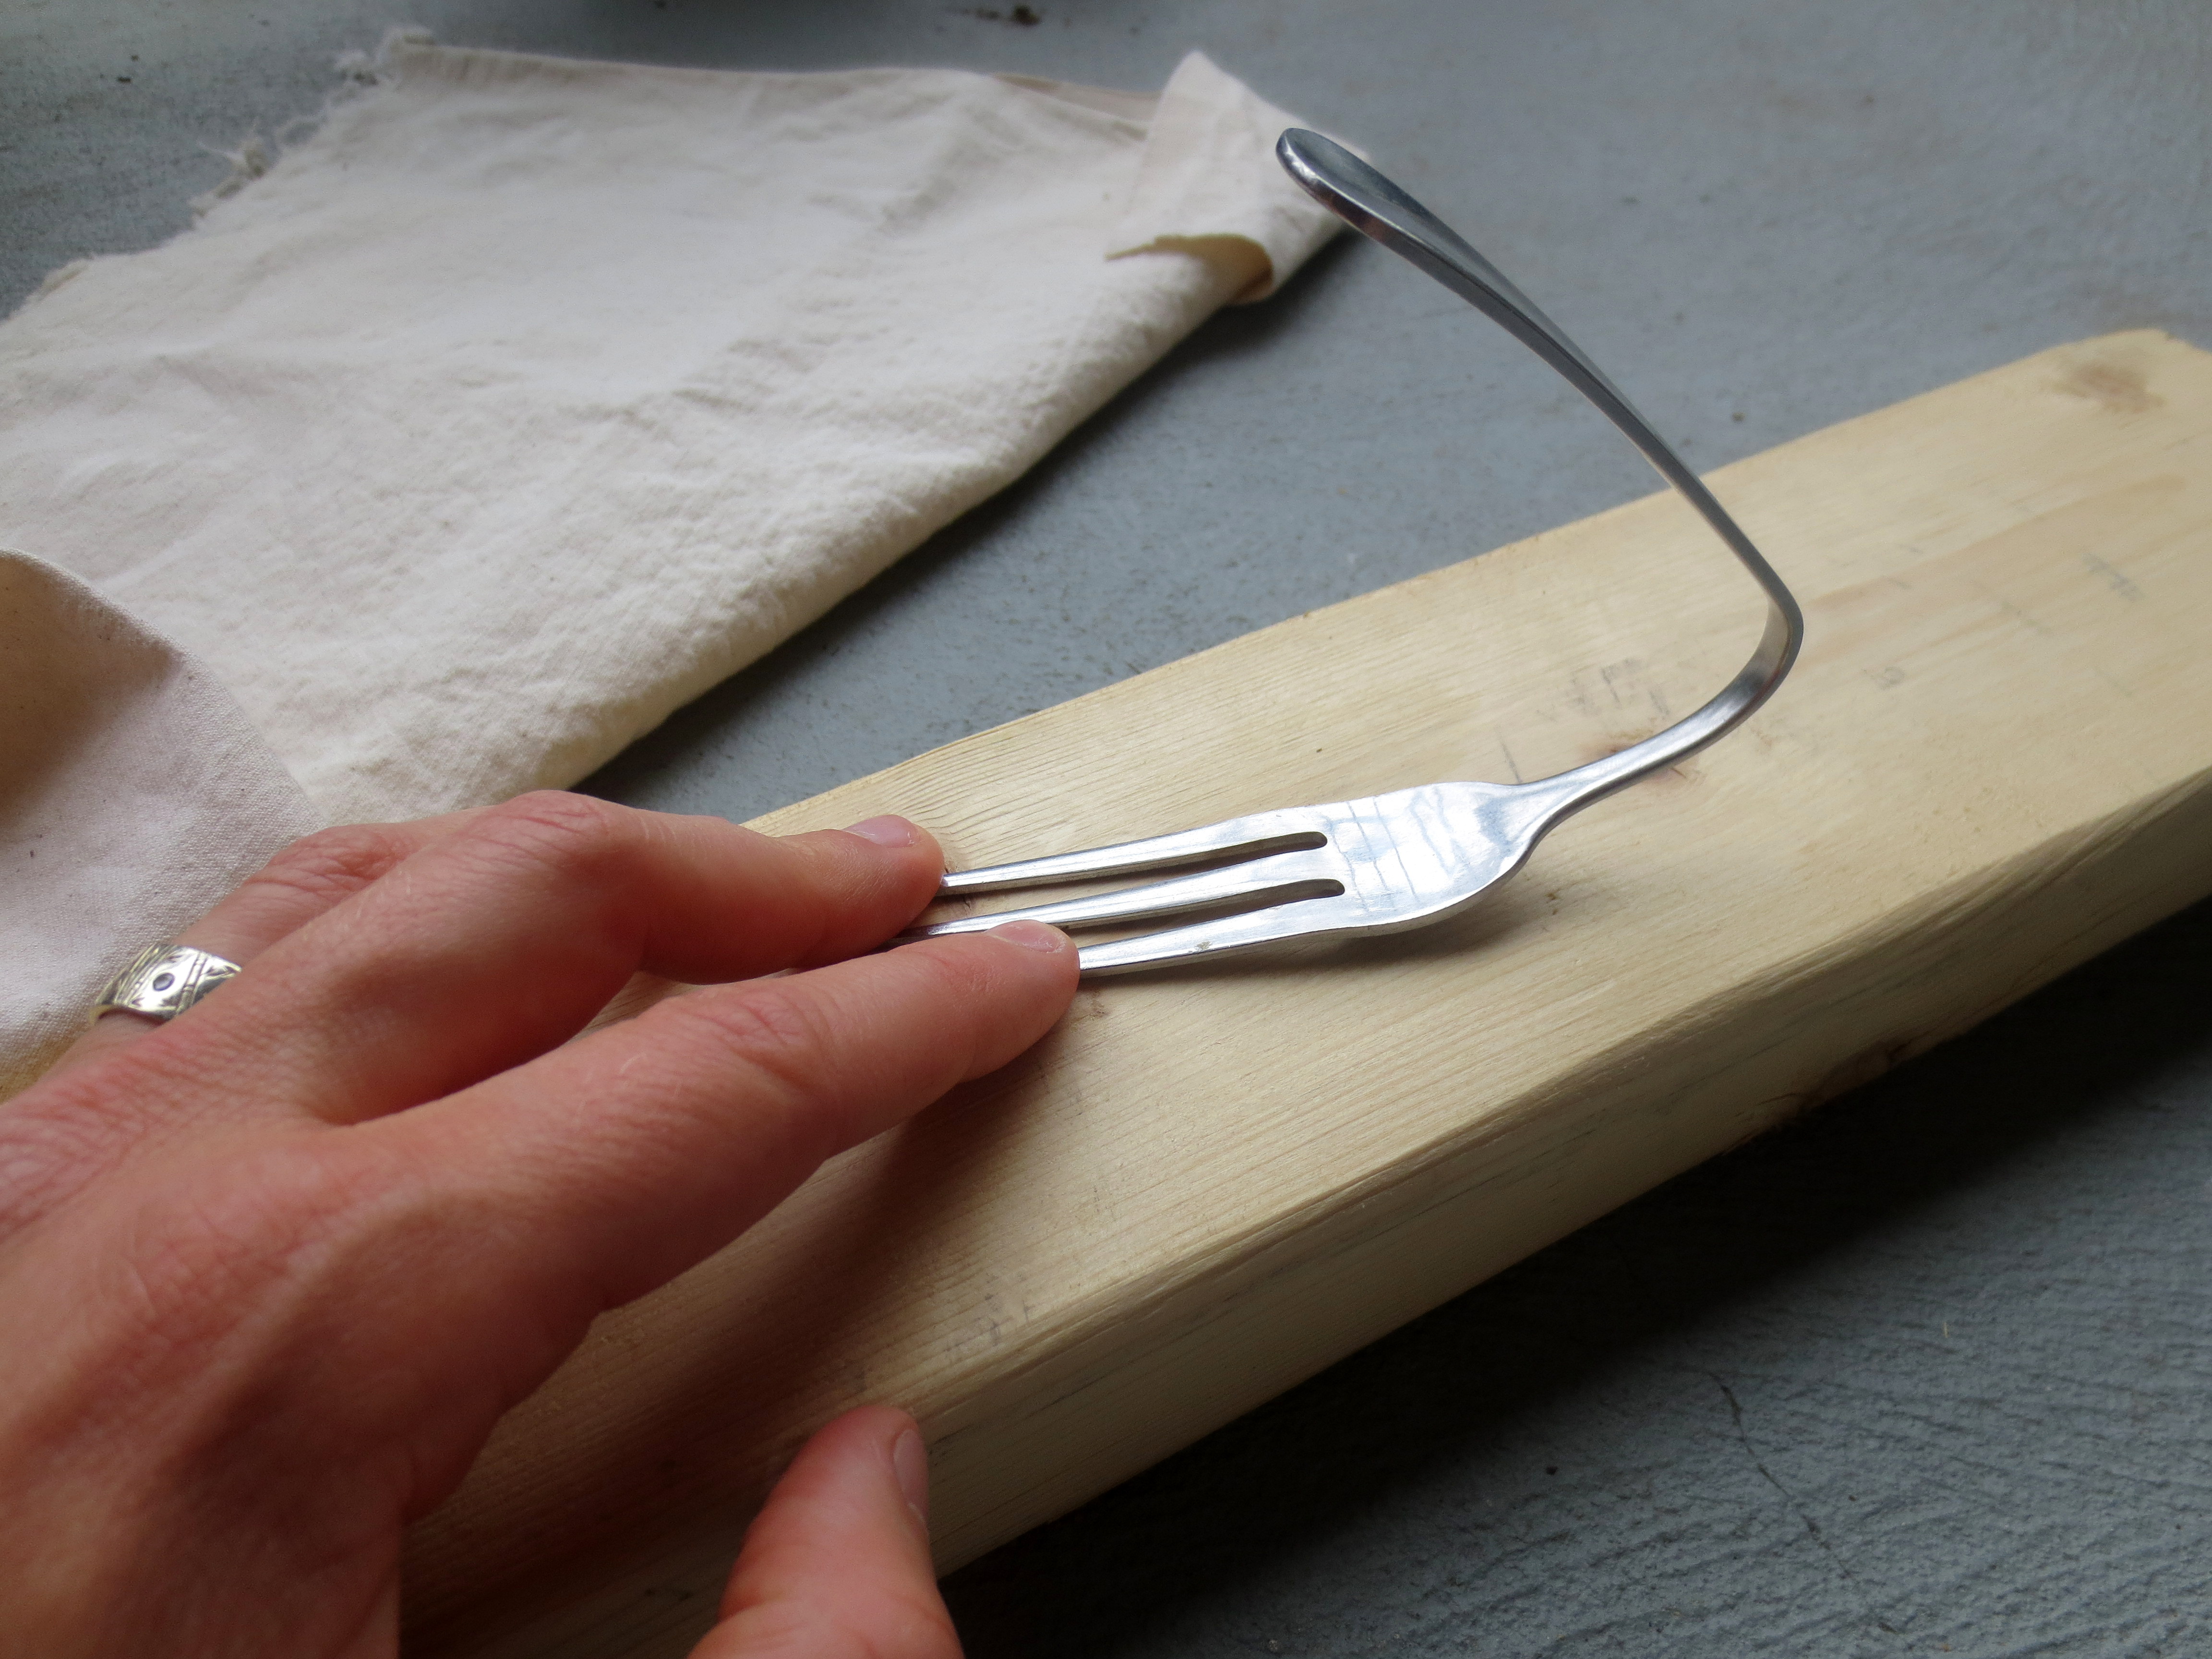
Then I got to work pounding. I used a scrap piece of wood to place under the utensils and a thick piece of fabric to place over them so that I didn’t scratch them up with the hammer.

I wanted the thorks and spoons (thoons?) to be fairly flat. When choosing utensils to use for this project, I made sure they were easy to bend by hand. That made the pounding much easier.

I knew that I didn’t want the spoons to be completely flat, so I just pounded the center and handle (from the front and back) a bit until I liked the look.
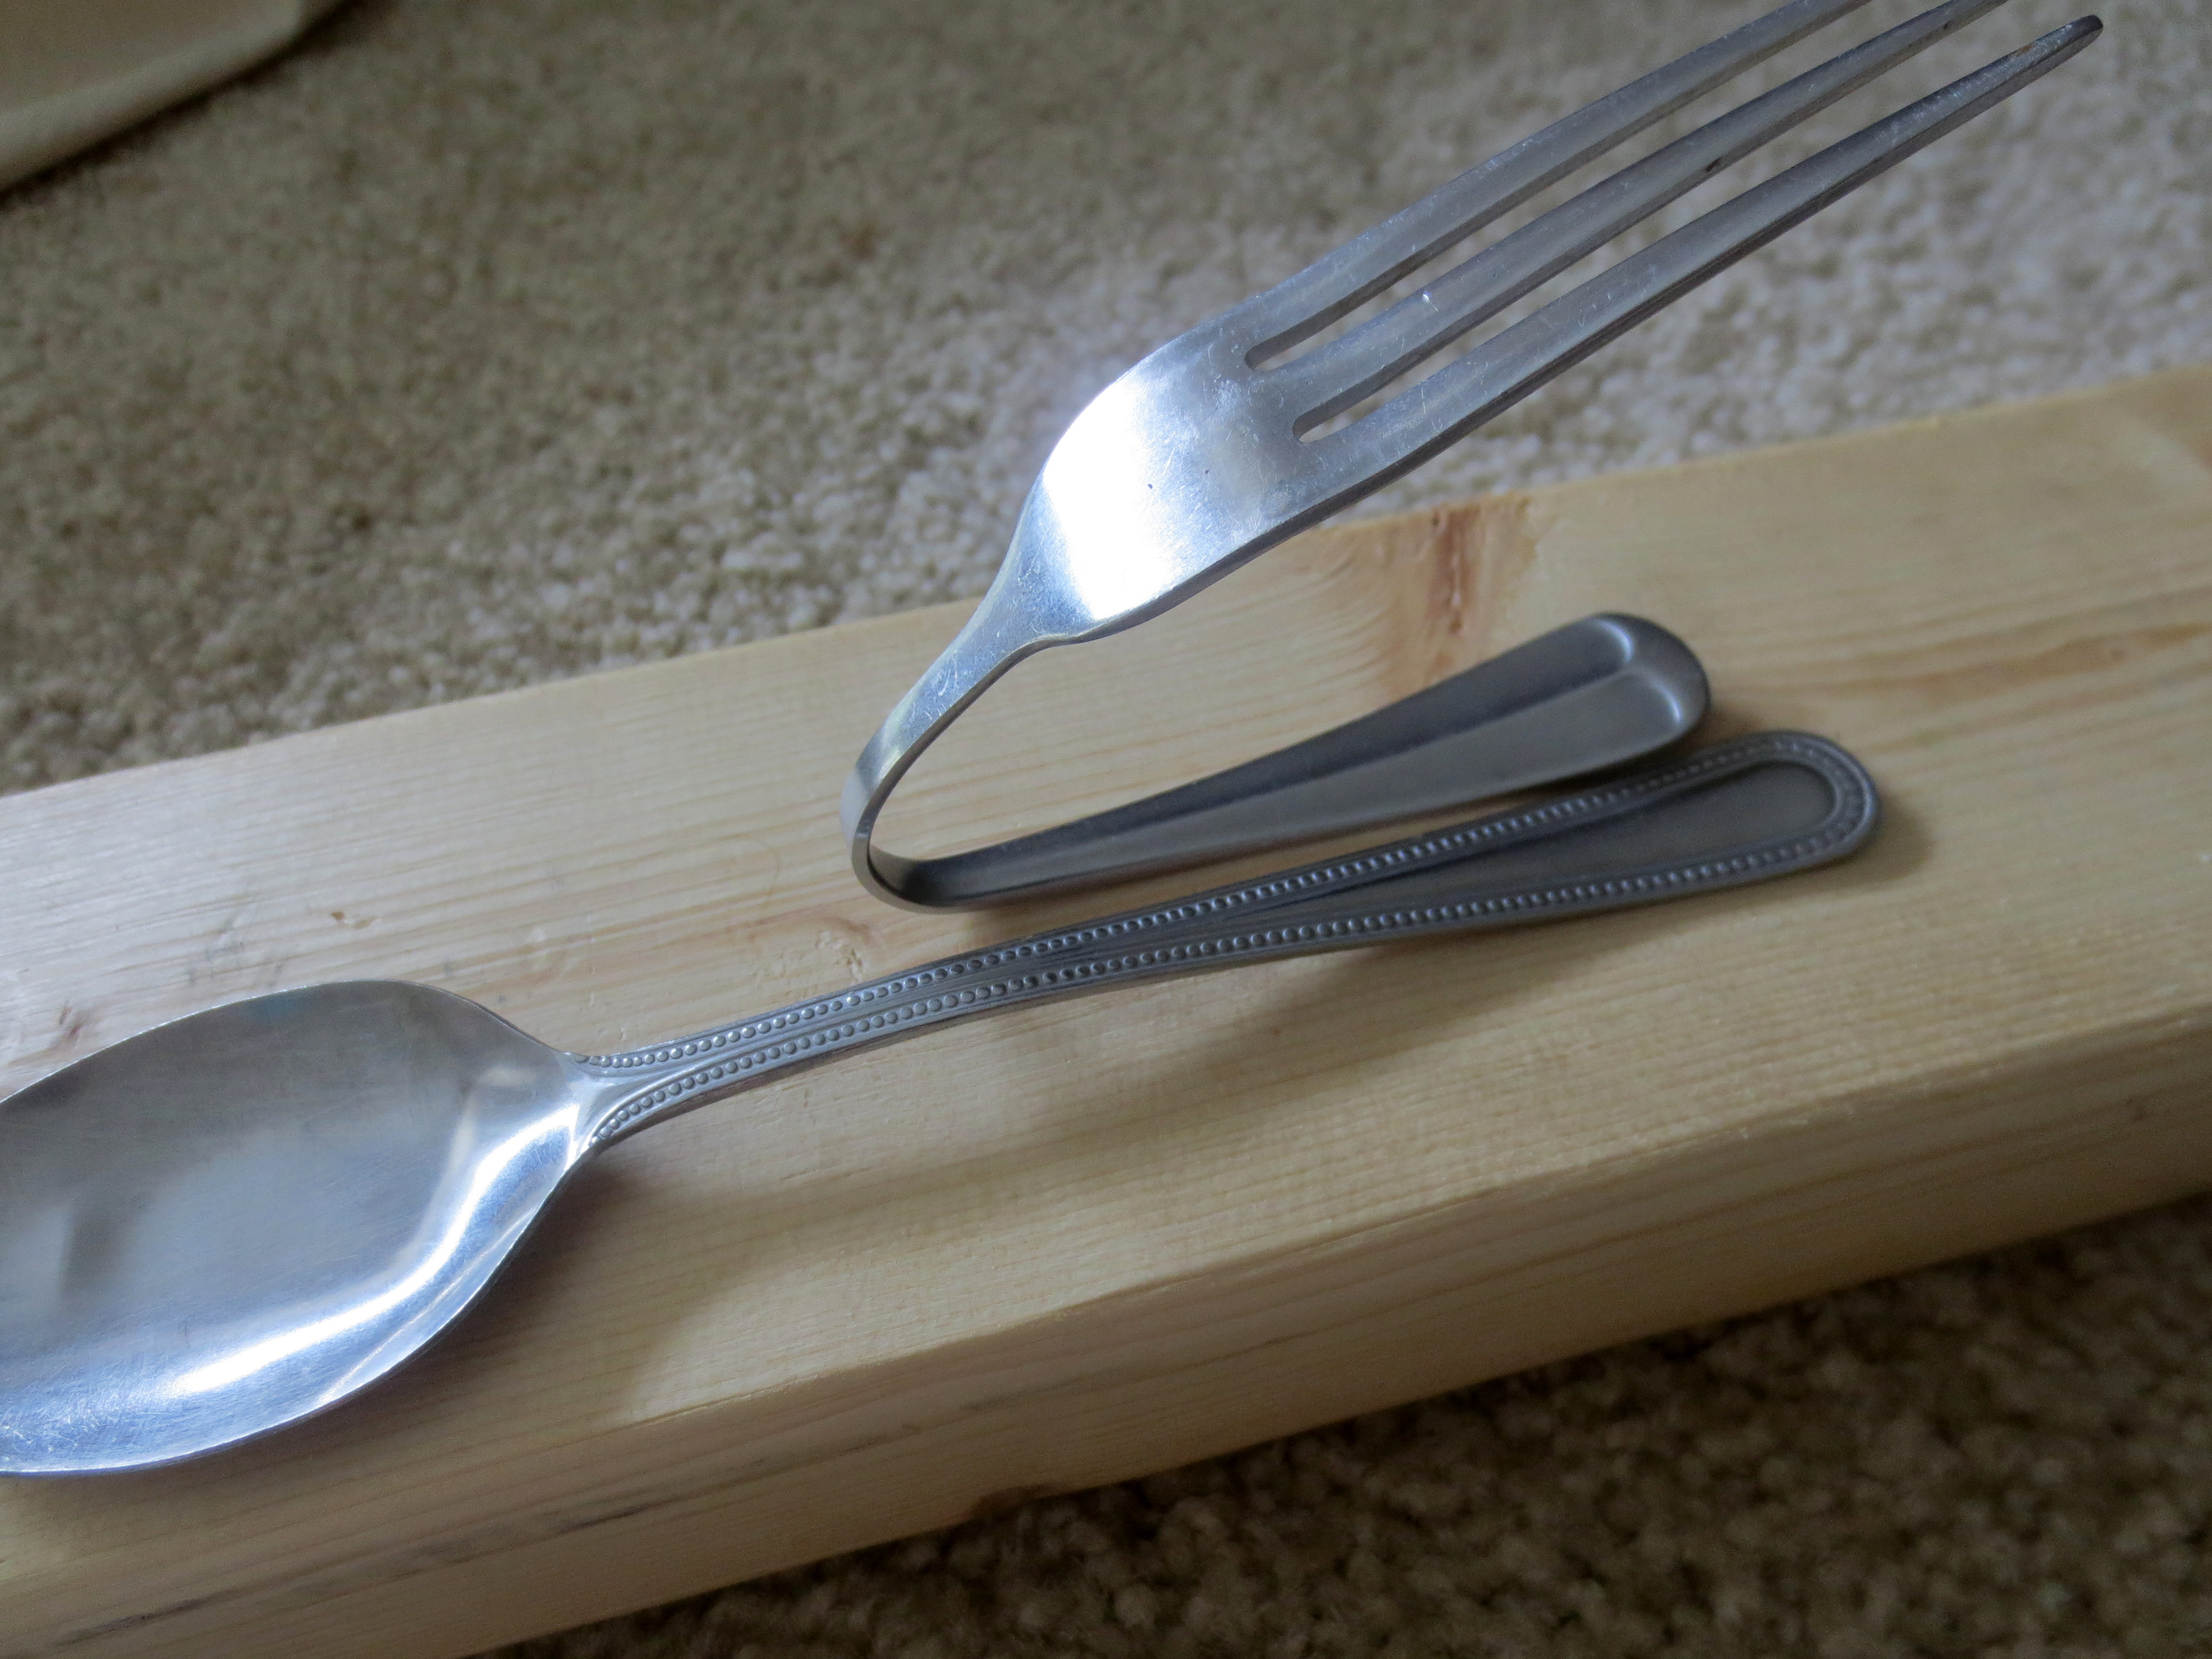
Next, I bent the handle of the fork up with my hands.
Then I lined up the bottom of the spoon handle with the bottom of the fork handle and bent the spoon at the same spot as the fork.
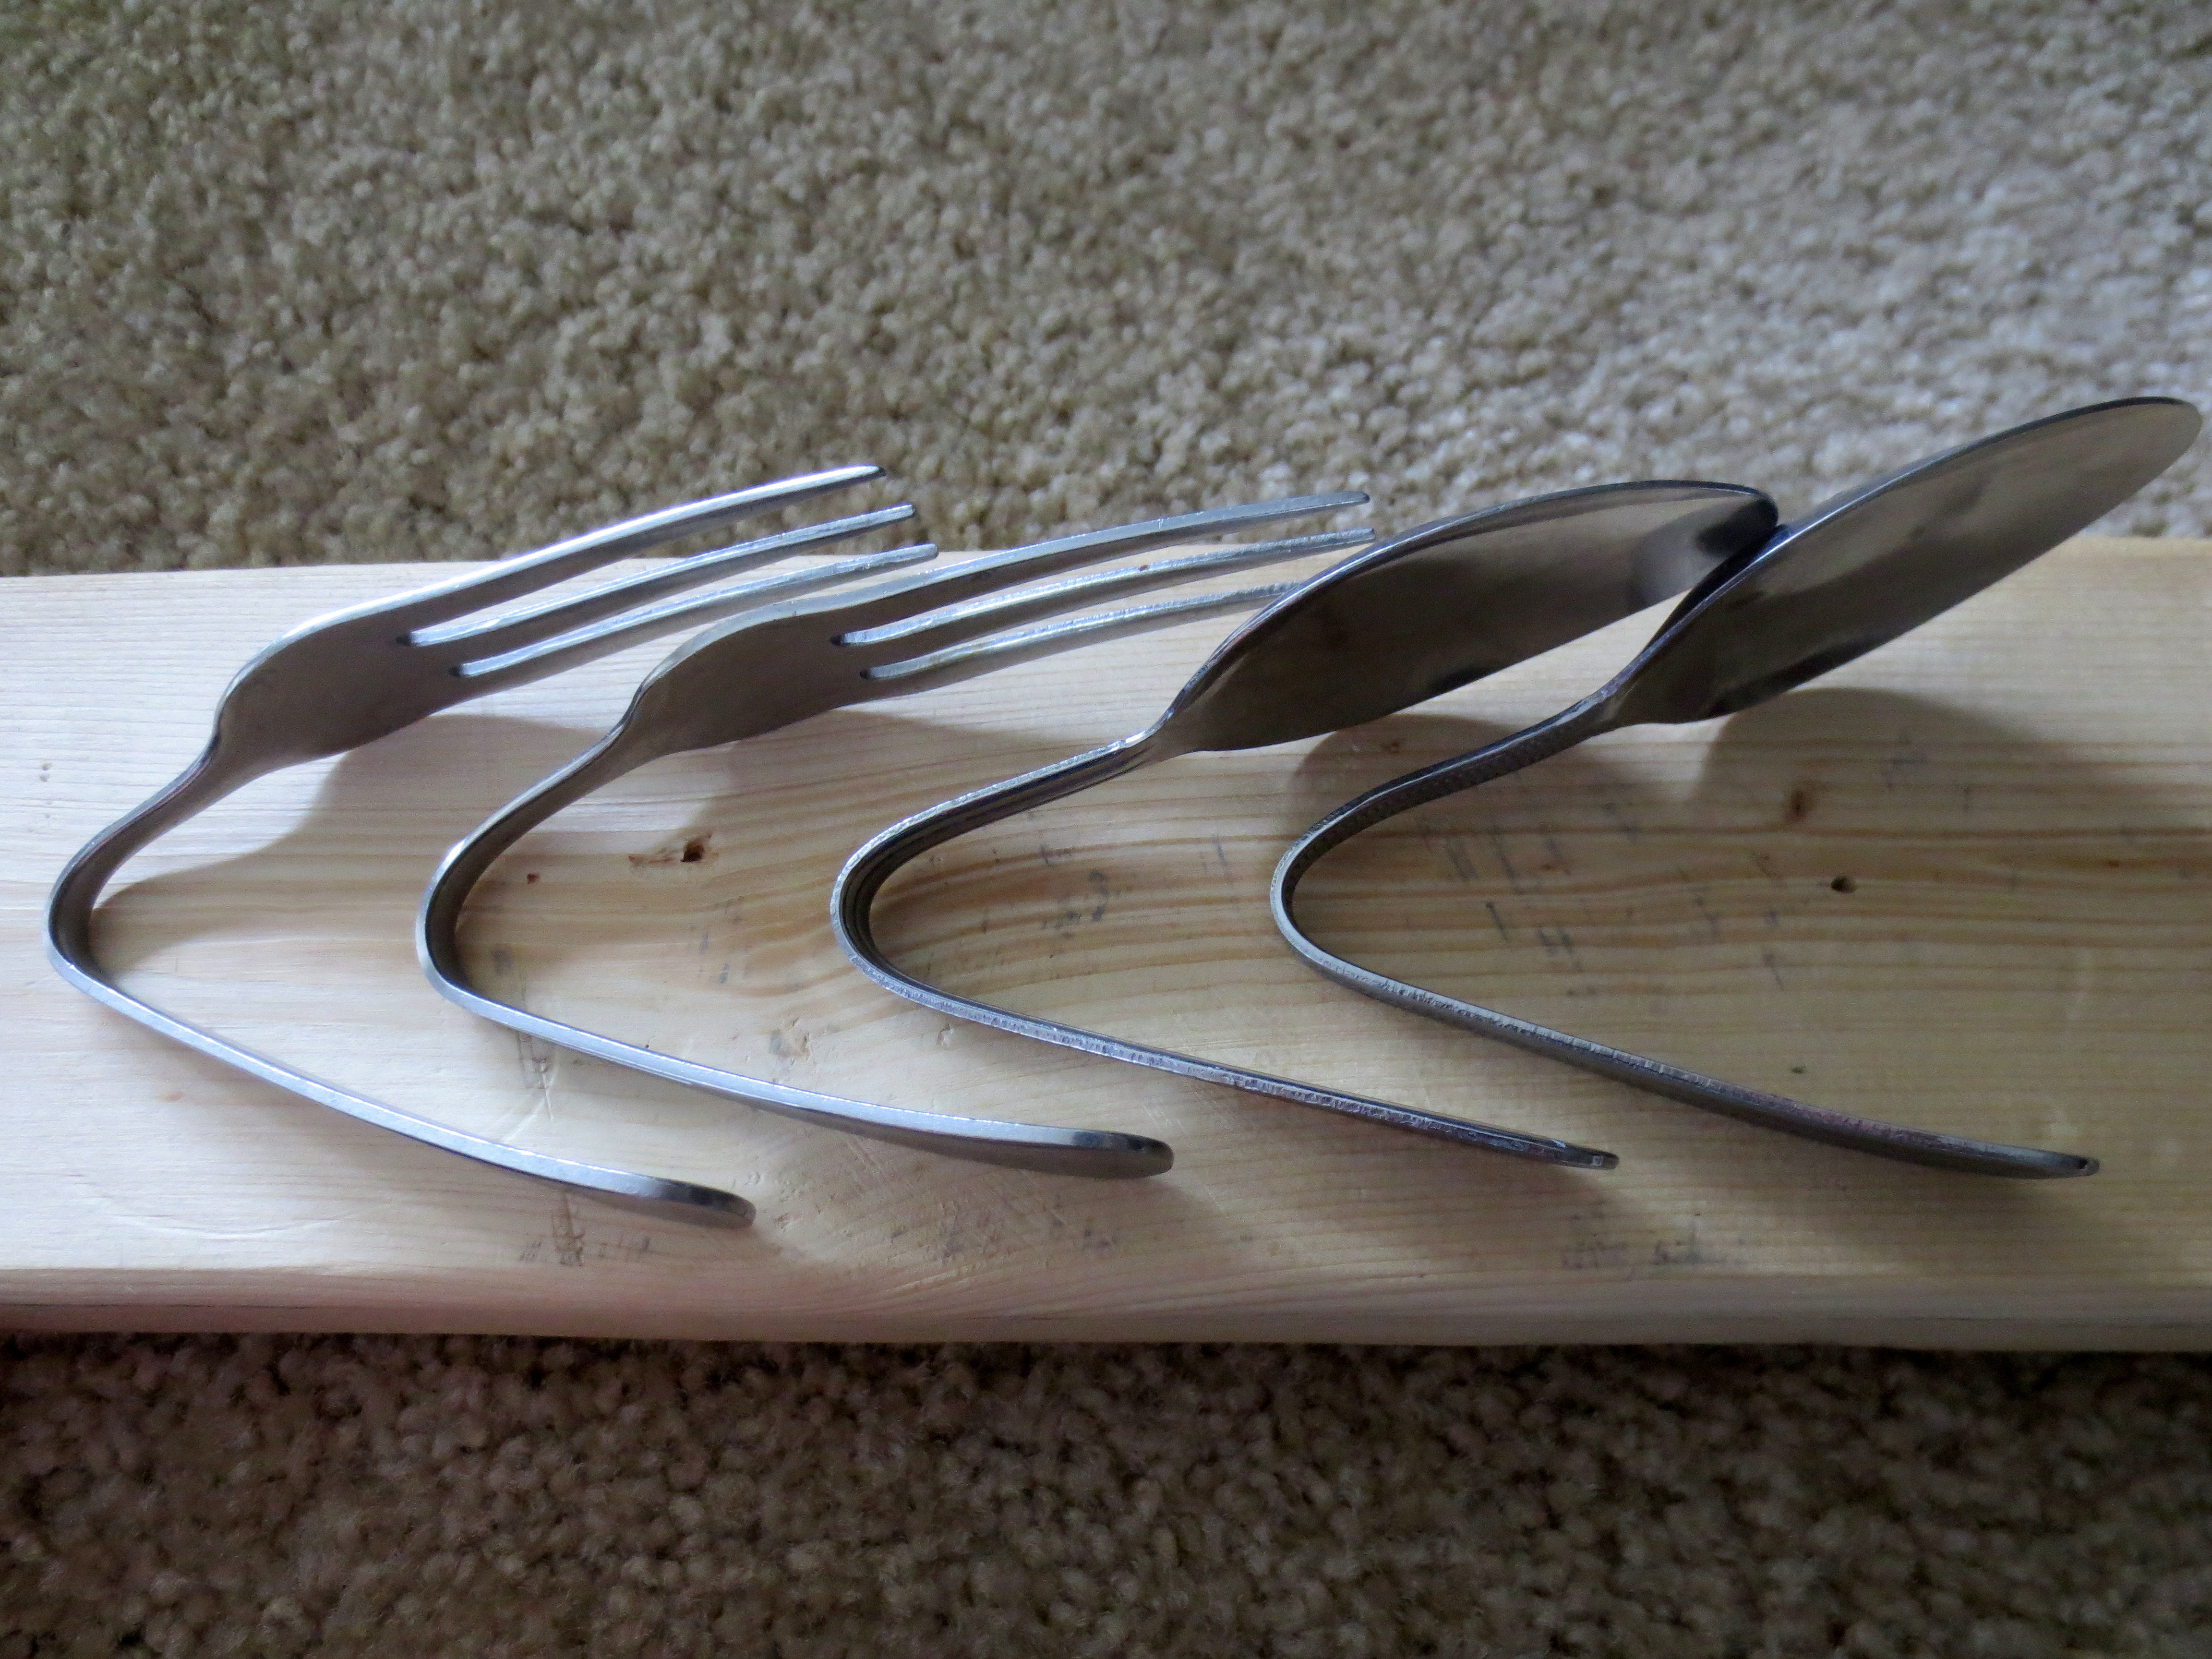
And I did this four times….obviously.
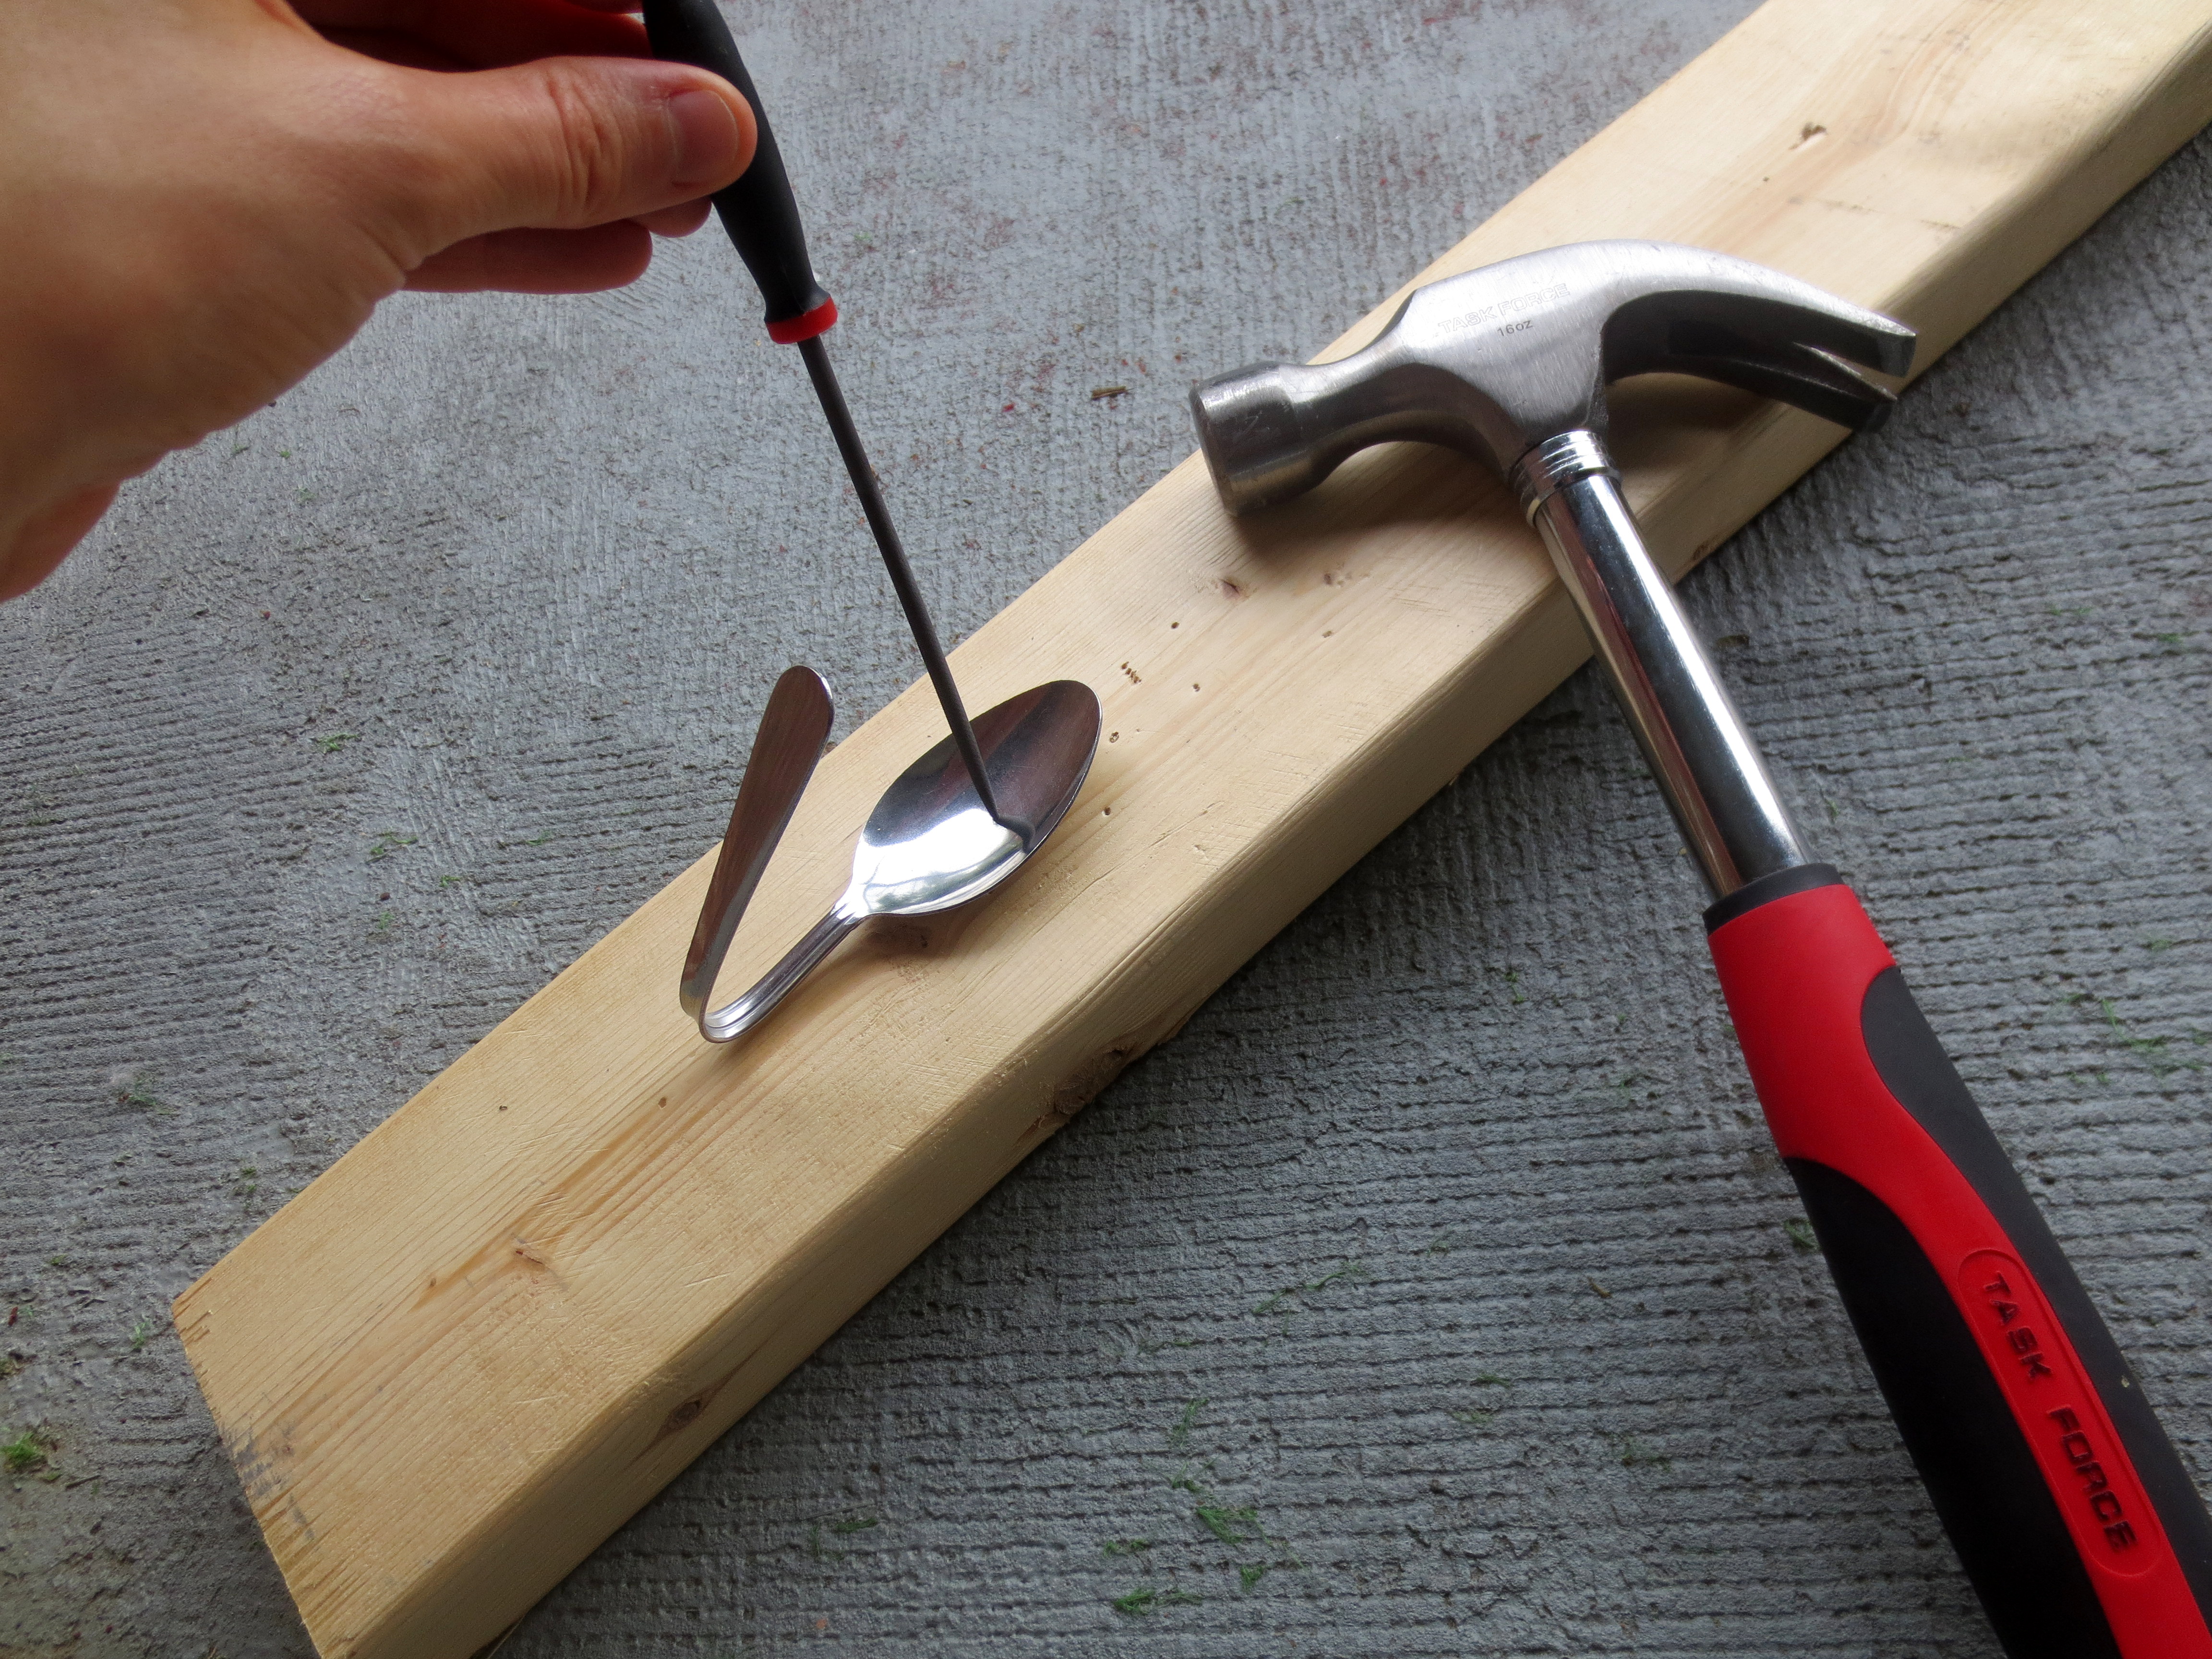
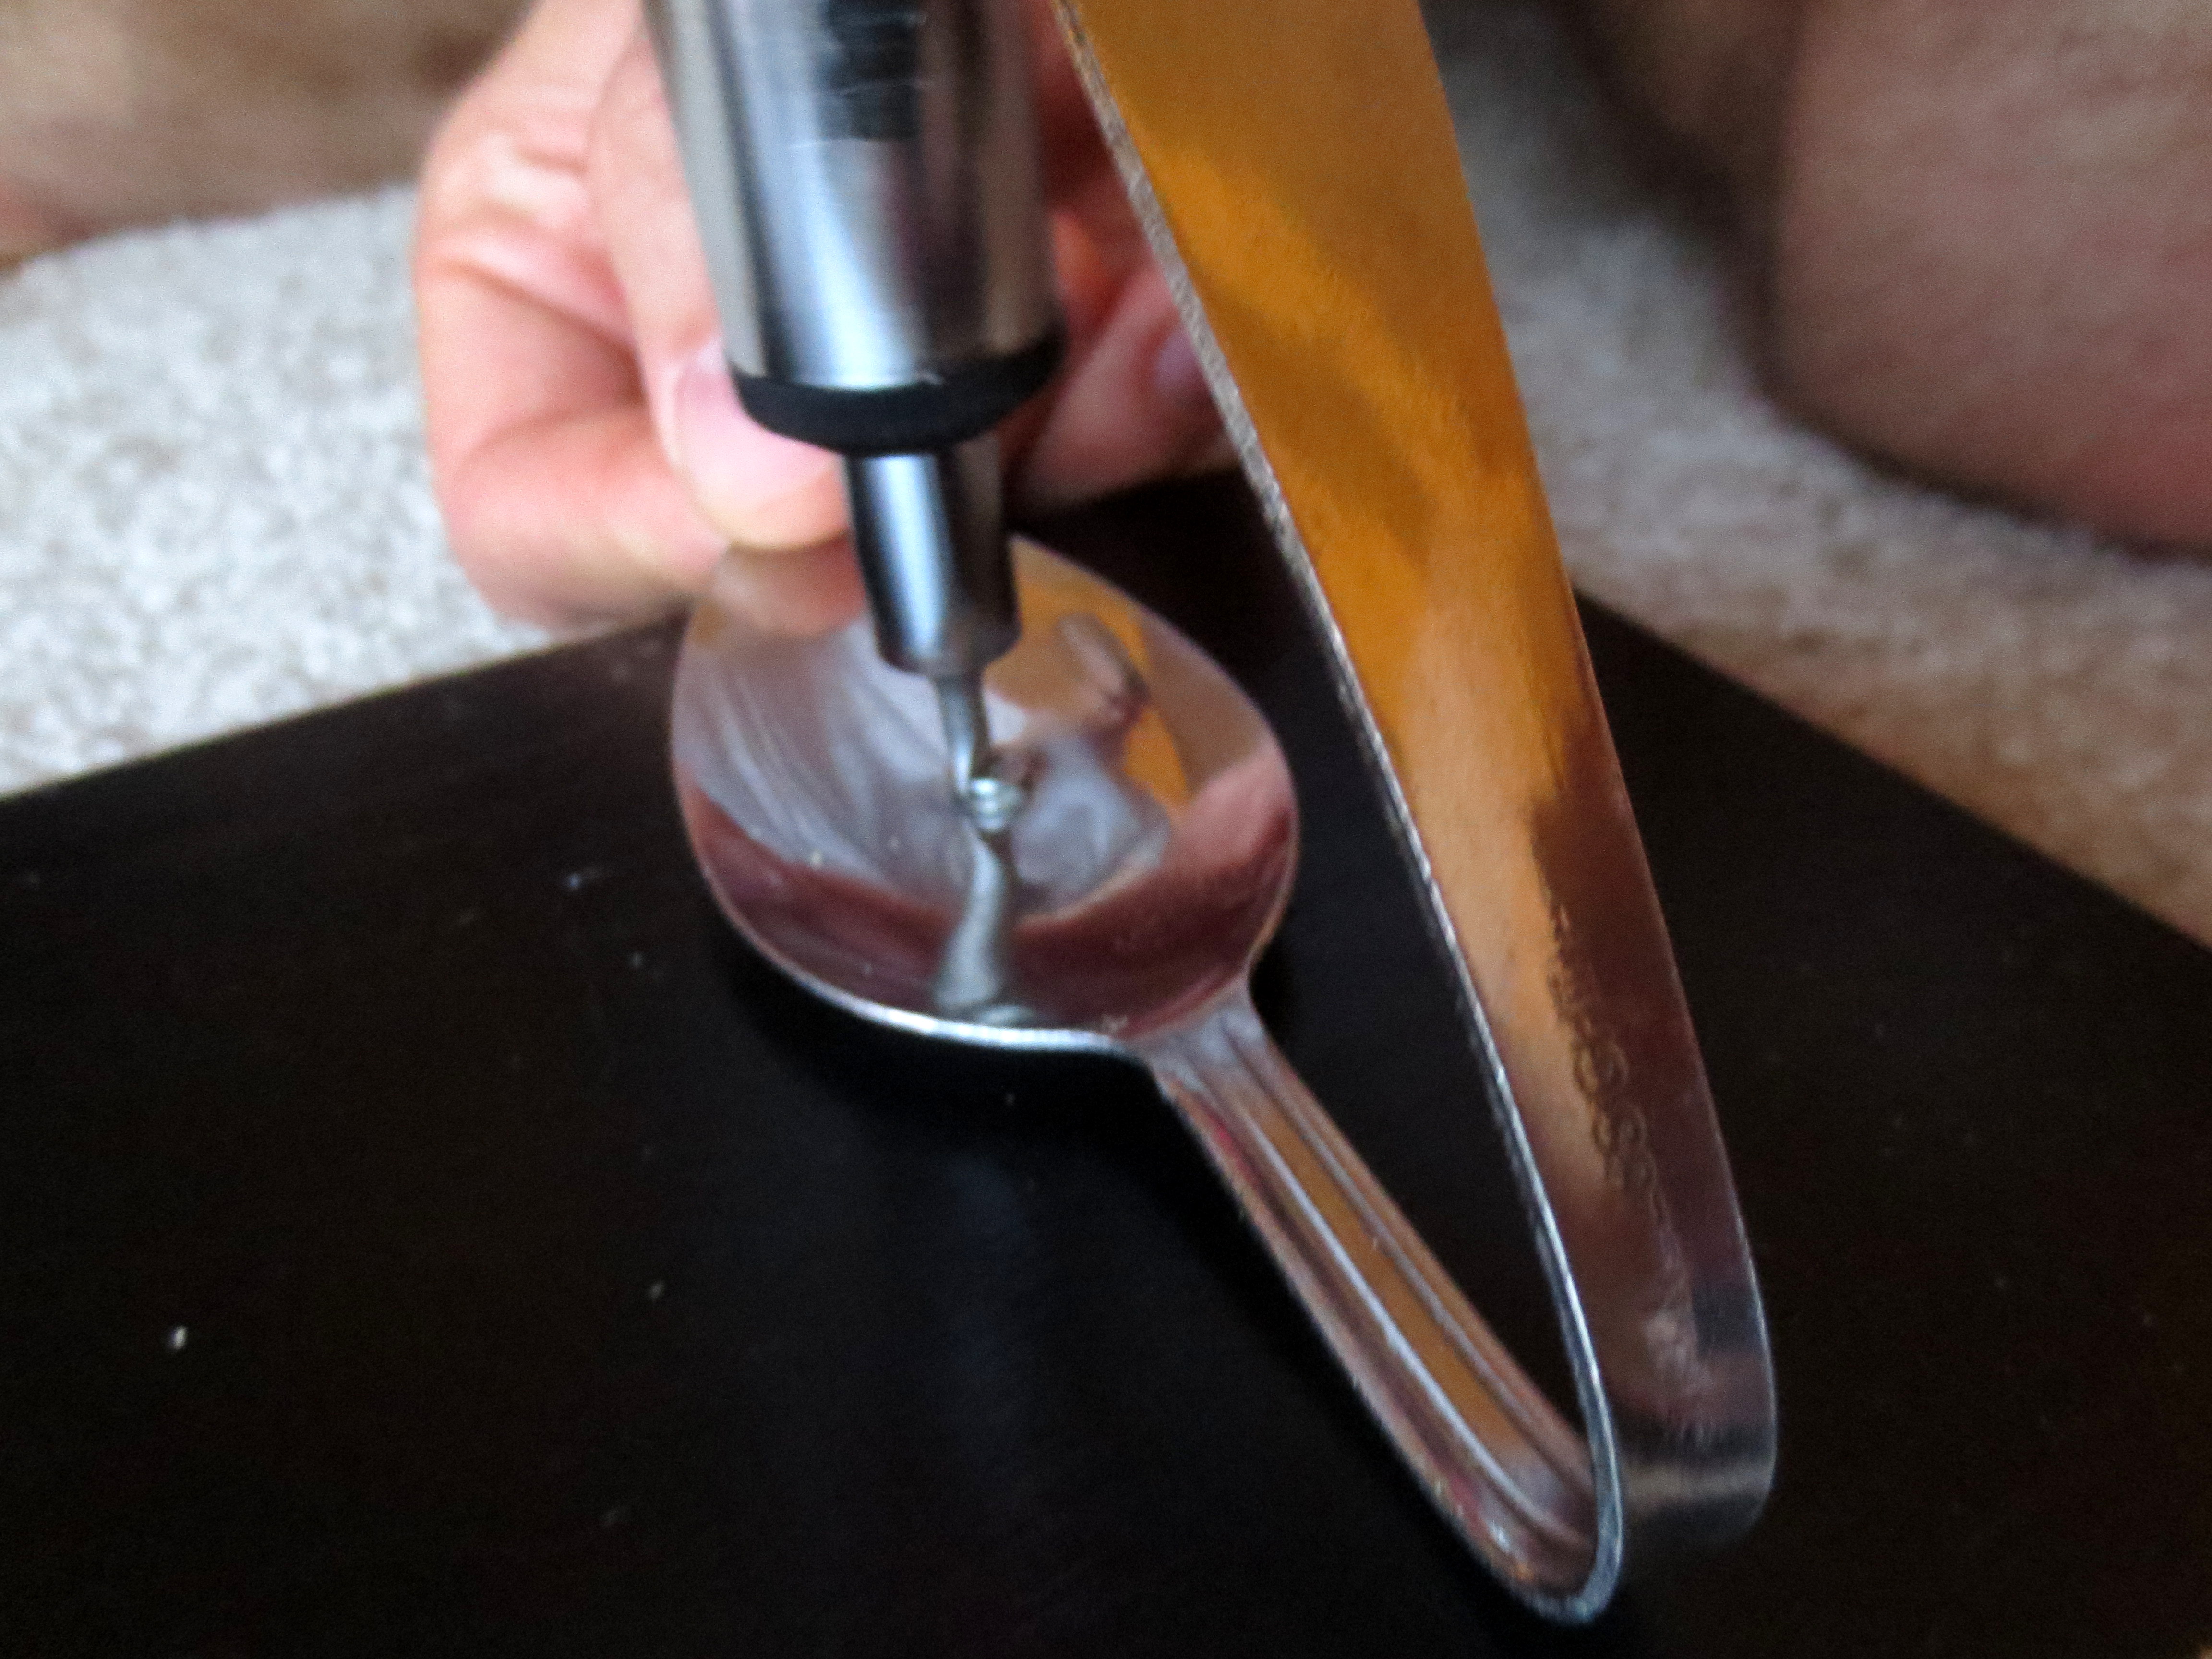
Next, I took an awl and pounded into the middle of the spoon to create a hole for the screw to go through. It took A LOT of pounding to make the hole big enough for the screw to slide through. If you are looking for an easier project, just use forks. You can slide the screw right into the gap between the prongs…no pounding holes in metal!
Once I had a hole in each spoon, I spaced the utinsils on the board and marked where the screw holes should go.
Then I drilled a pilot hole.
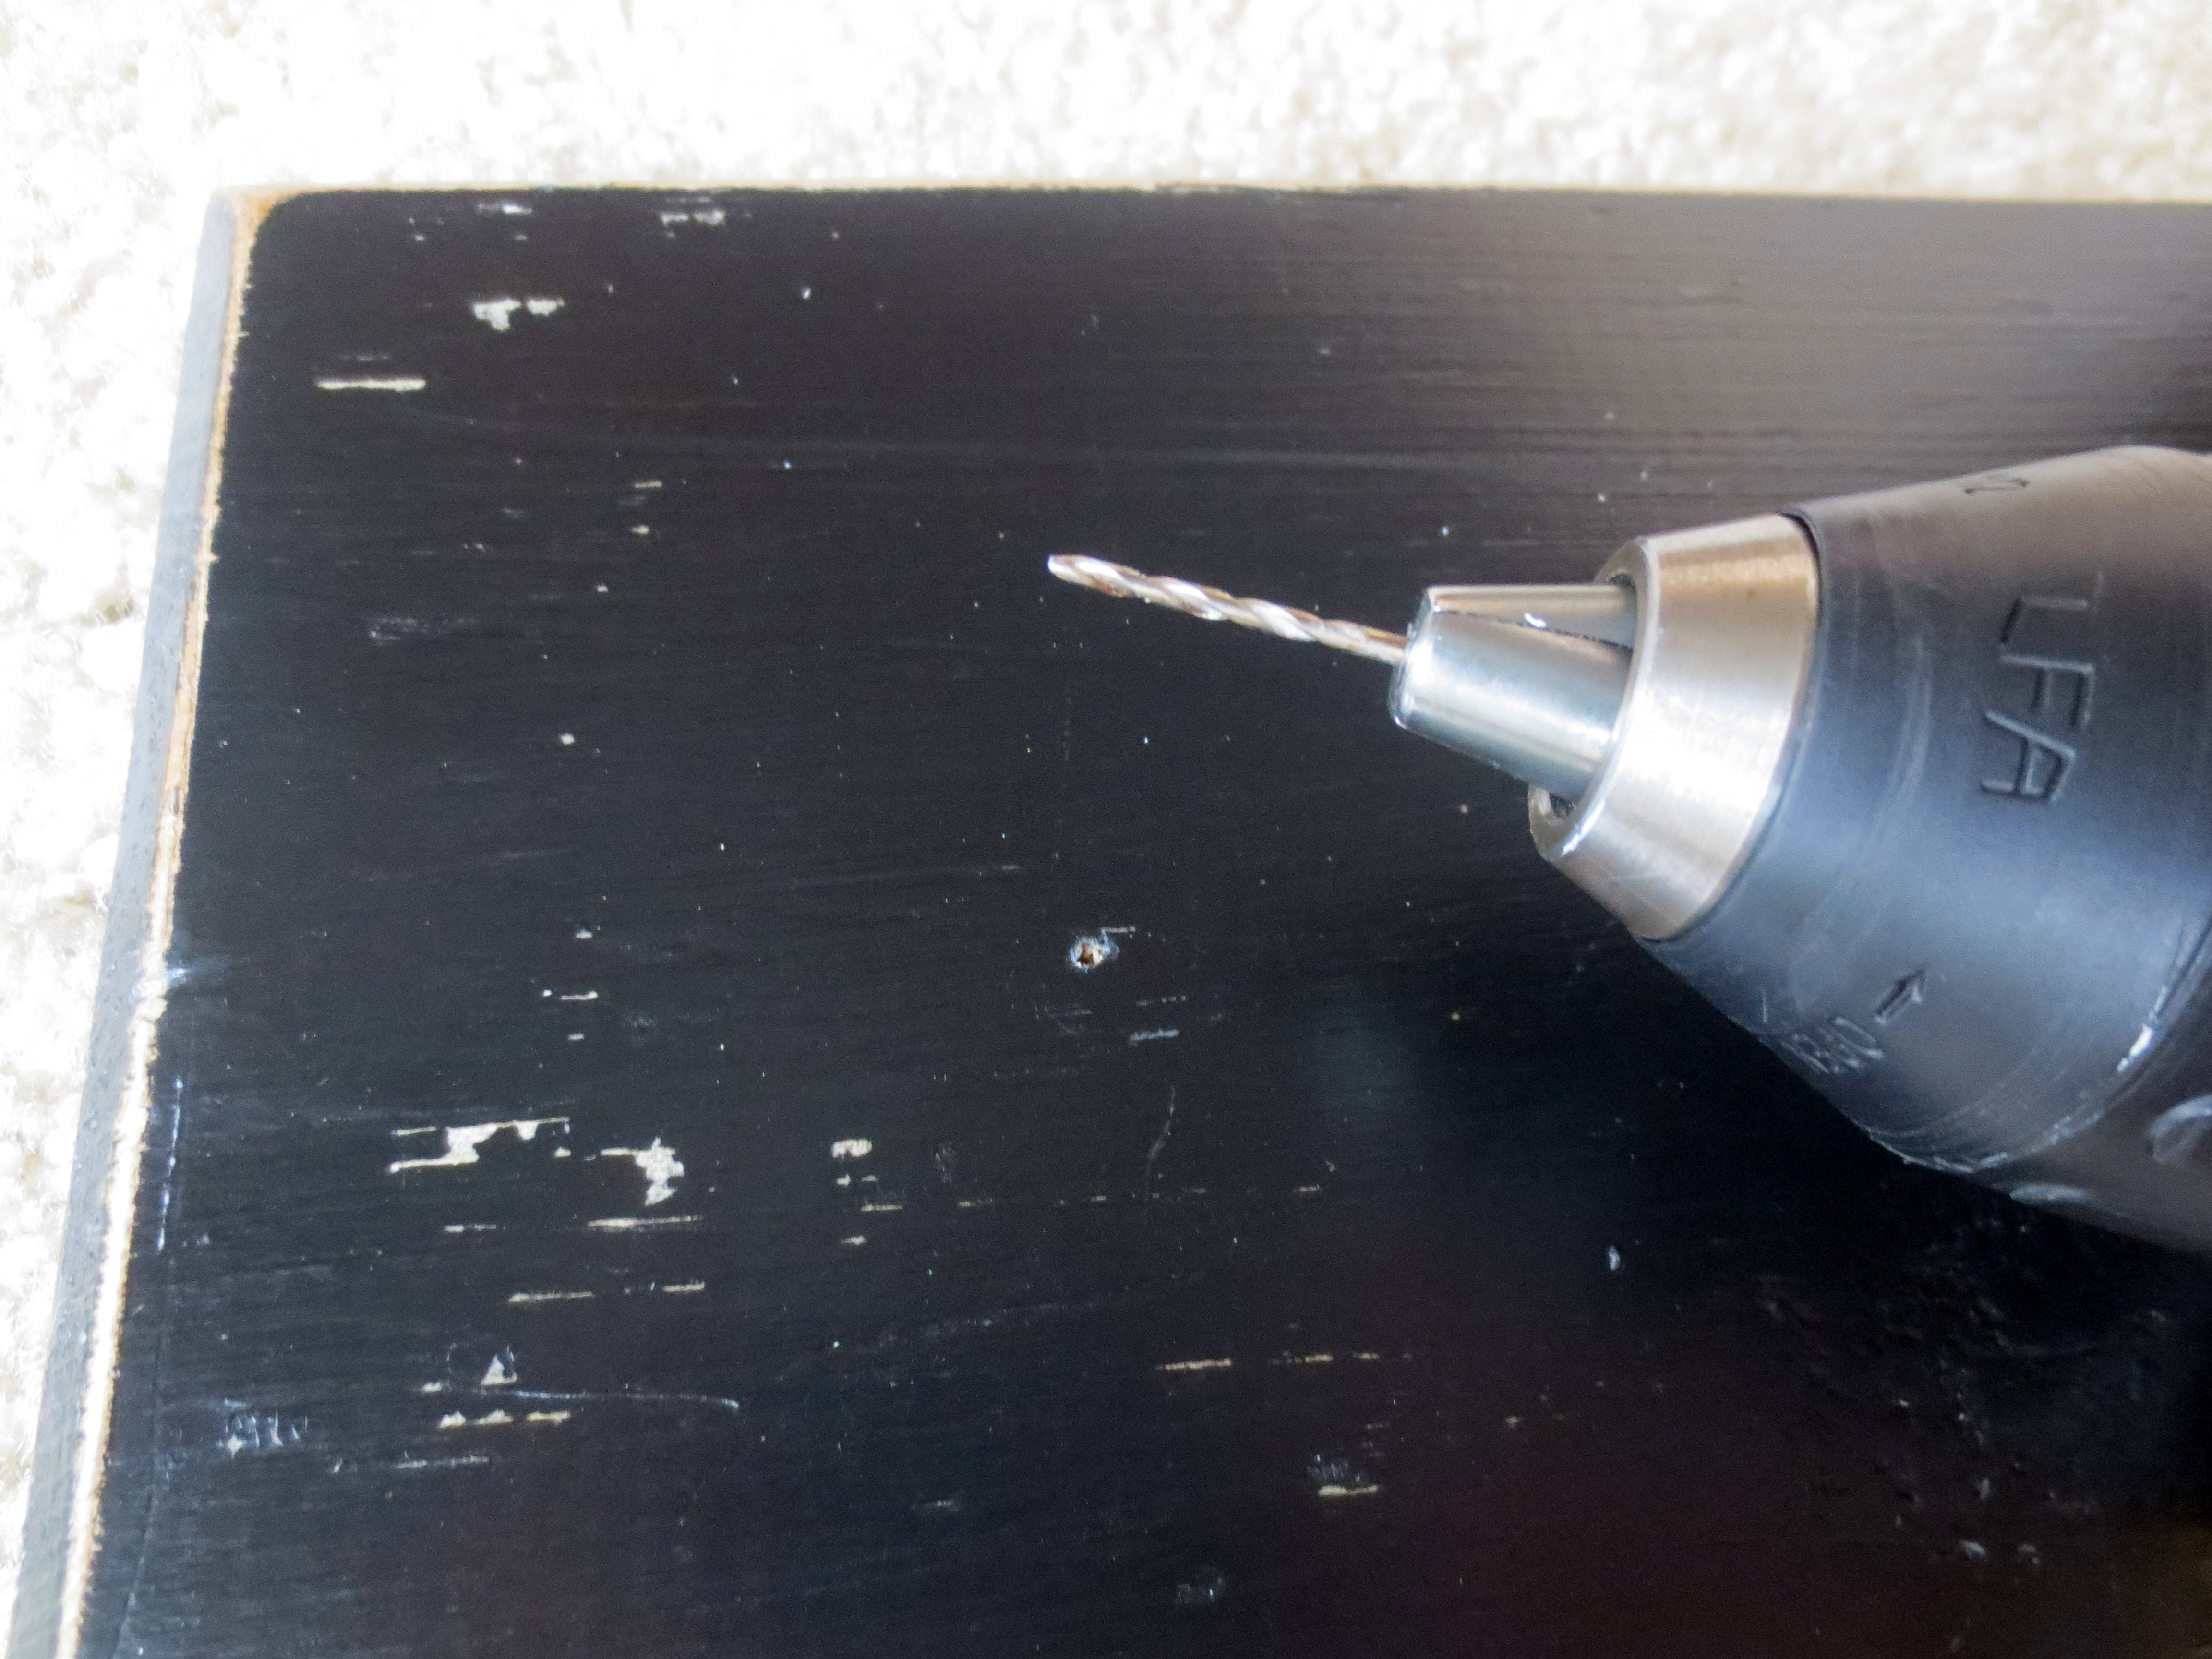
I made sure that my screws wouldn’t poke out of the back of the board….

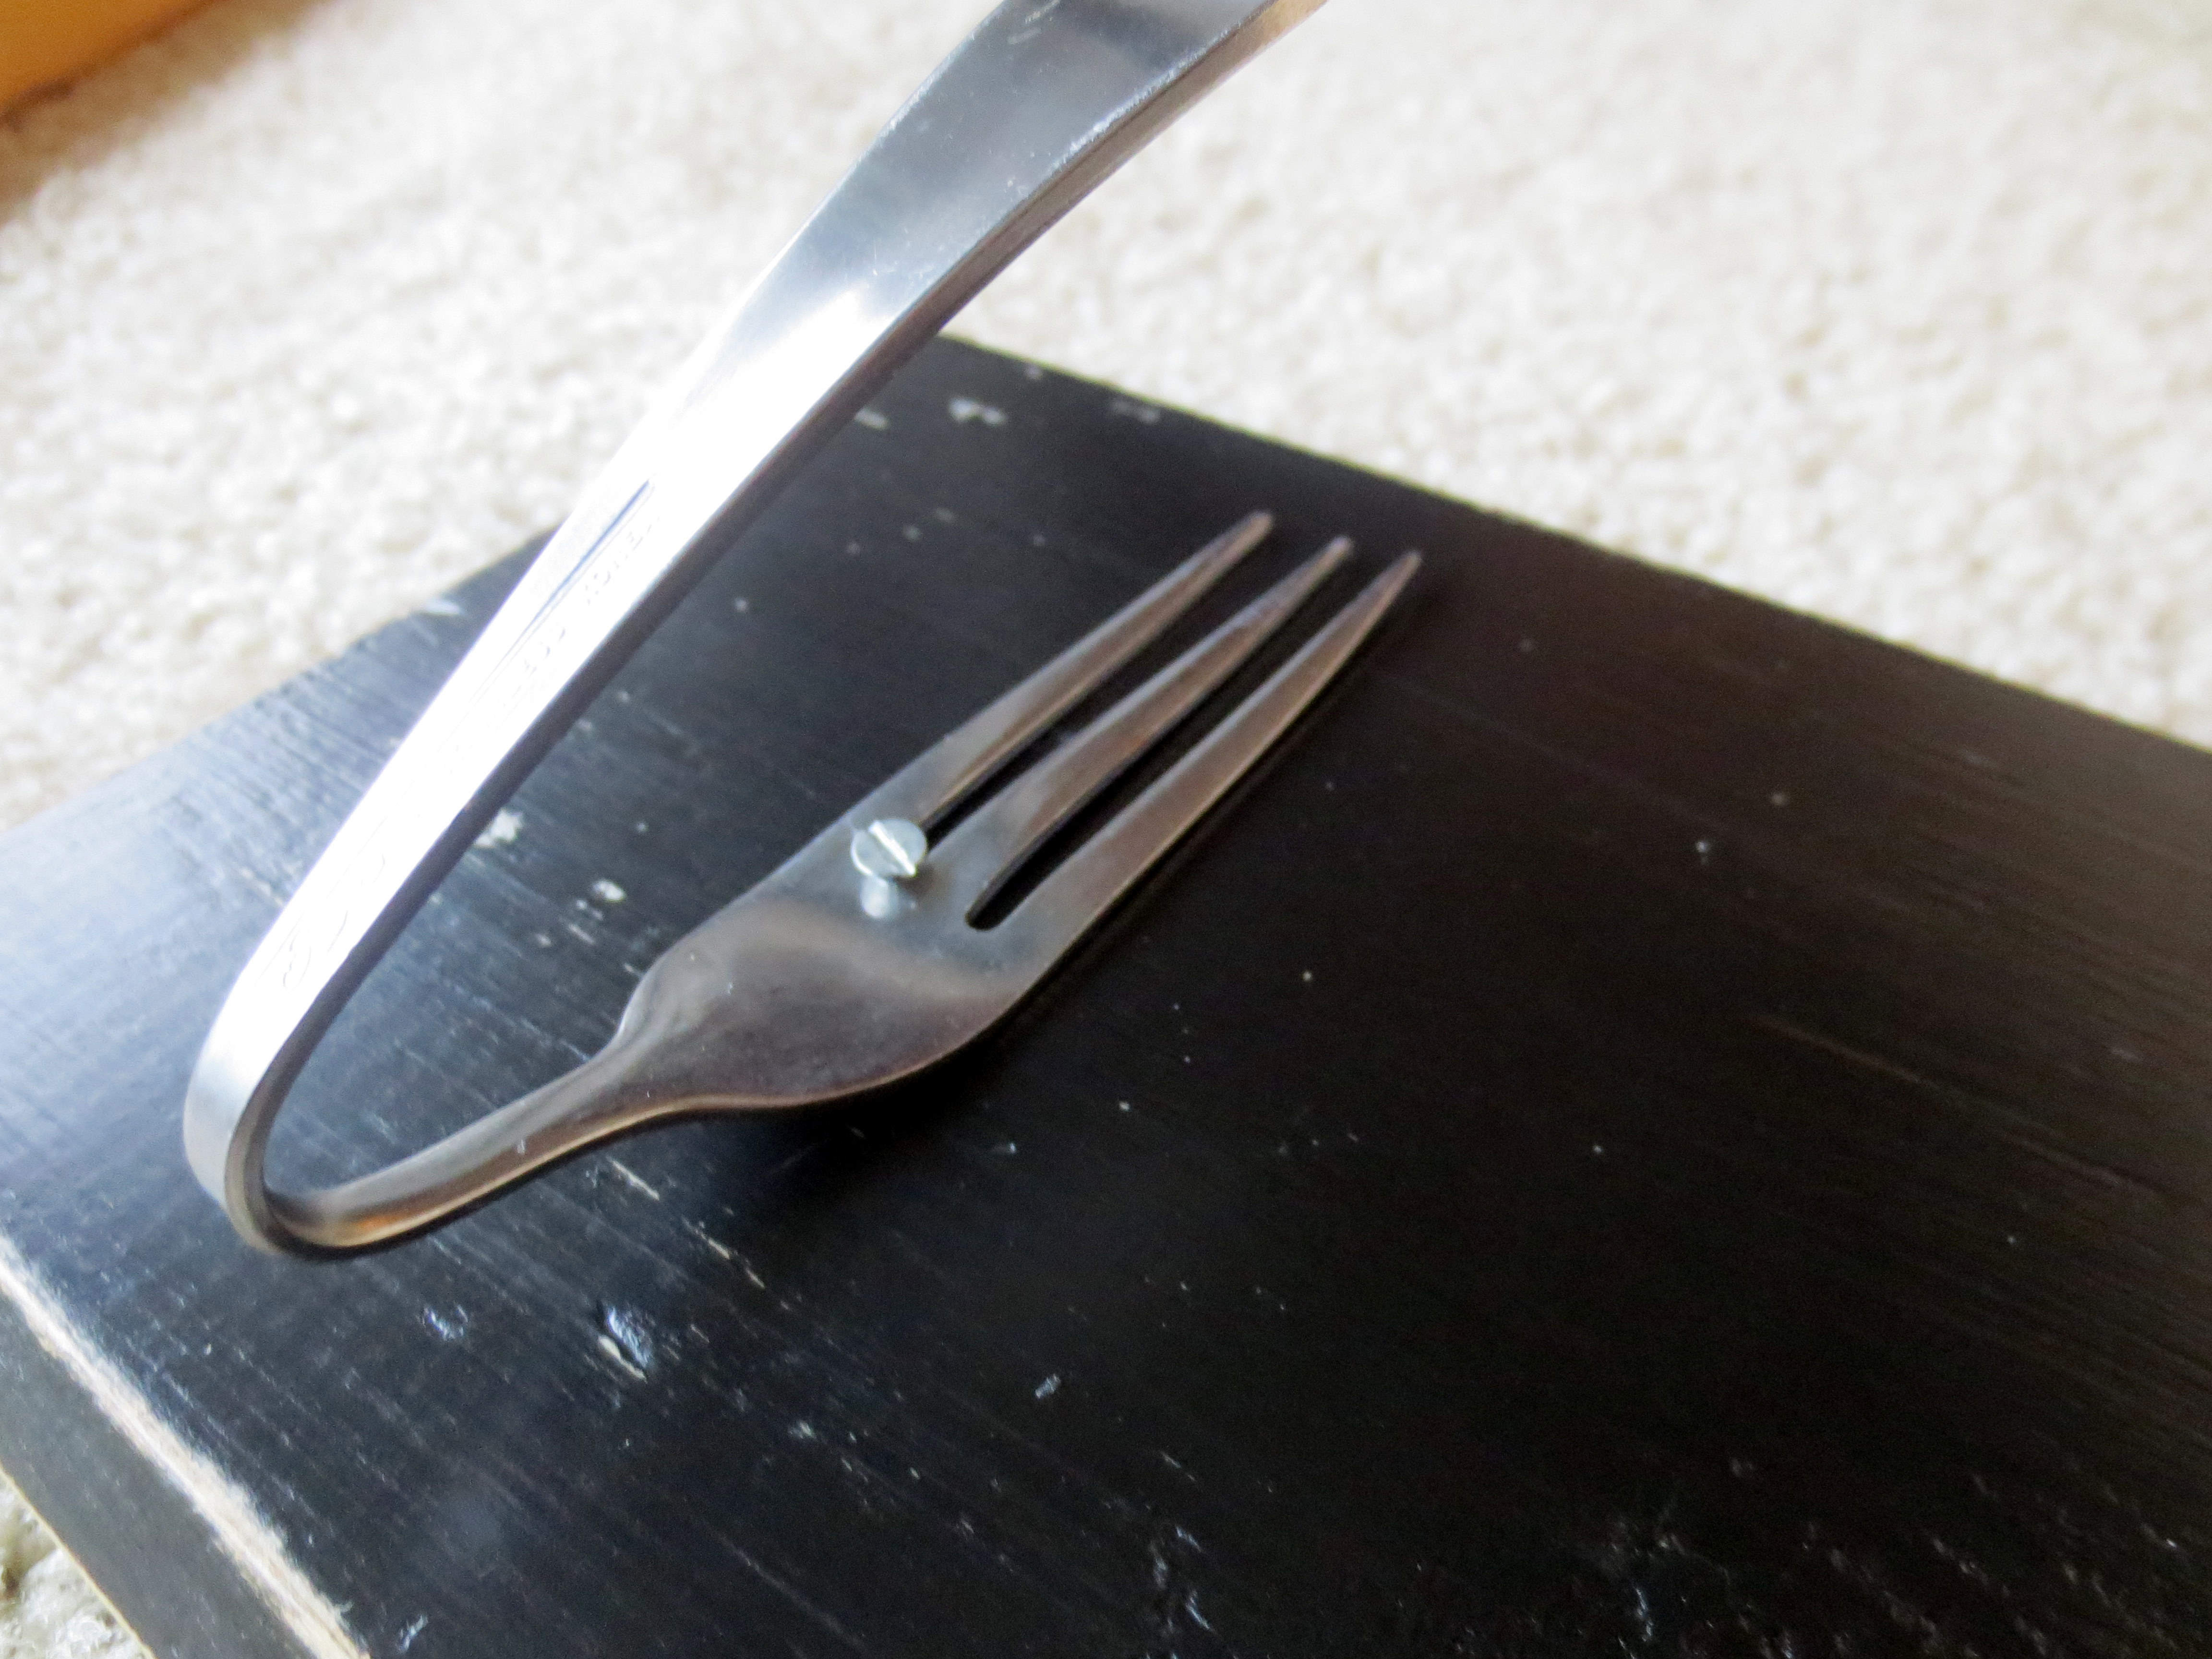
…and that they fit all the way in the gap of the fork prongs.
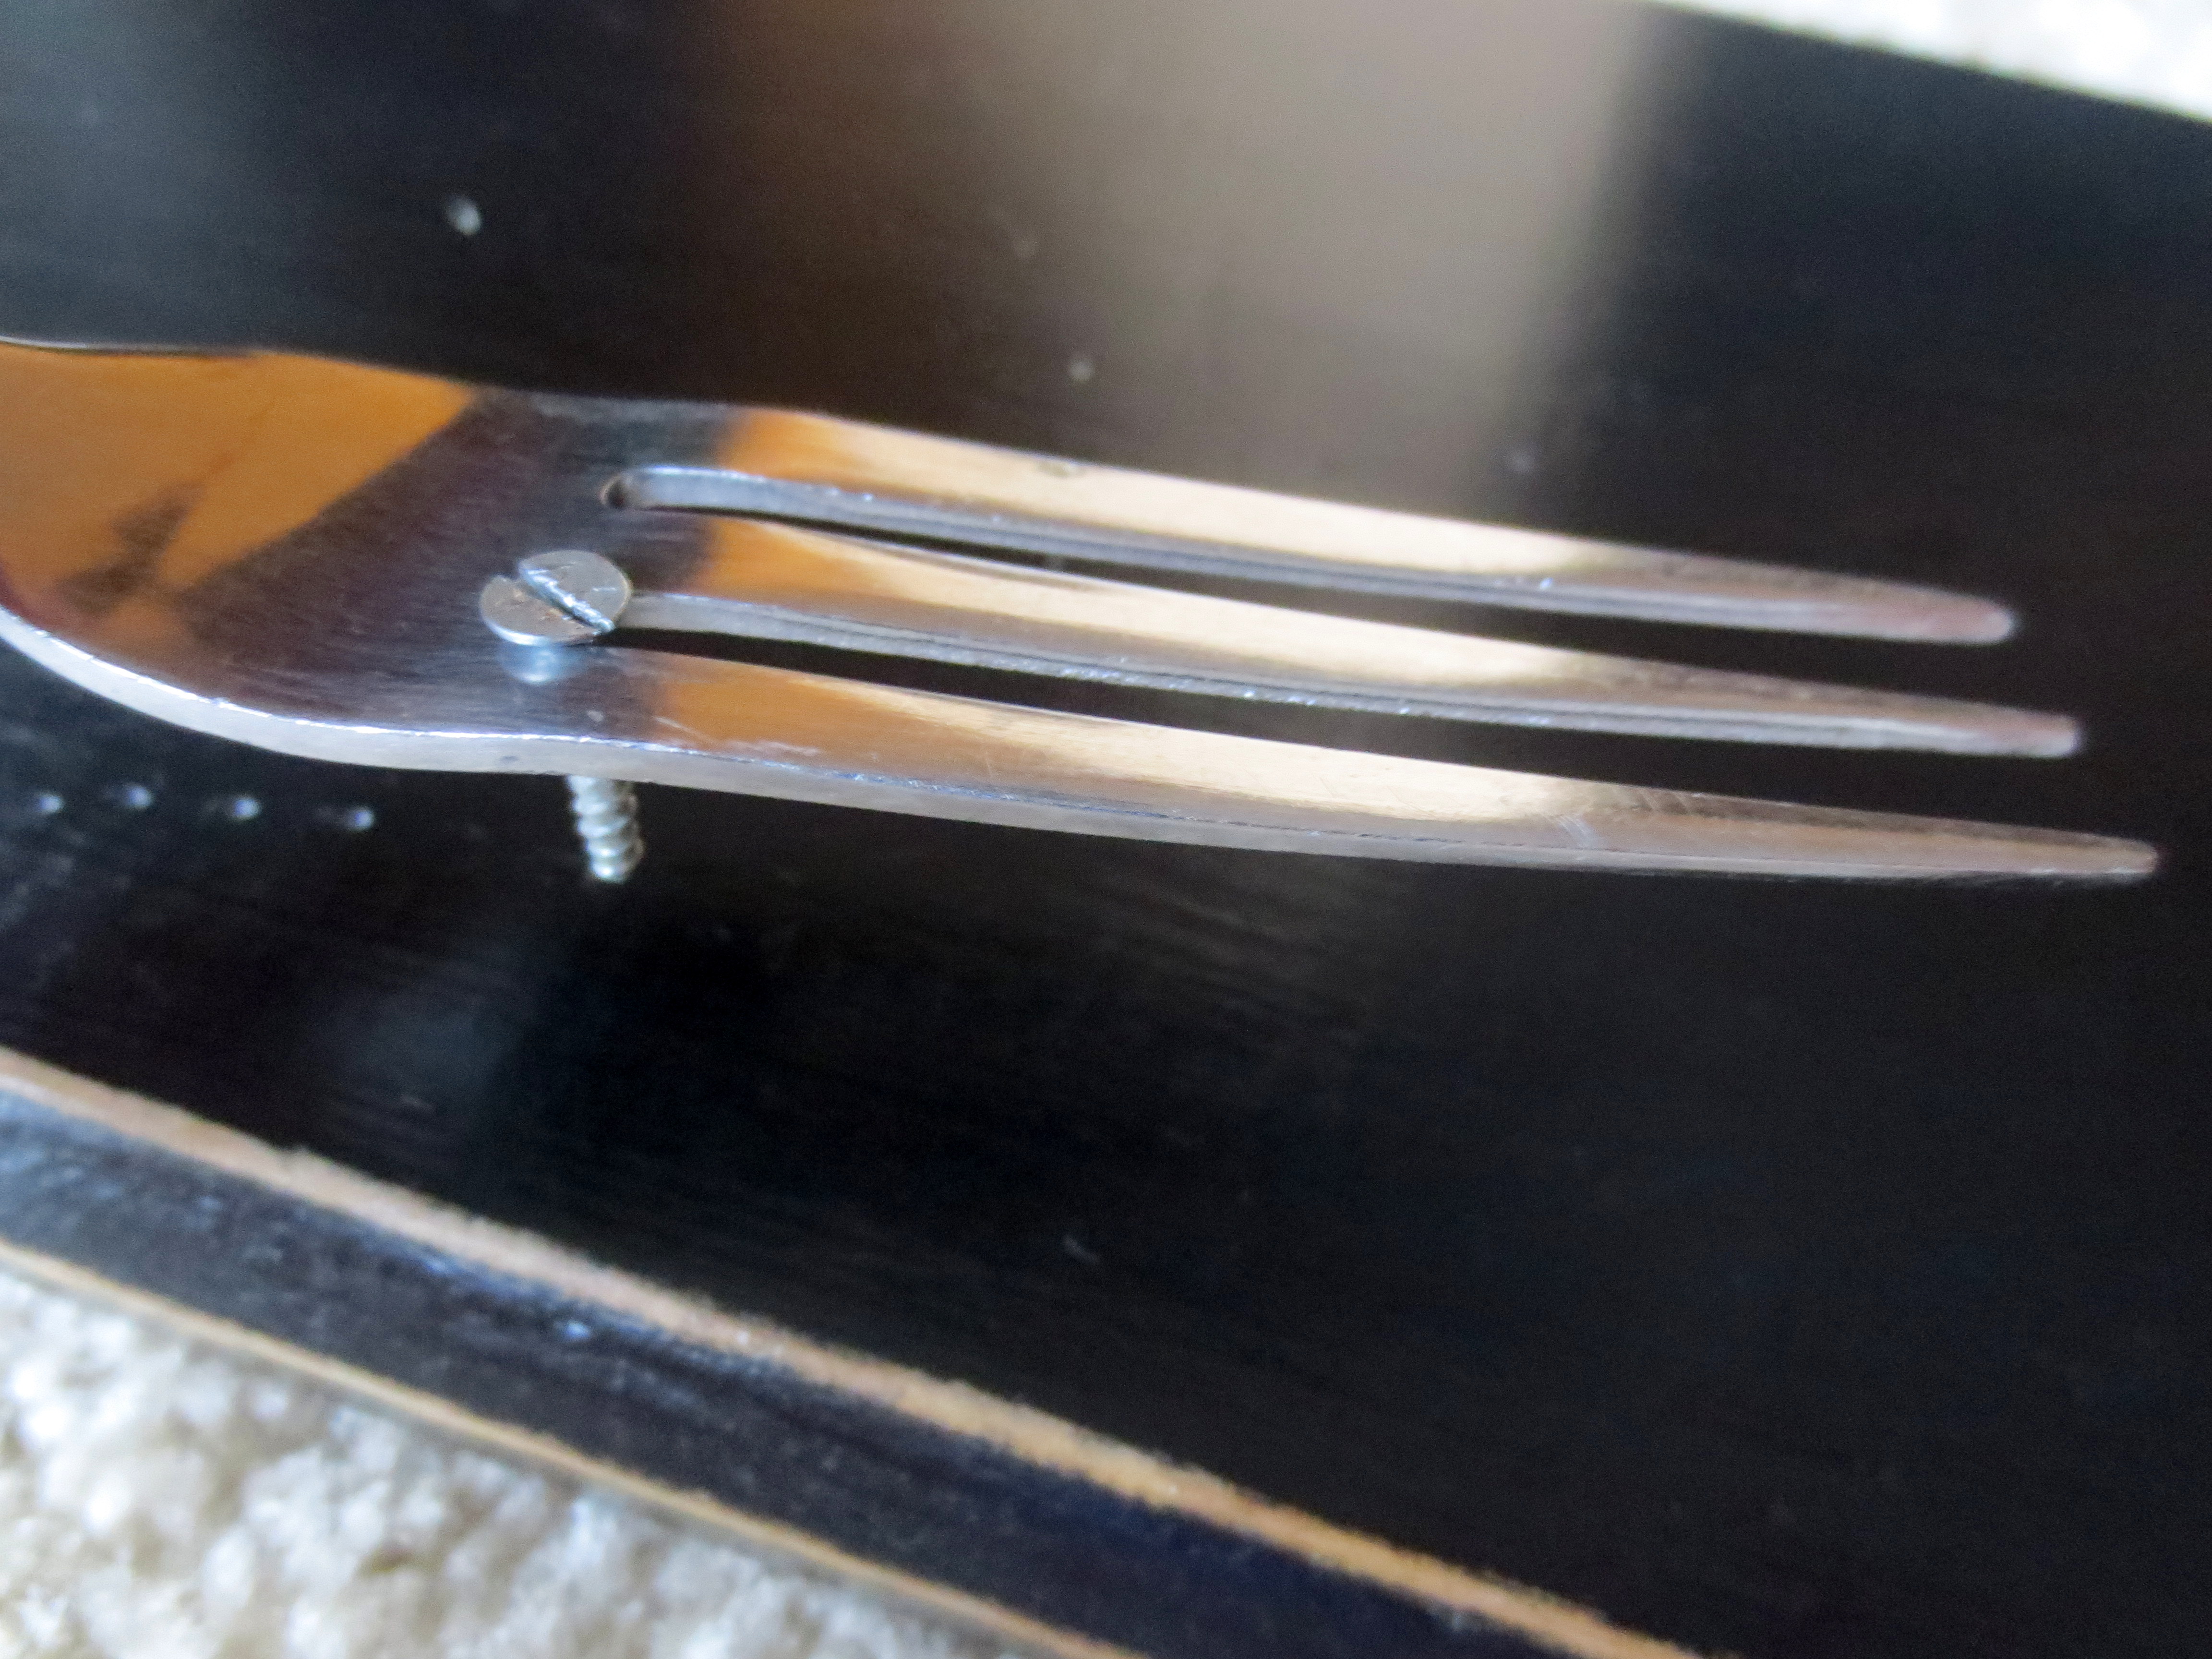
For the forks, I screwed the screw almost all the way in, and then slid on the fork and tightened it down the last little bit.

I had to bend the handle out of the way a little bit to make it easier to use my screwdriver.
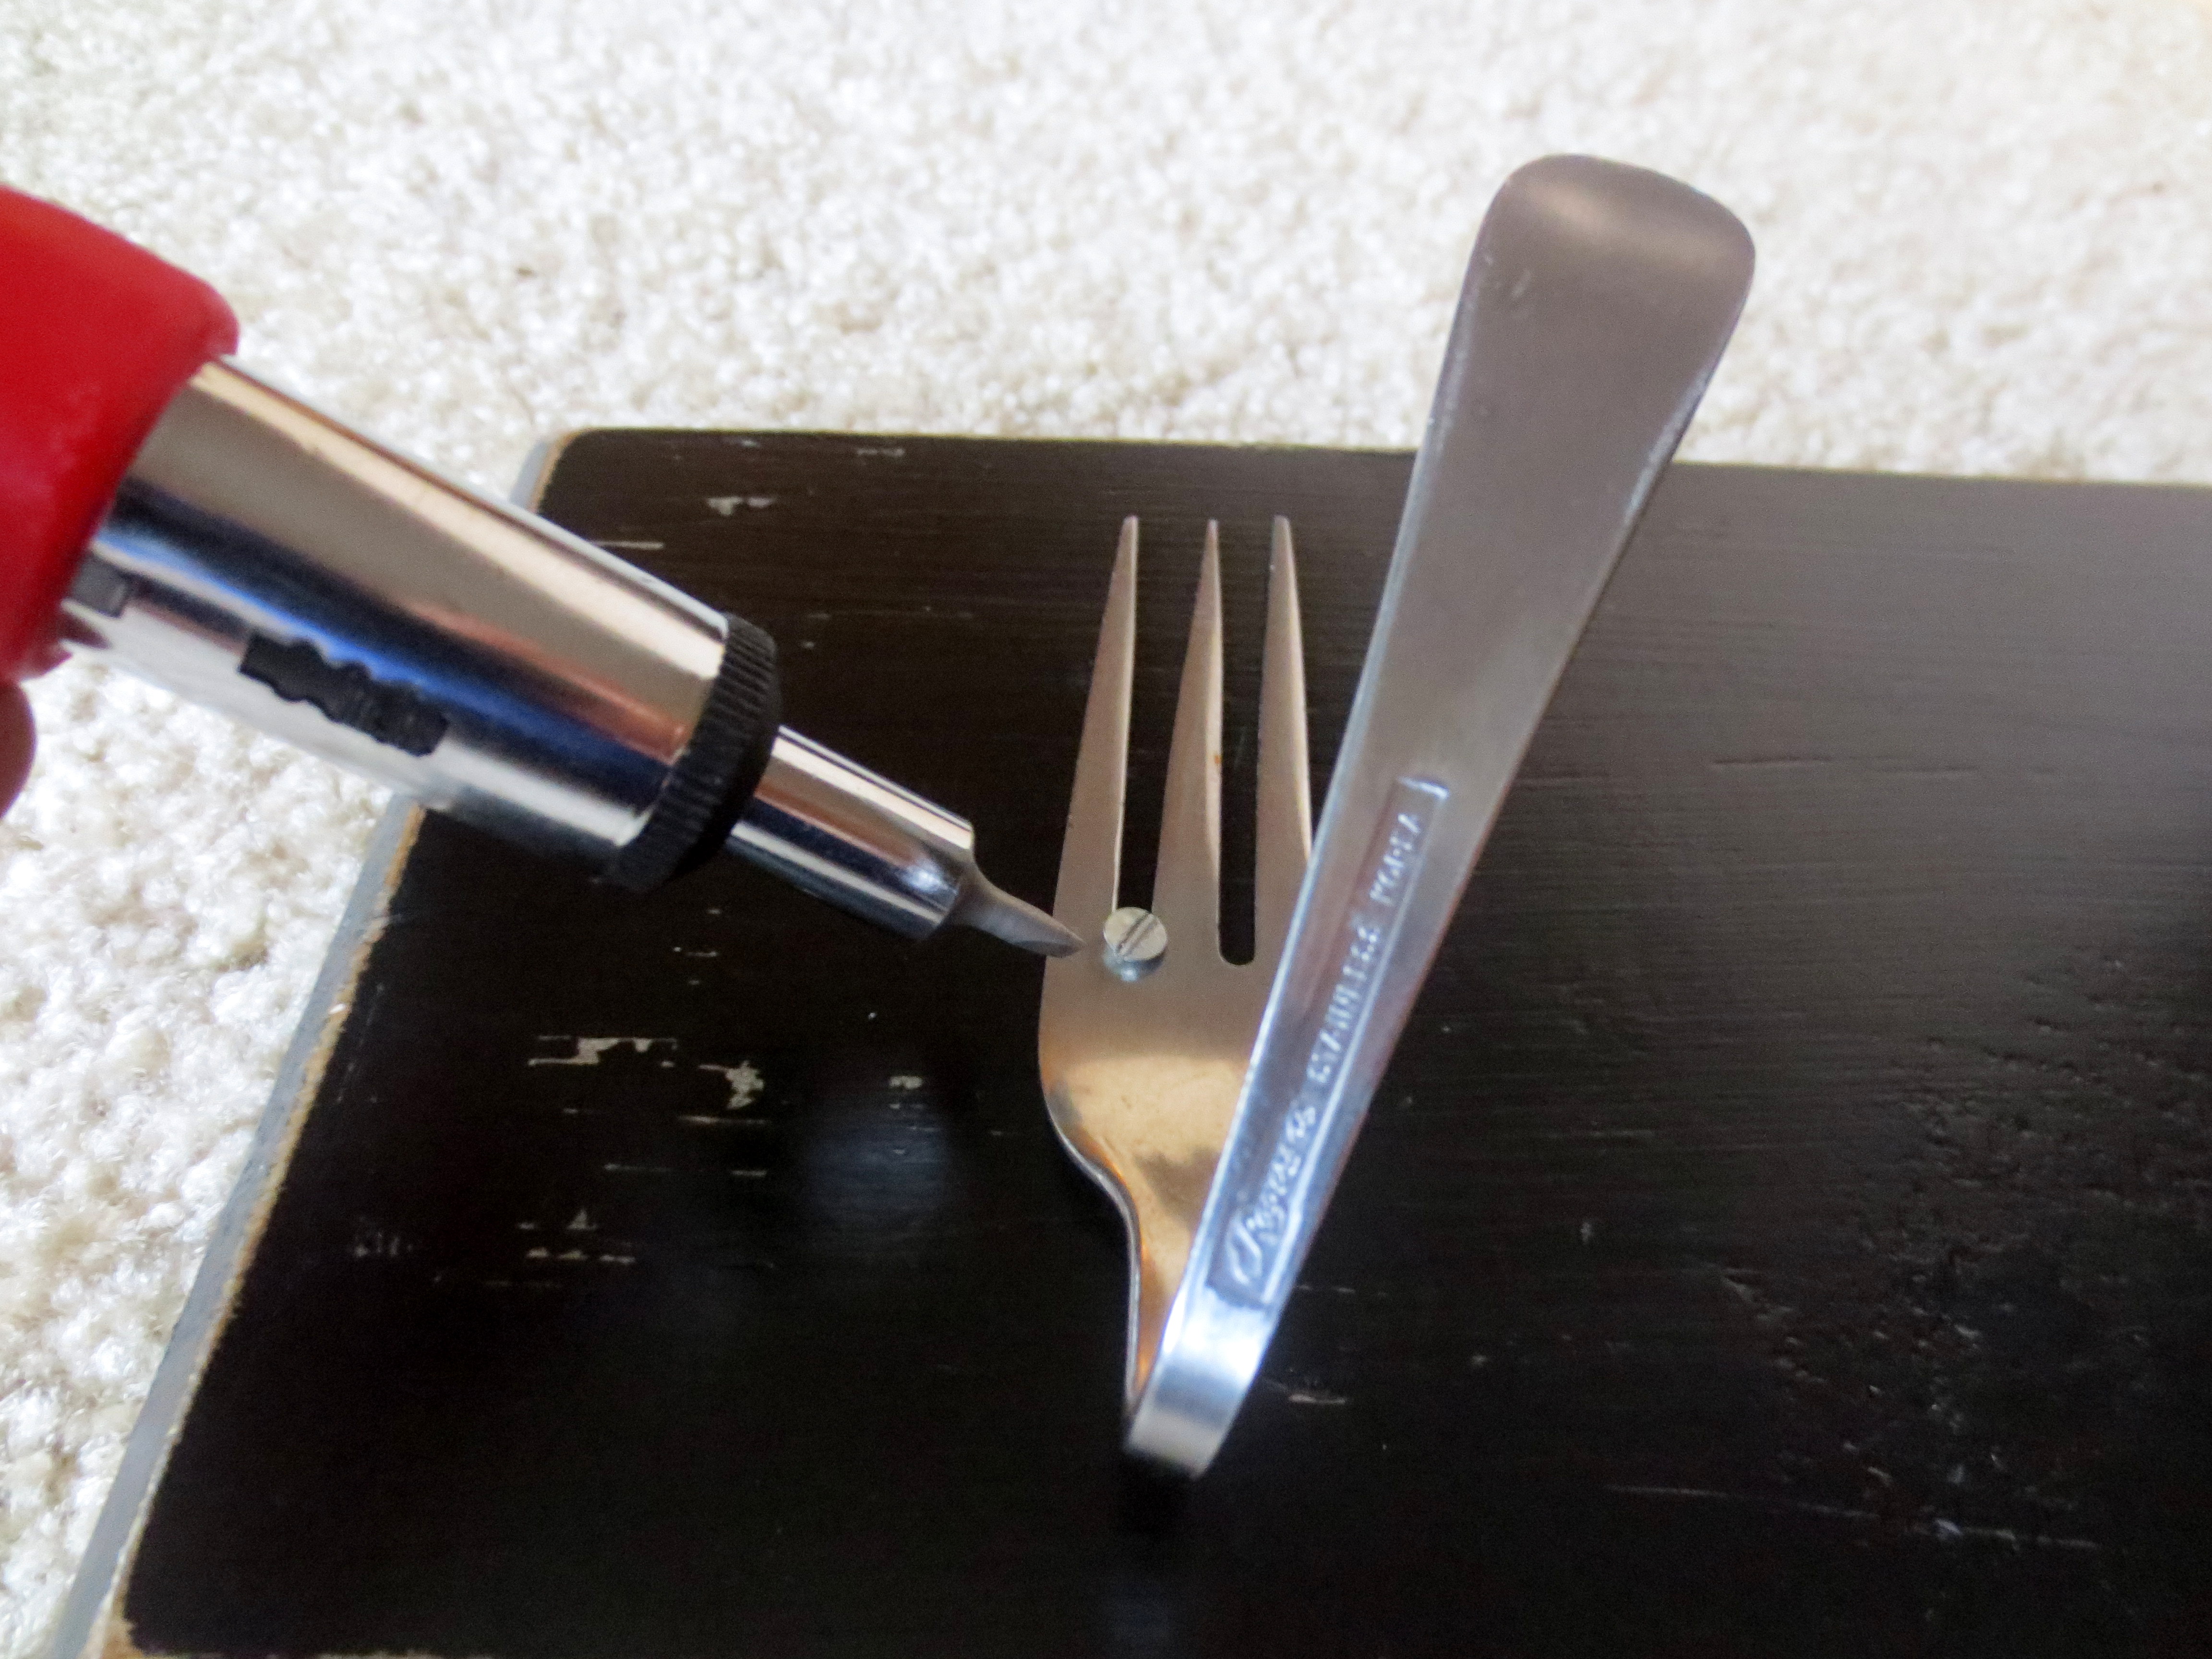
But I just bent it back when I was finished.
For the spoons, I just screwed them right to the board.
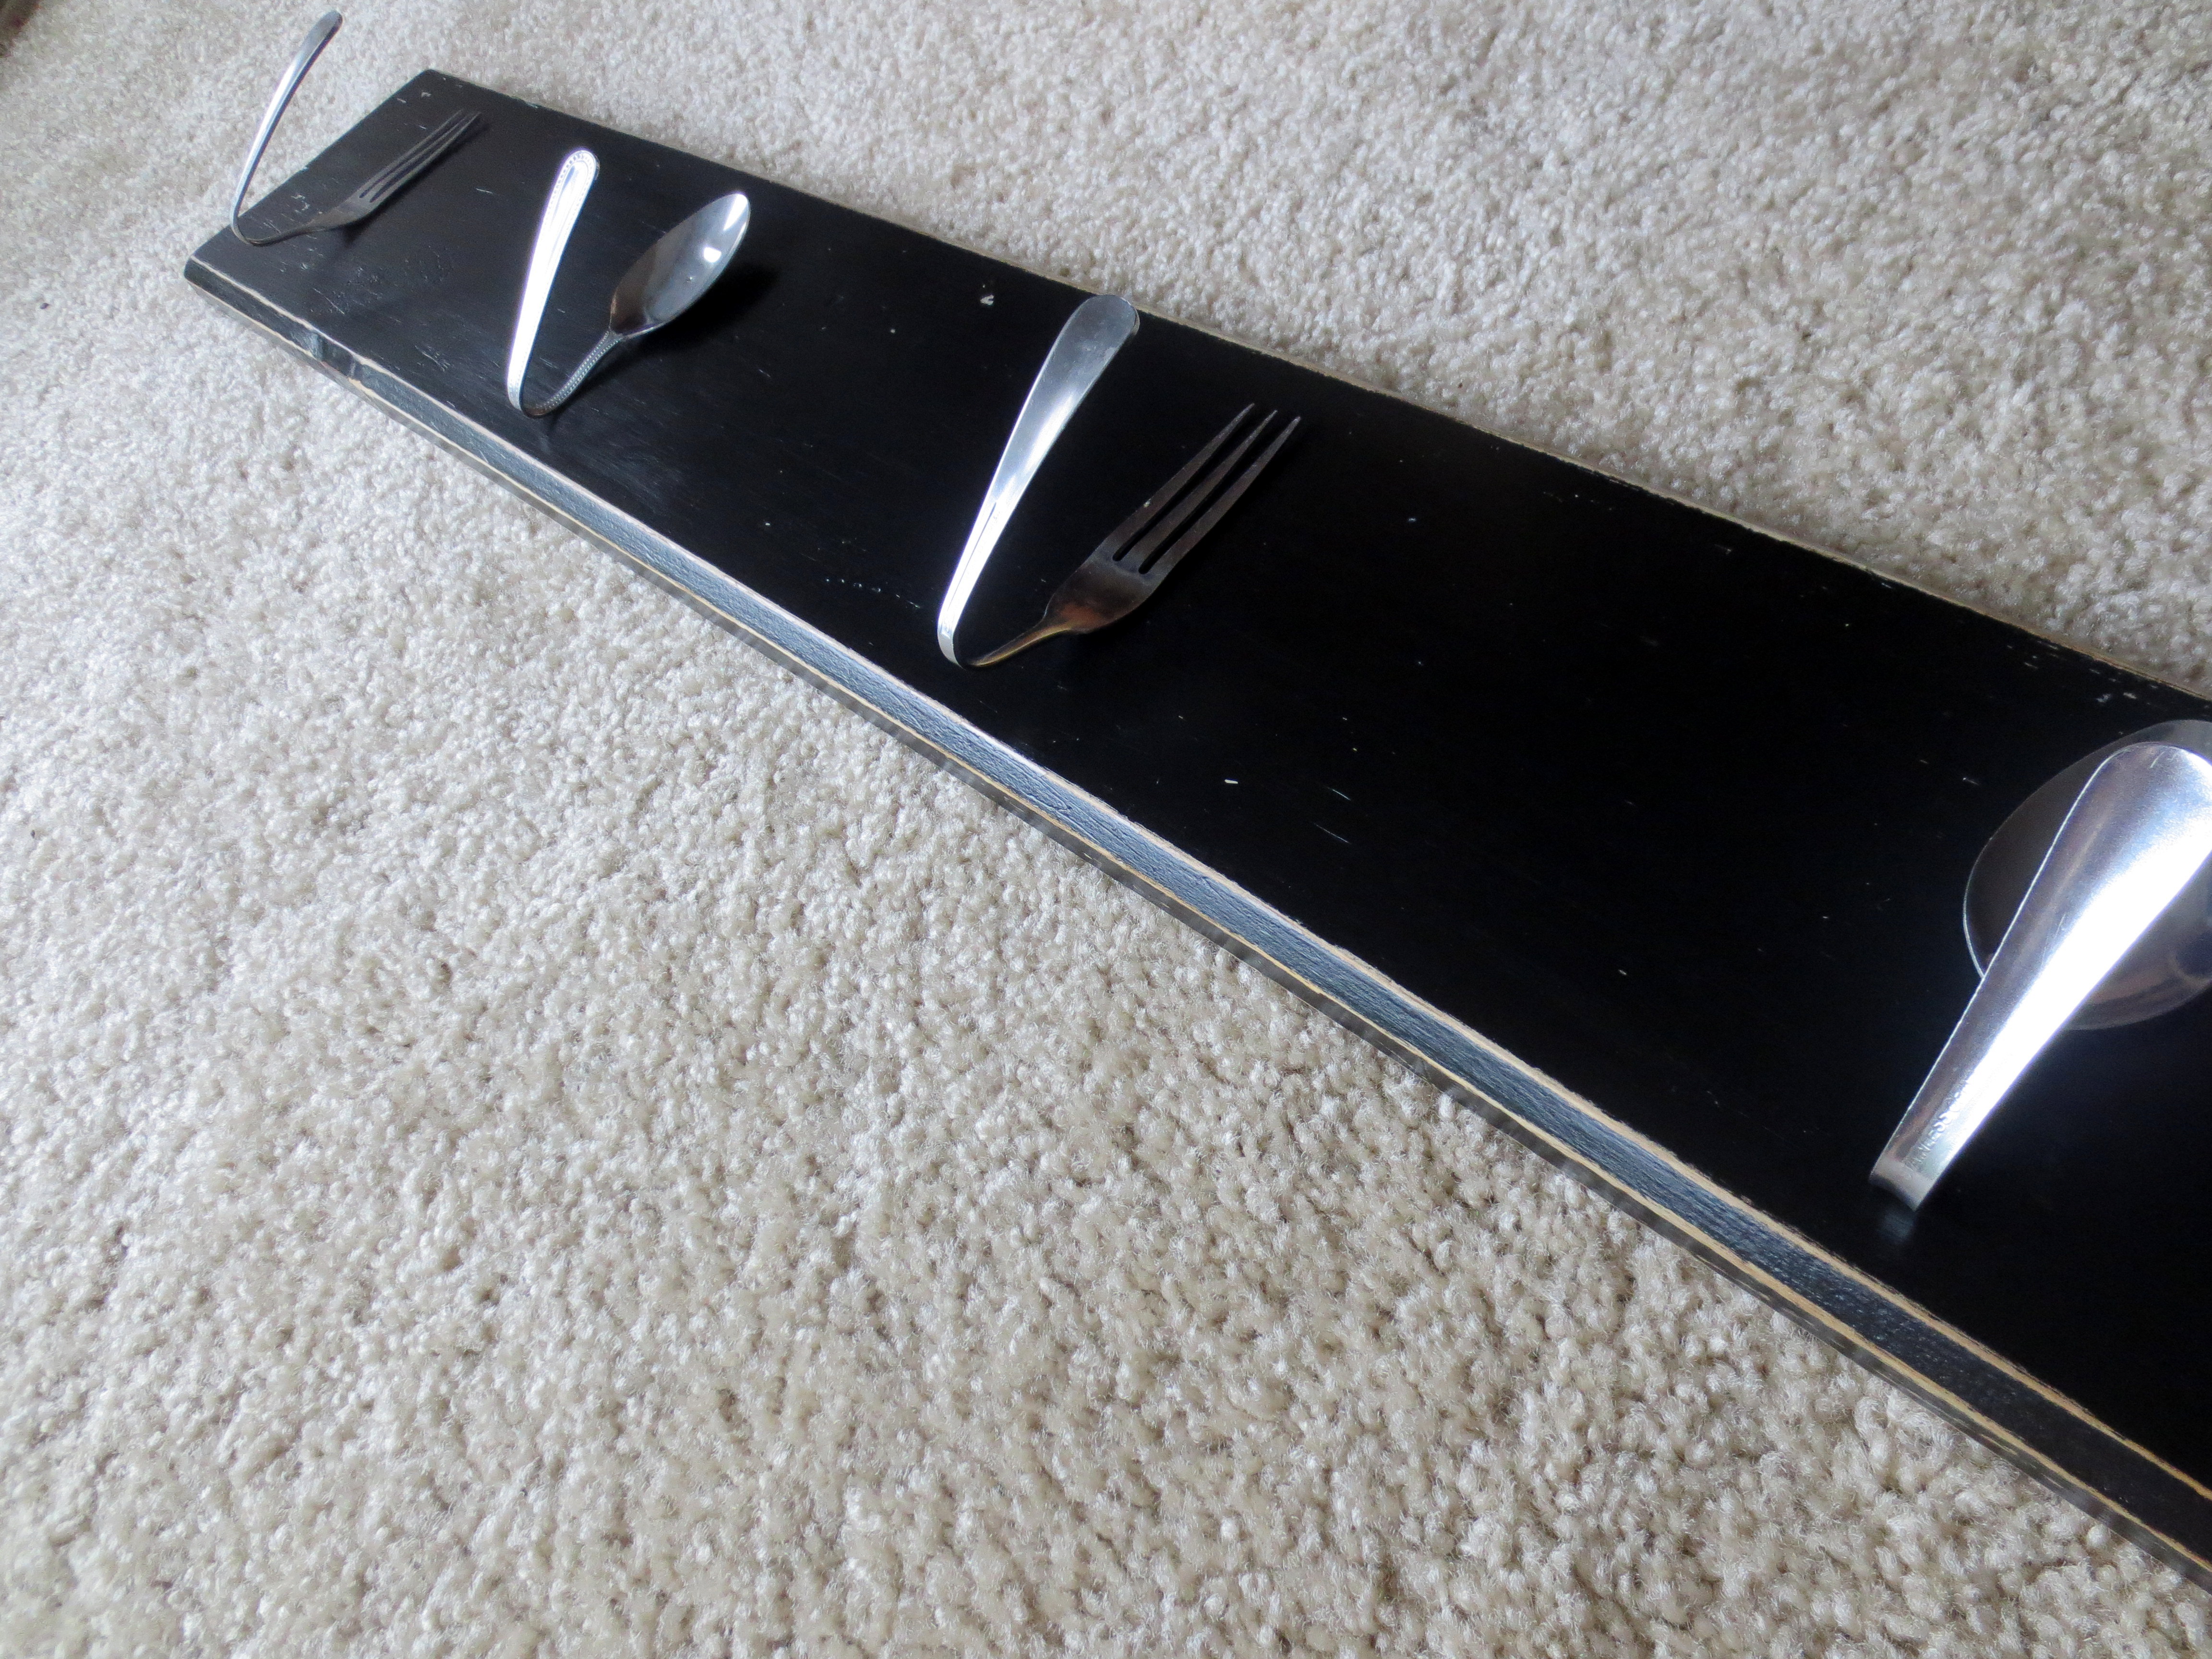
And then mounted my new hanger to the wall.
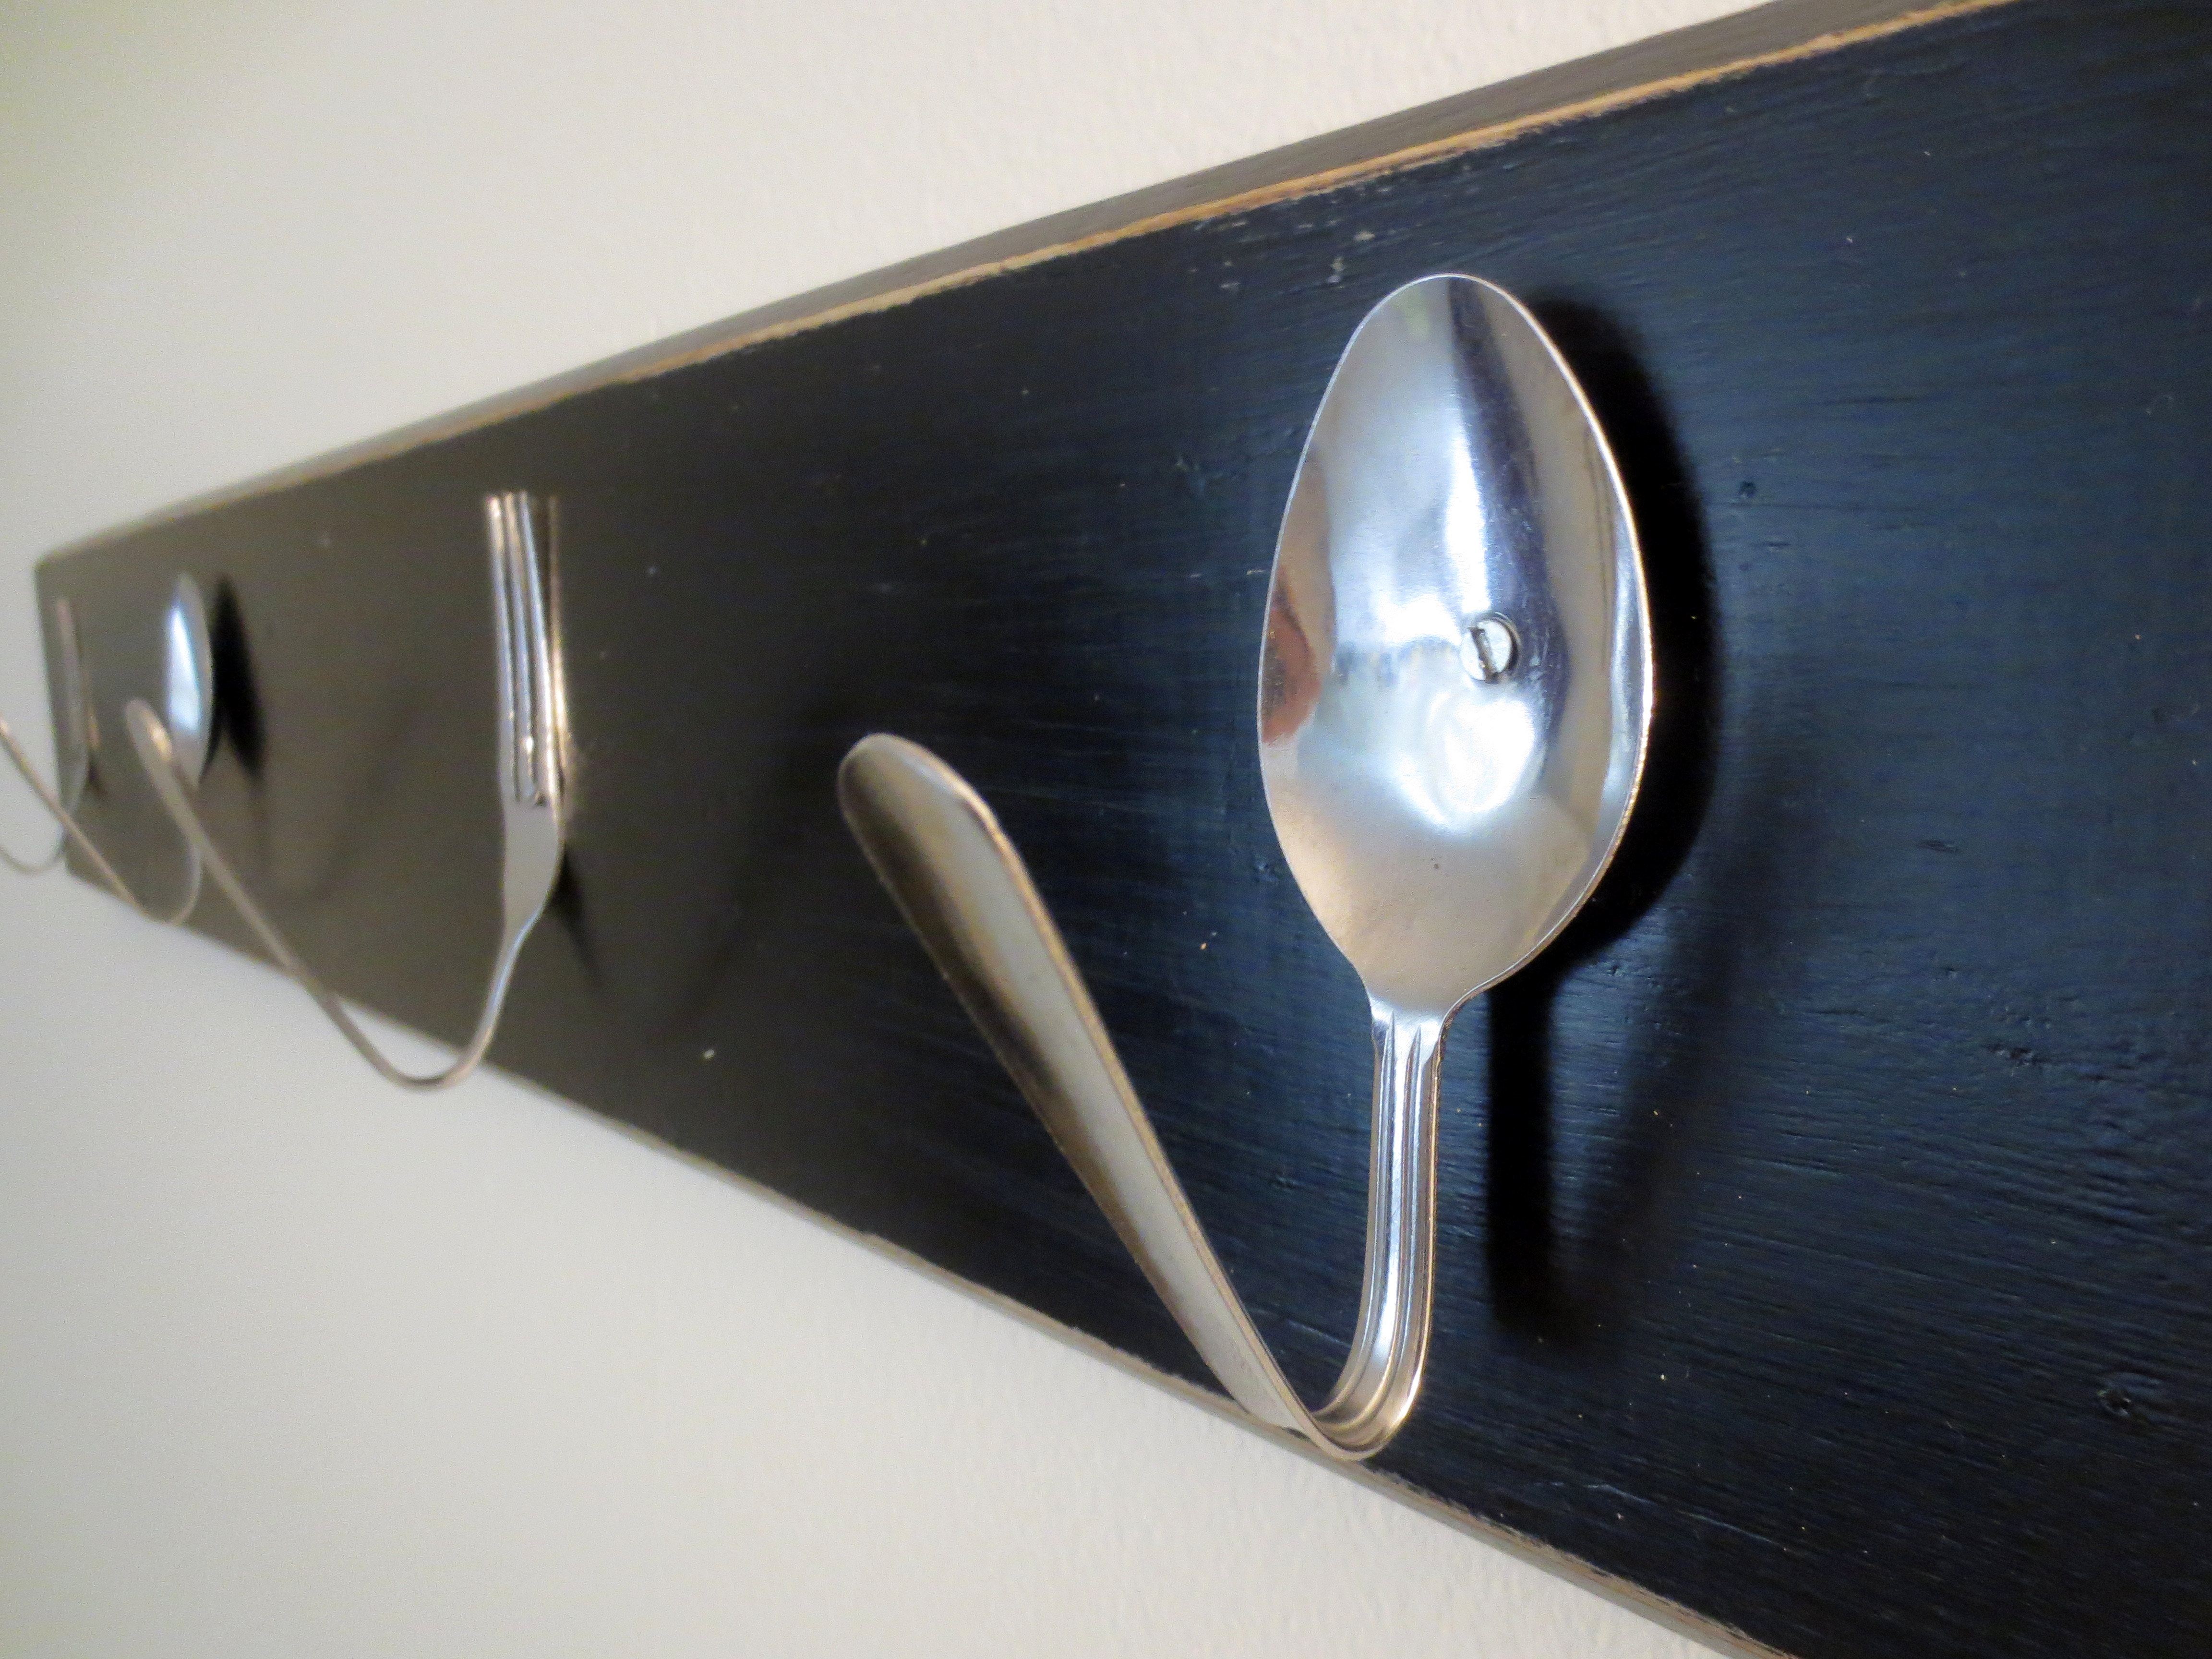
How about that? A new spork (or should I say thoon) hanger for my kitchen.
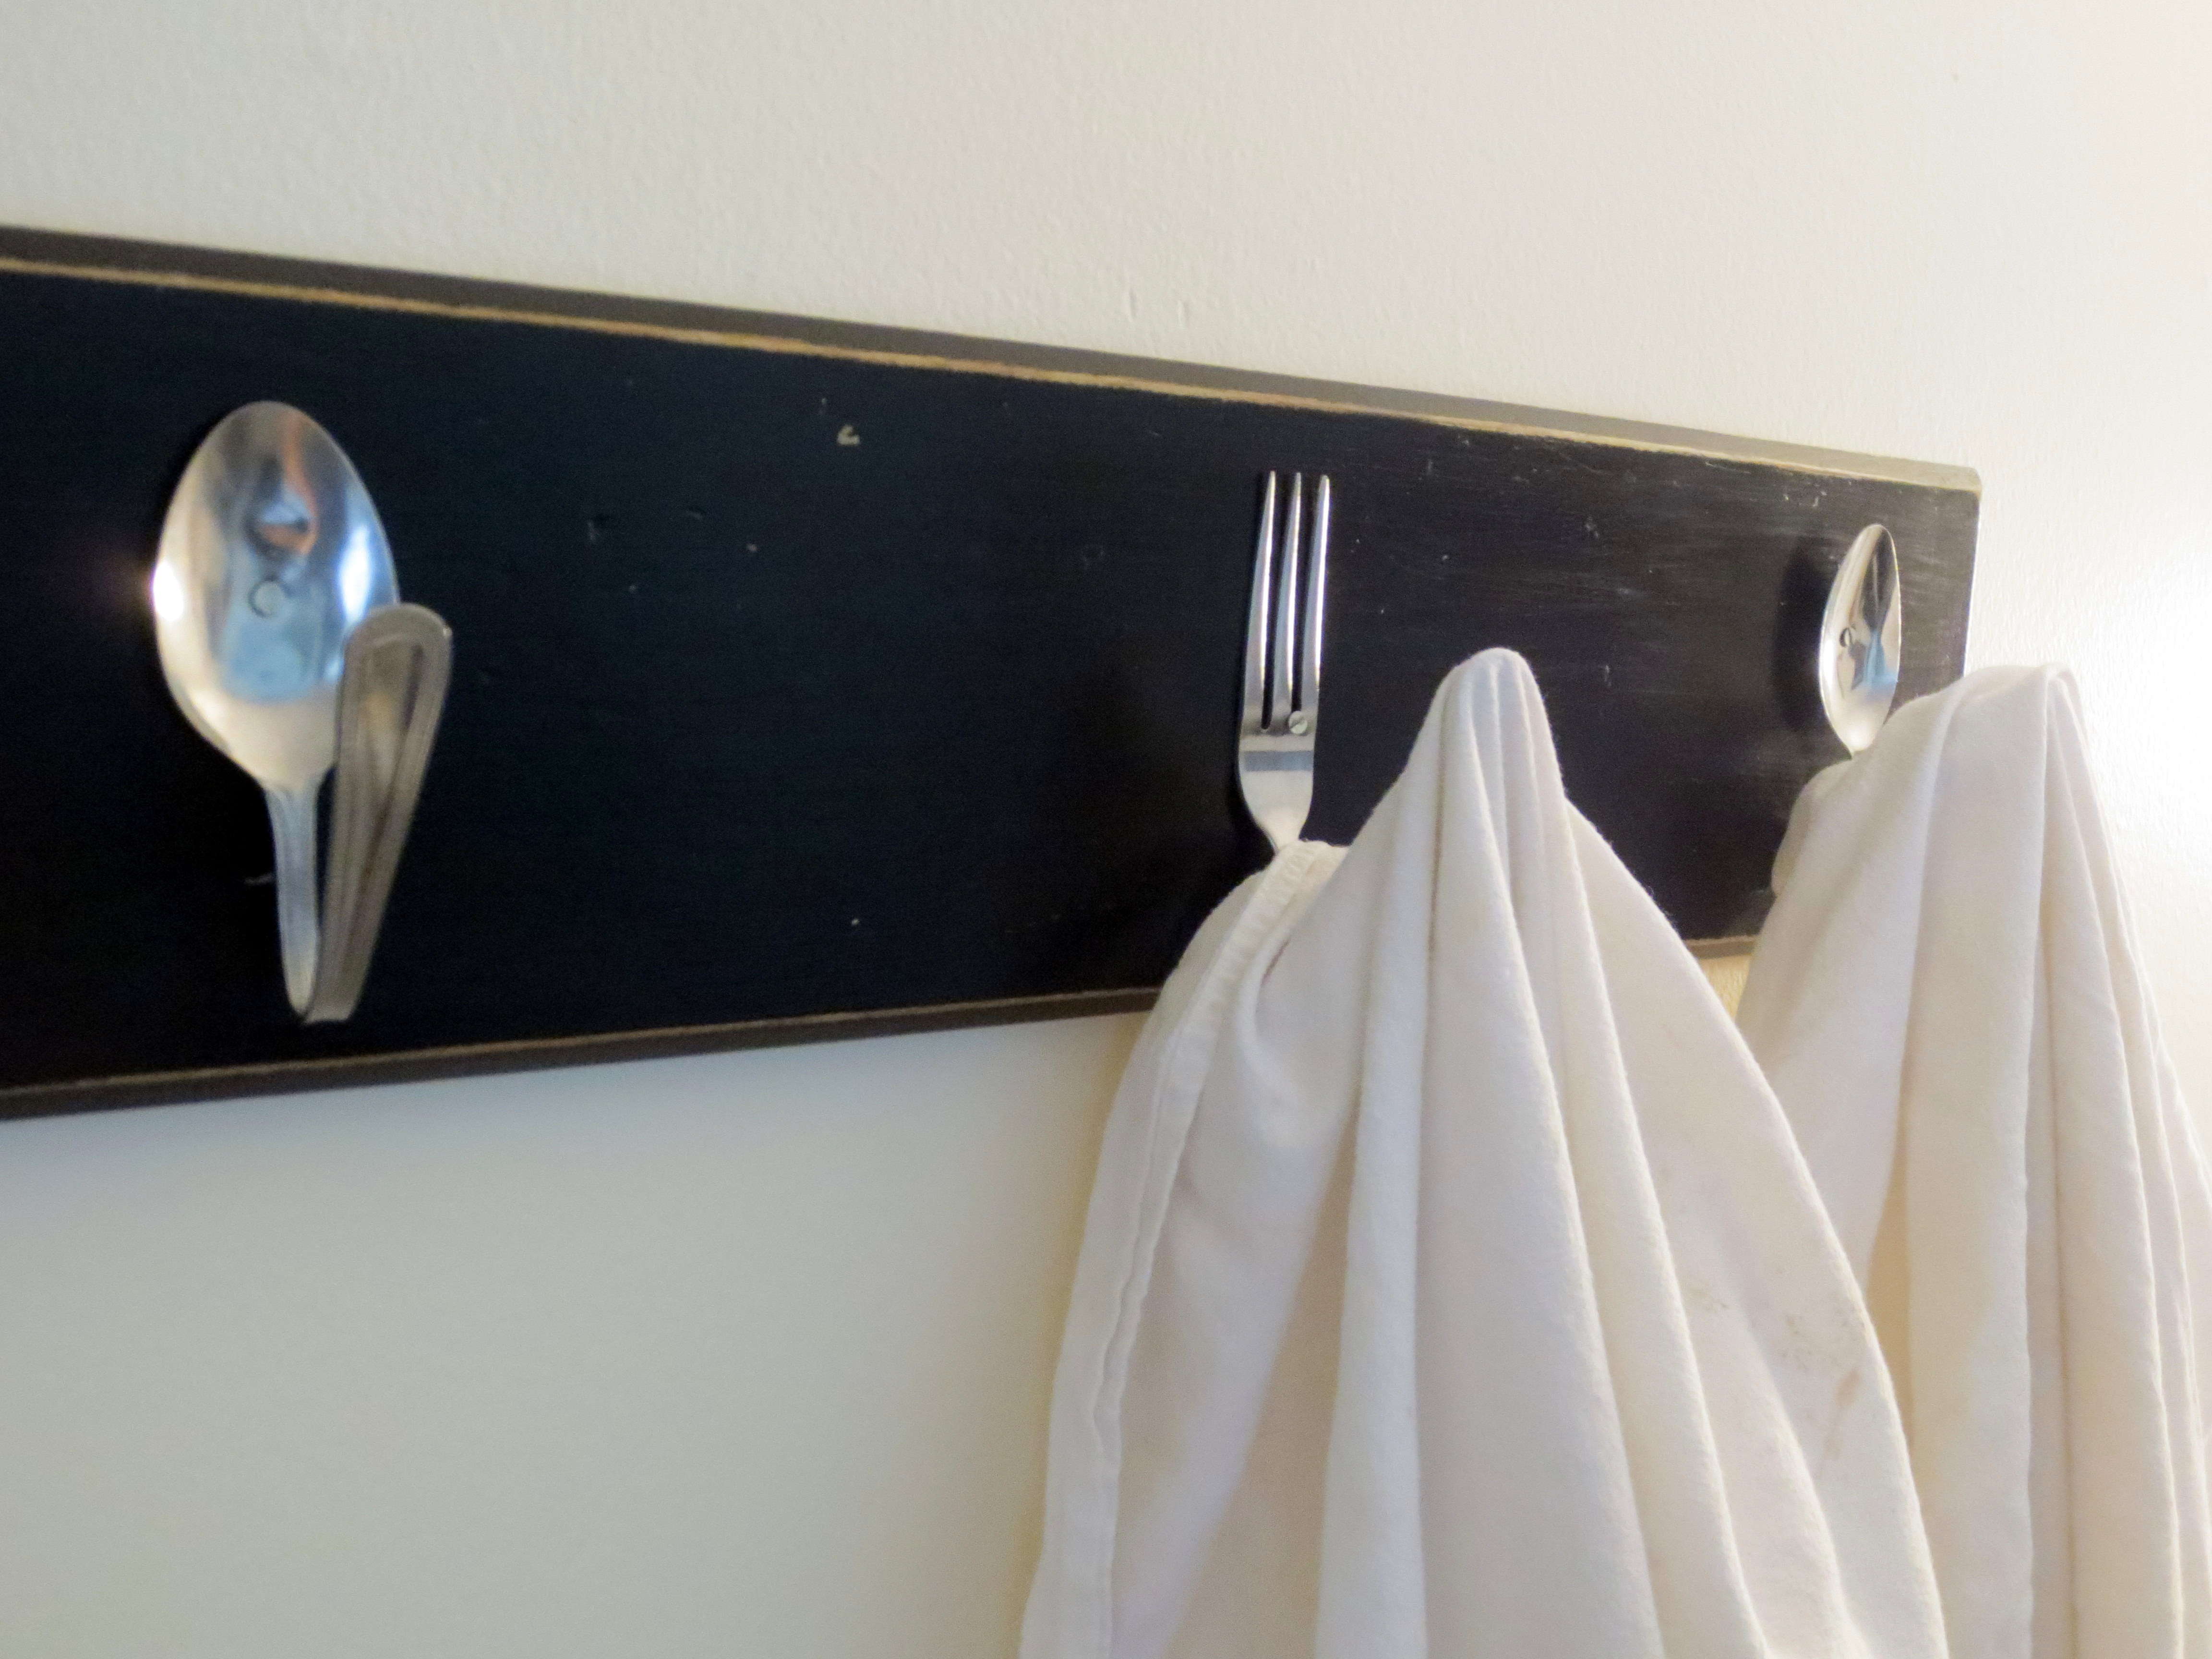
Enjoy!