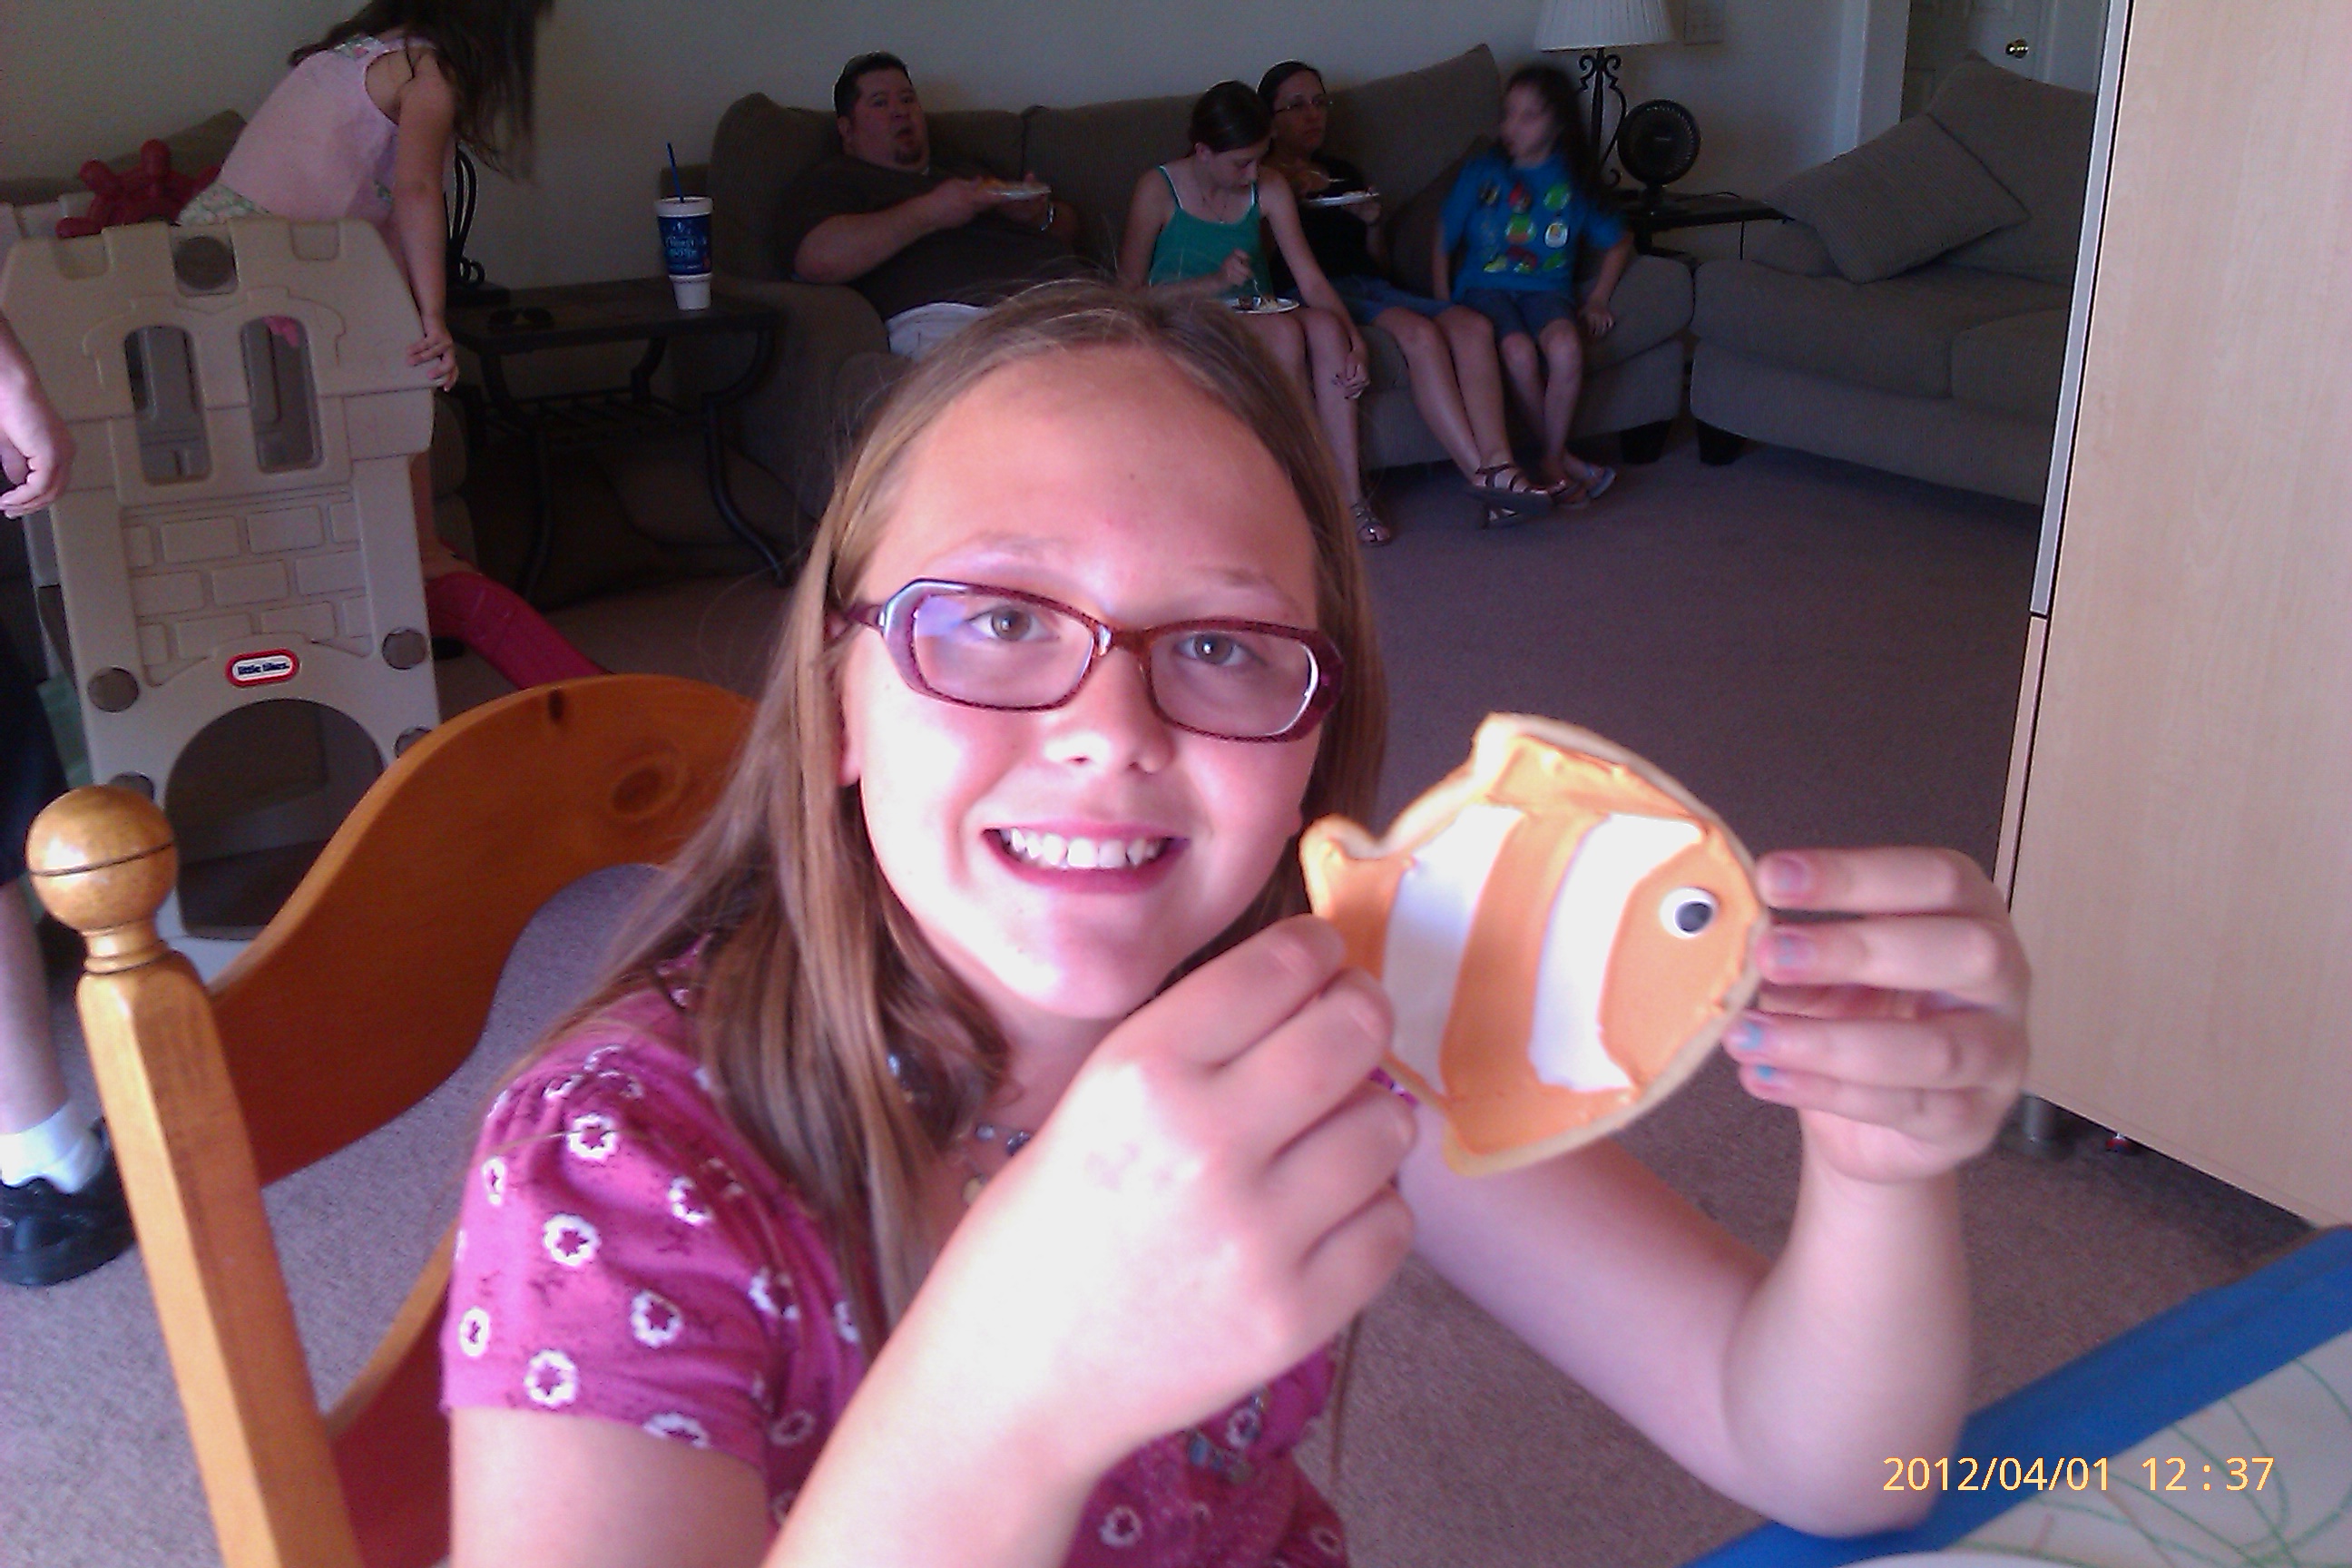
I made these cookies for Thing 2’s first birthday party. Our friend Elizabeth liked them so much she asked me to make Elmo cookies for her daughter’s 2nd birthday. I’m so flattered!

Clown Fish Cookies
Ingredients:
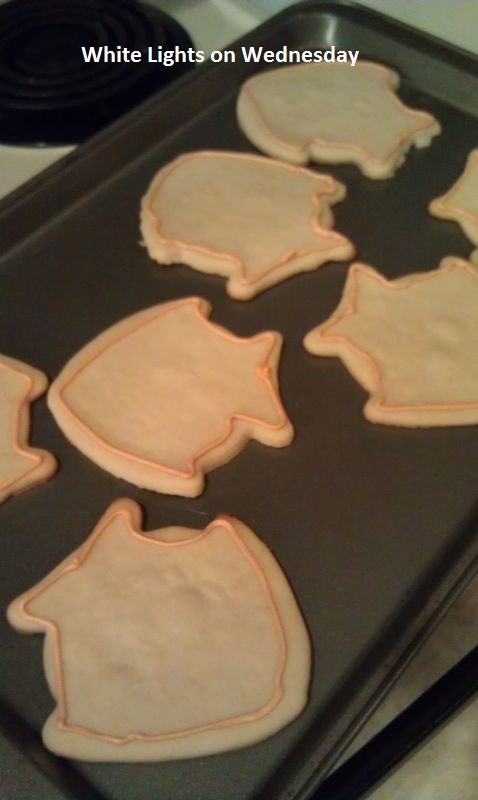
1/2 recipe No Fail Sugar Cookies, cut into large fish shapes, baked, and cooled
1 recipe Royal Icing
Red & Yellow gel food coloring (or orange)
Black gel food coloring
Toothpicks
Piping bags
Piping bag couplers
#3 piping tip
#10 piping tip
Directions:
Split royal icing into 3 bowls.
- Bowl #1 – about 1/4 cup icing
- Bowl #2 – just over 1/3 of the remaining icing
- Bowl #3 – remaining icing.
Dye Icing.
- Bowl #1 – black
- Bowl #2 – leave alone (white)
- Bowl #3 – orange, to your desired shade
Split icing again.
- White – 1/4 cup in a separate bowl; set aside
- Orange – 2/3 cup in a separate bowl; set aside
Thin remaining orange and white icings. Stir in 1 tablespoons of water at a time until the icing is the consistency of a thick syrup. {Bridgette explains this really well if you click over to her royal icing recipe that I use}
Now we’re ready to decorate!
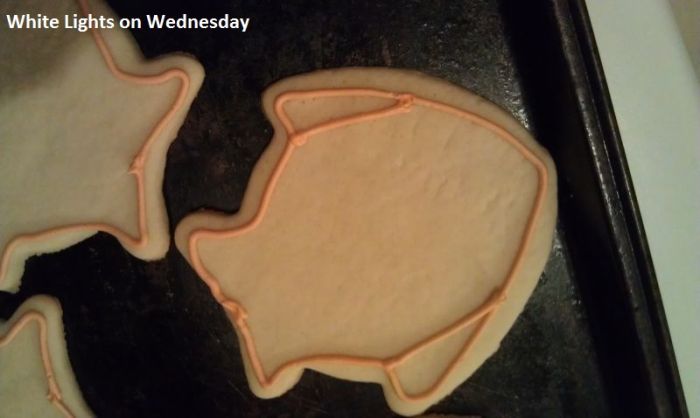
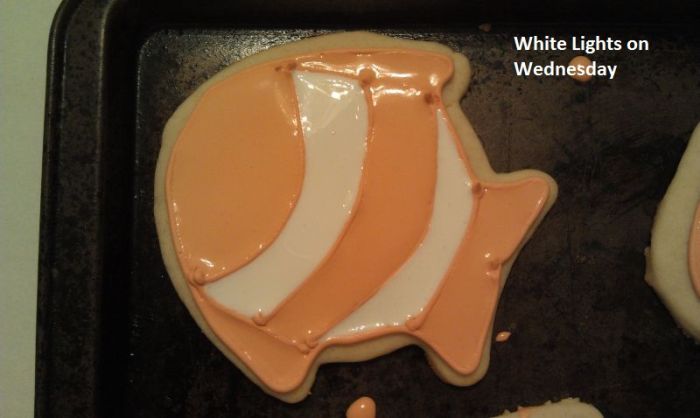
Place the non-thinned orange icing into a pastry bag fitted with a #3 tip. Outline your fish. You want to hold the bag up so the icing falls – go read Marian’s Top 10 Tips for How to Decorate Sugar Cookies if you need some help. 🙂
Pipe a line from each of the back fin creases to the front of the fish.
Pipe a curved line in between the stopping point of your last line two lines.
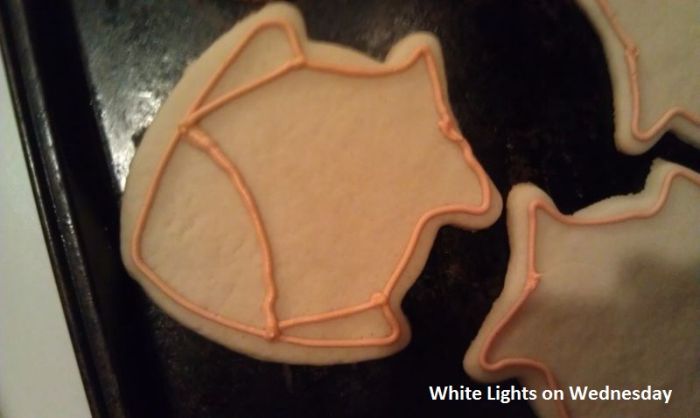
Pipe a curved line between the back fin creases. Split the space between the head and the line you just made with another curved line. Pipe a straight line between the tail creases. Let the piping icing dry for 15 to 20 minutes. Then, fill a squeeze bottle with the thinned orange icing.
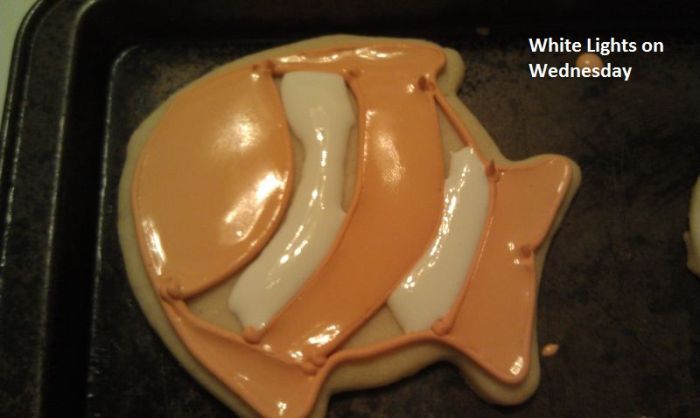
Flood the face, fins, tail, and middle line of the fish with orange icing. Use a toothpick to spread the icing around and into the corners of each section.
Allow the icing to dry over night. {sorry, no orange only pictures. I forgot.}
Keep your icing from drying out by placing saran wrap over your icing. Make sure the saran wrap is touching the surface of the icing.
In the morning when the orange icing is dry. Fill a squeeze bottle with the thinned white icing. Flood the two empty lines of the fish. Use a toothpick to spread out the icing and fill the corners.
Allow white icing to dry all day (or overnight depending on when you complete this step).
Place white piping icing into a pastry bag fitted with a #10 tip. On the fish’s face, just above the center horizontal line, pipe a small-ish circle. Allow to dry for 15 to 20 minutes.
Place black piping icing into a pastry bag fitted with a #10 tip. Pipe a small dot into the middle of the white circle you just made.
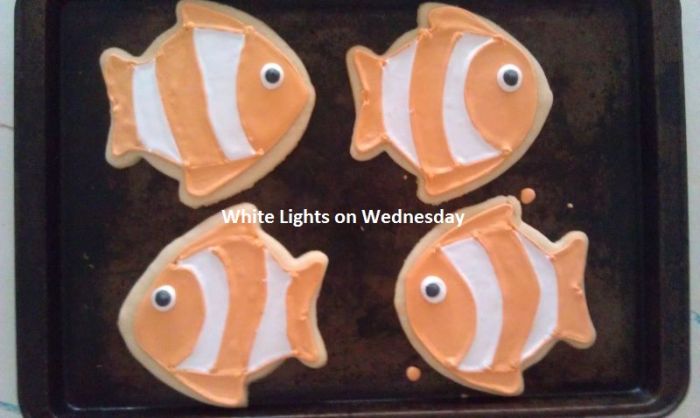
Allow black icing to dry at least 20 minutes. That’s it!
Happy fish cookies for everyone. Everyone freaked out over these cookies. They’re actually pretty big for what I initially planned.
I had found a sand mold in the shape of a fish at Target for $0.29. I knew I would find something to make with it later.

It’s pretty much like the yellow one shown above. I could have even done a jell-o molding with it, but I ran out of time. 12am cookie flooding the night before the party trumps jell-o. 😀