Hi! I’m Jenn from Endlessly Inspired, and I am so excited to be doing my first guest post for White Lights on Wednesday!
Earlier this month, I shared a tutorial on my blog for a What a Difference a Day Makes print. I got a lot of positive feedback, so I thought I’d do another PicMonkey tutorial for you today.
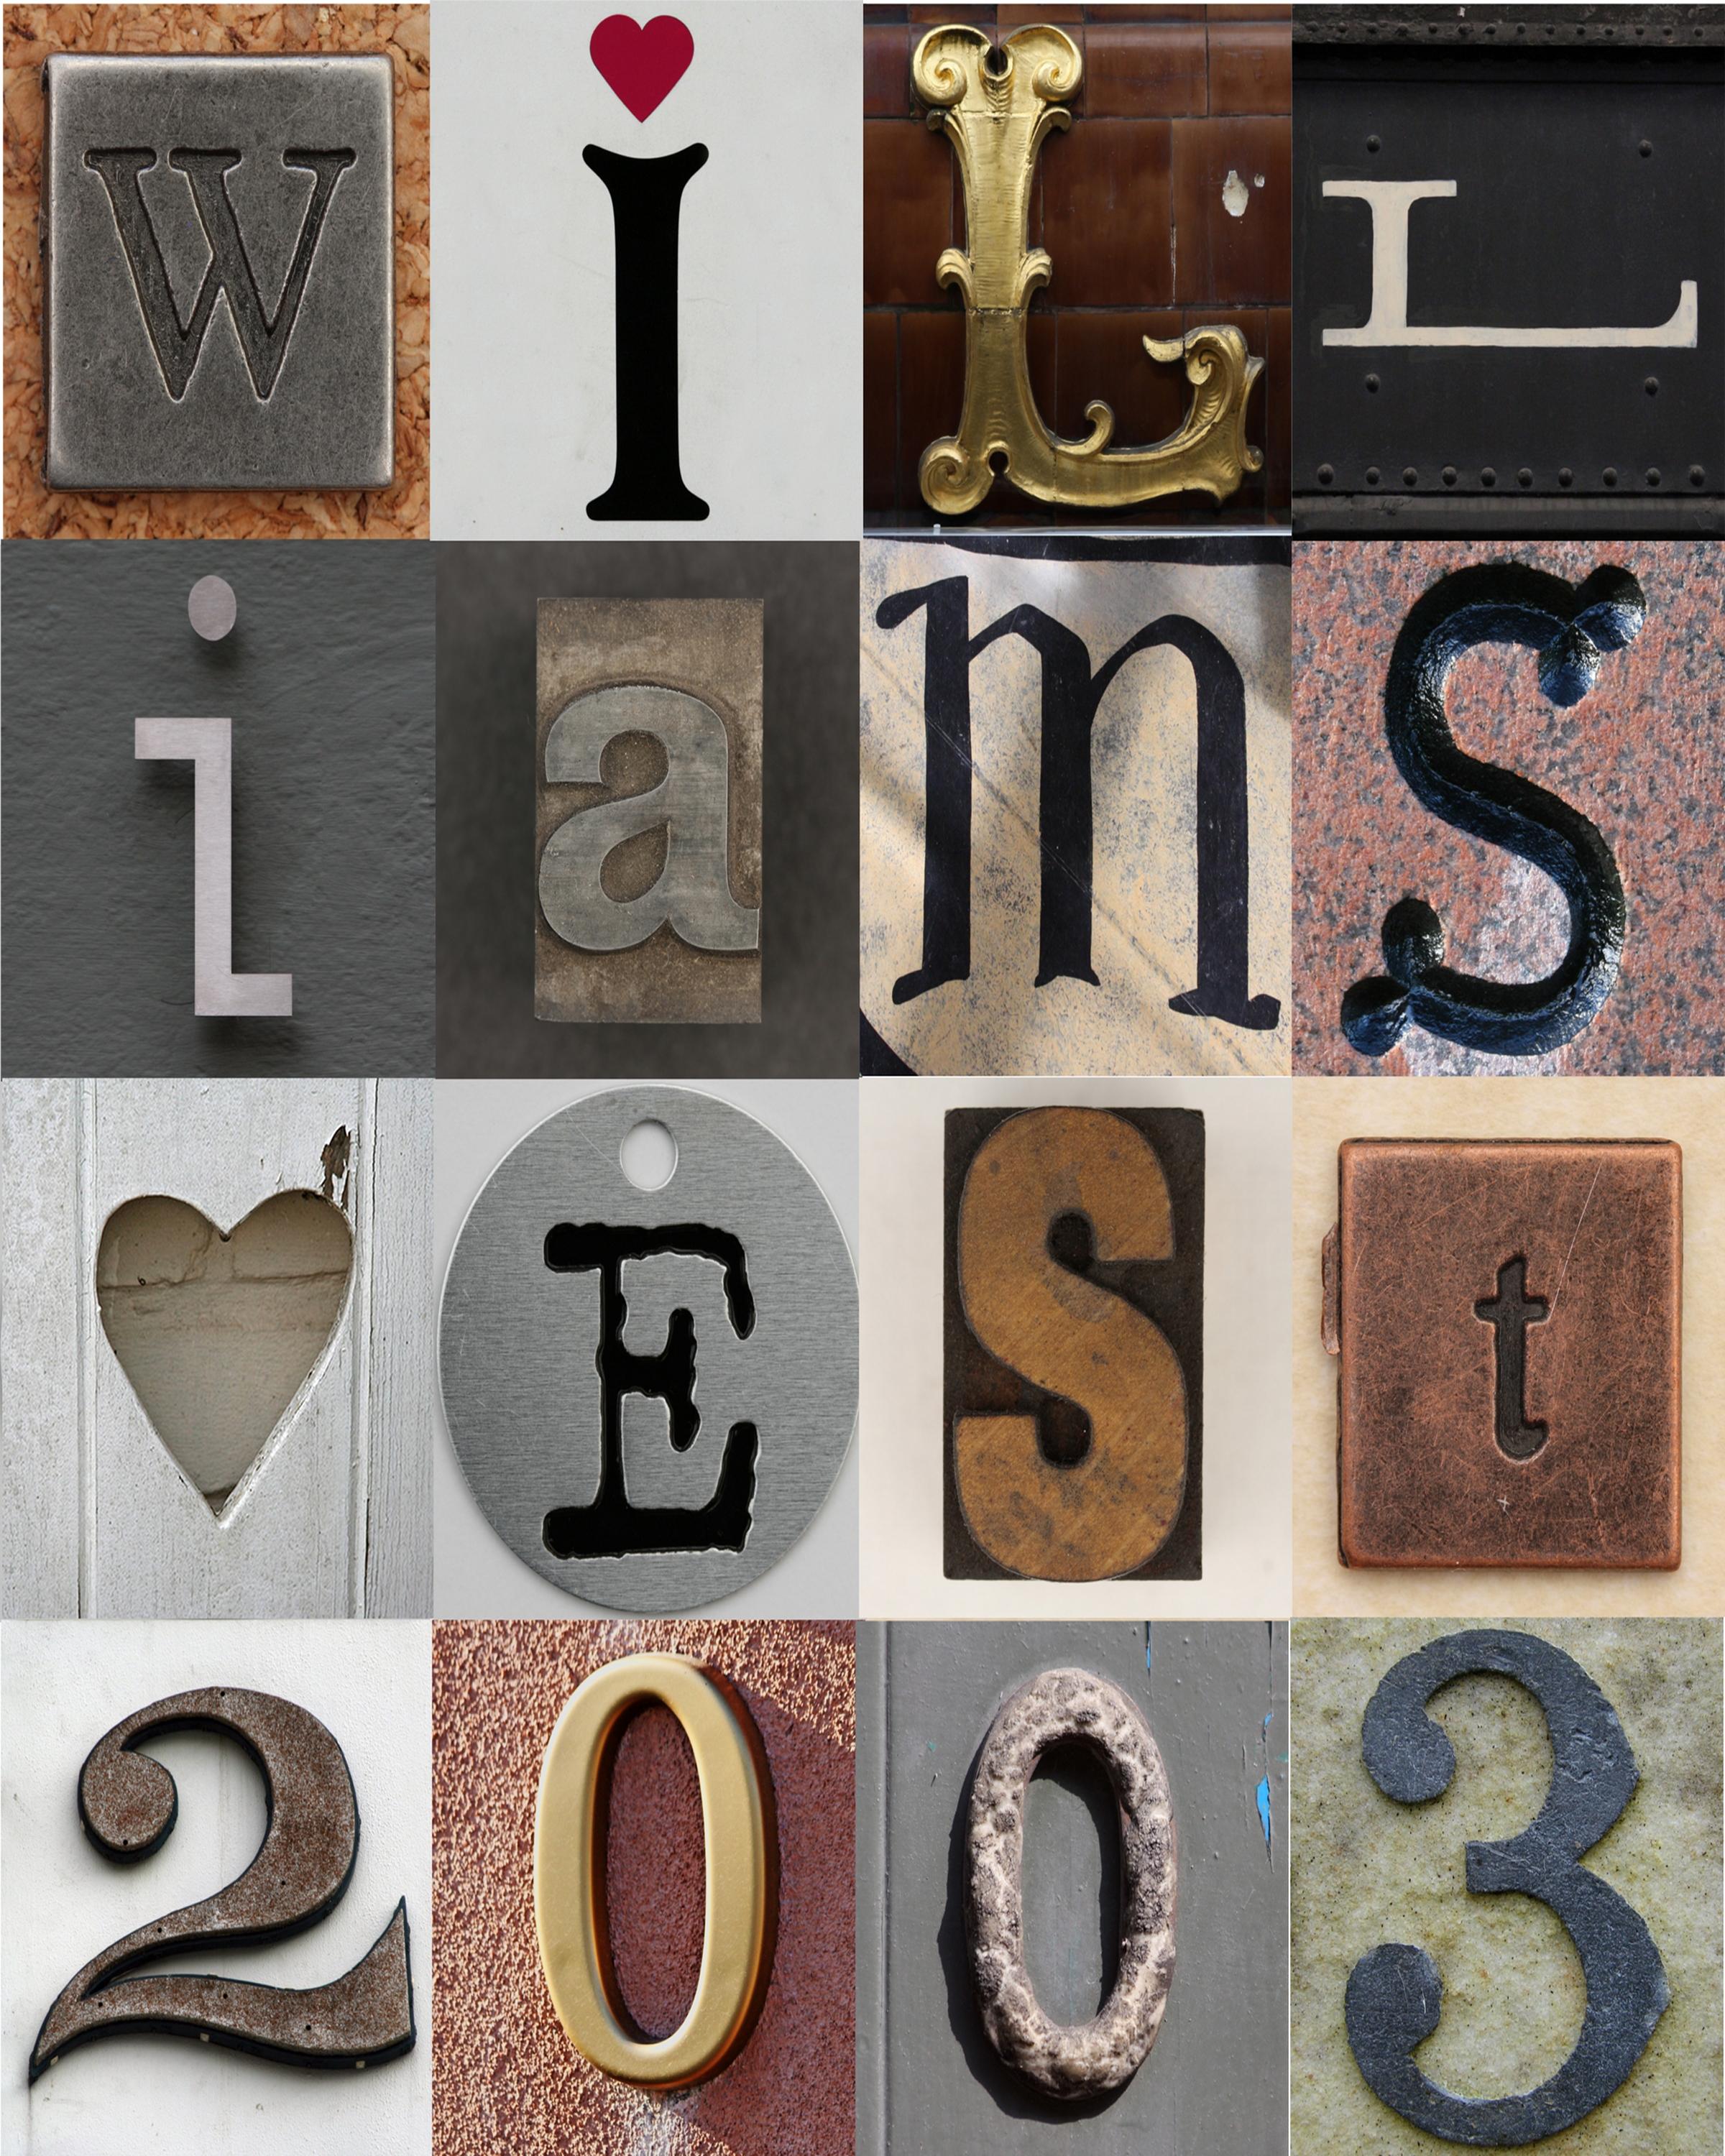
This one is for a collage that includes your last name and the year your household was established. I saw this idea several years ago on Under the Table and Dreaming and I absolutely loved it. I made one for myself based on that tutorial, and it is hanging in my entry way. I love that it takes people a couple of minutes to figure out what it says, and when they do, they think it’s awesome.

I get compliments on it all the time, and actually had one friend beg me to make one for her as well, so I did.
This is also a great wedding or anniversary gift!
You will notice that the examples I showed above are slightly different than the one I will show you today; in particular, today’s tutorial produces a print with white borders around the letters while the ones above don’t have that. This is because I did the above photos in Photoshop, and this tutorial uses PicMonkey, which is an amazing, free photo editing website. {And approximately 1,324,783 times easier to use than Photoshop} PicMonkey does have an upgraded membership available for anywhere from $2.75 – $5/month {depending on whether you do monthly or yearly payments}, but this tutorial uses only the free features. {Yay for free!}
I’m sure most of you are familiar with, or at least have heard of, Flickr. But what you may not have realized is that there are amazing photographers on there who post their photos for everyone and their brother to use for their own, non-commercial purposes. For FREE! How awesome is that?!? {Disclaimer: not all people who post on Flickr allow other people to reuse their photos, so be sure to check the licensing information if you find a photo you like.}
Leo Reynolds is one of those awesome people. He has the most amazing collection of photos on his Flickr, including over 15,000 letters. Yeah, I said 15,000. {And if that’s not enough, he also has a whole collection of something called squircles. Isn’t that the most fun word ever? I want to say it all the time. Squircles. Squircles. Squircles squircles squircles squircles squircles squircles squircles. Ok, I’m done.}
So, let’s do this.
The first two things you need to do are: 1. figure out how you want your collage laid out {this will depend mostly on the number of letters in your last name}; and 2. figure out what size you want your final collage print to be. In this example, I am creating a collage based on my last name, which is Young, and I want my final print to be 8×10.
Because my last name has 5 letters, I am going to have a 3×4 grid. The first row will be “Y-O-U”, the second will be “N-G-heart” {the heart is really just a place holder. If you have a 6-letter last name, you wouldn’t need that.}, and the final row will be “20-0-4.” When I made the print for my friend whose last name was Williams, I did a 4×4 grid {see above photo for reference}. So it might take some playing around with it to get your letters the way you want it.
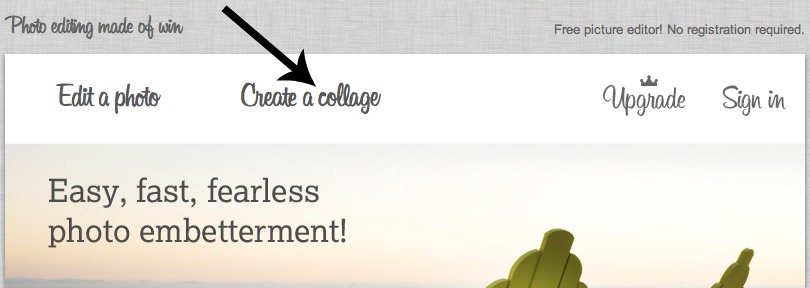
To start, go to PicMonkey and click “Create a Collage.”
Next, click the 2nd icon down all the way on the left, which will let you choose your collage layout. You want to select Square Deal, although which of the choices you select next will depend on what size grid you chose. I am choosing the 3rd option, a 4×4 layout. Don’t worry if that’s not exactly what size you want, you can delete some of the squares.
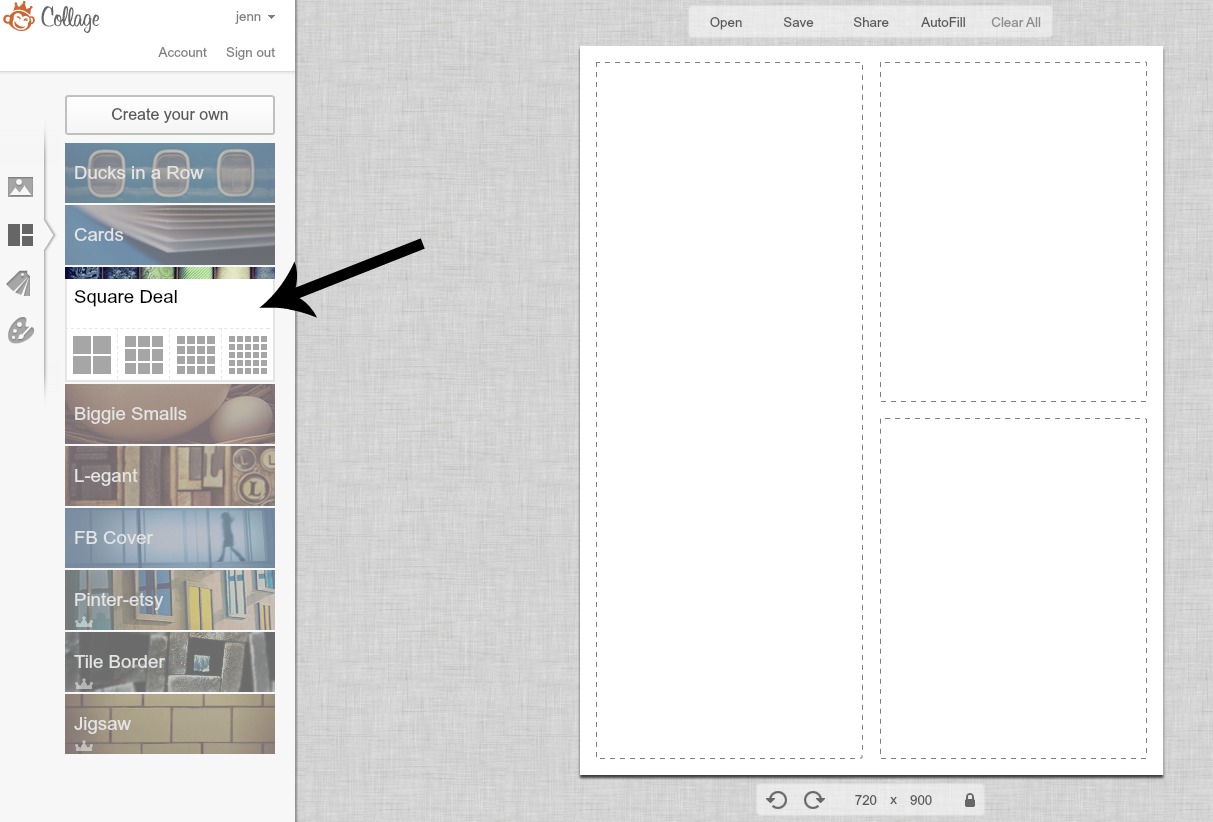
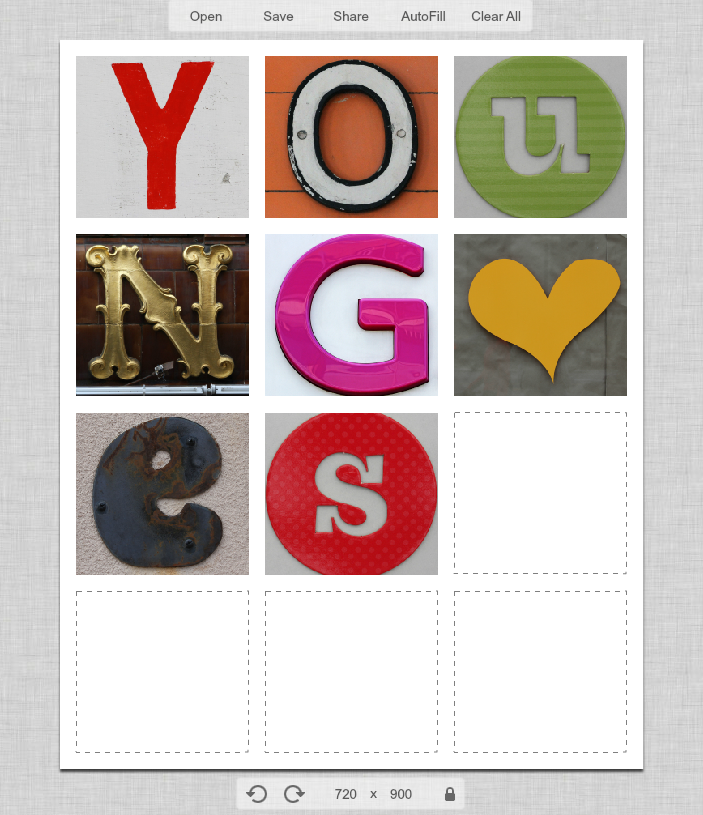
Once you’ve figured out what size you want your final print to be, you will need to change the size of the document, down where it says 2000 x 2000. To figure out what you need those numbers to be, you can check out this site. I want mine to be a final size of 8×10, so I need to change the size to 720×900. {If you are doing anything other than a square, you will need to click on that little lock icon to unlock the proportions and allow the document to be a rectangle.}
If you need to delete some of the squares, just hover over the square you want to get rid of and click the “x” in the upper right hand corner. It’s going to look a little wonky while you do this, so don’t panic. Once you get all of your extra squares deleted, it will adjust itself and look great.
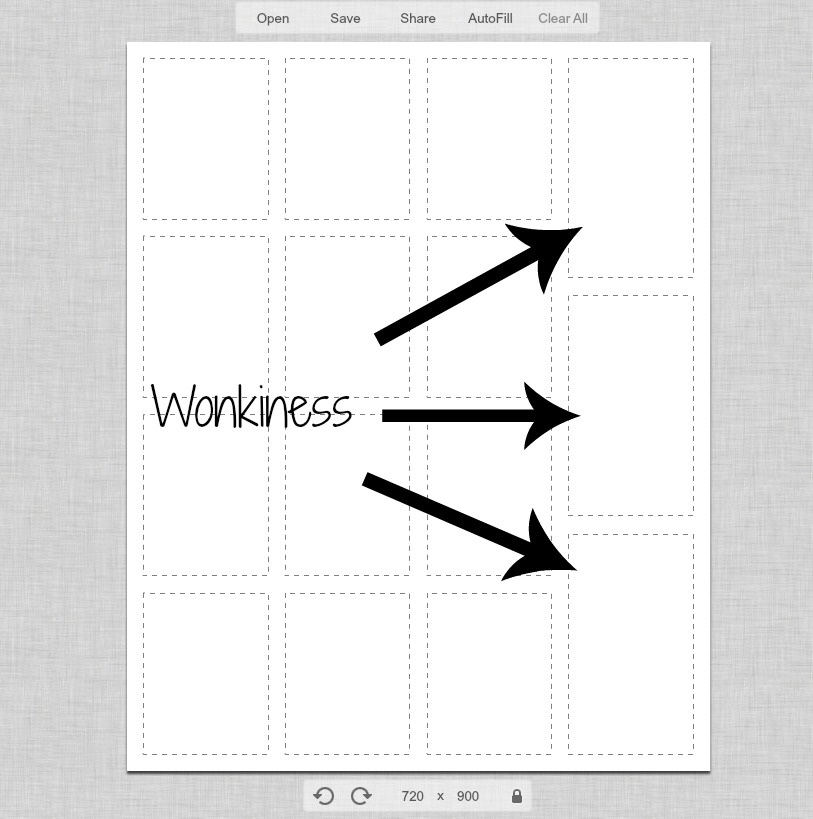
See, no more wonkiness!

Now comes the most fun part ever: looking through all of Leo’s amazing photos and choosing your letters. When you find one you like, click on it. Then, Control-Click {or right click if you’re on a PC} to bring up the download menu.
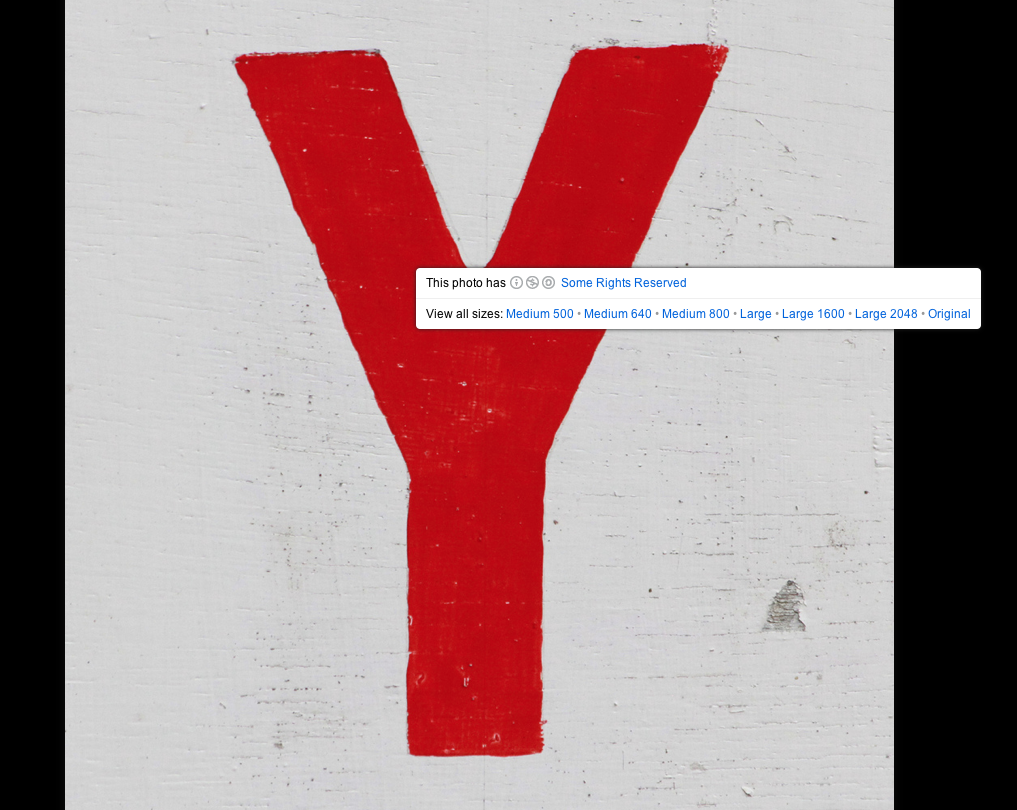
I chose “Medium 640” because that’s a good size that’s a bit better resolution than I actually need. {It’s always better to have too high of a resolution than too low, because that will make your photo look pixelated. Not good.}
Once you click on the “Medium 640” link, Control-Click {or right click} the “Download the Medium 640 size of this photo” link and select “Download Linked File As…” It’s best if you save all your collage photos in one folder, so when you upload them to PicMonkey later, it’s easy because they’re all in one place.
After you’ve selected all of the letters and numbers you want {if you’re anything like me, this will have taken approximately 11 days}, it’s time to upload them to your PicMonkey collage. Click on the top icon all the way on the left {it looks like 2 little mountains with a moon over them}, and then click “Open Photos.” Find your downloaded letters and numbers, select them and click “Open.” All of your lovelies will then be sitting there, waiting for you to make your collage!

Then, all you have to do is drag and drop them wherever you want them!
When you have everything where you want it, you’re done! Click “Save” to save it to your computer. I always save things as the highest file quality, which on PicMonkey is Sean. {Don’t ask me why, I don’t know.}
You can print out your collage wherever you want. I usually use Walmart’s one-hour service, just because it’s closest to me and pretty cheap, but if you have a good printer, you could even print it out yourself.
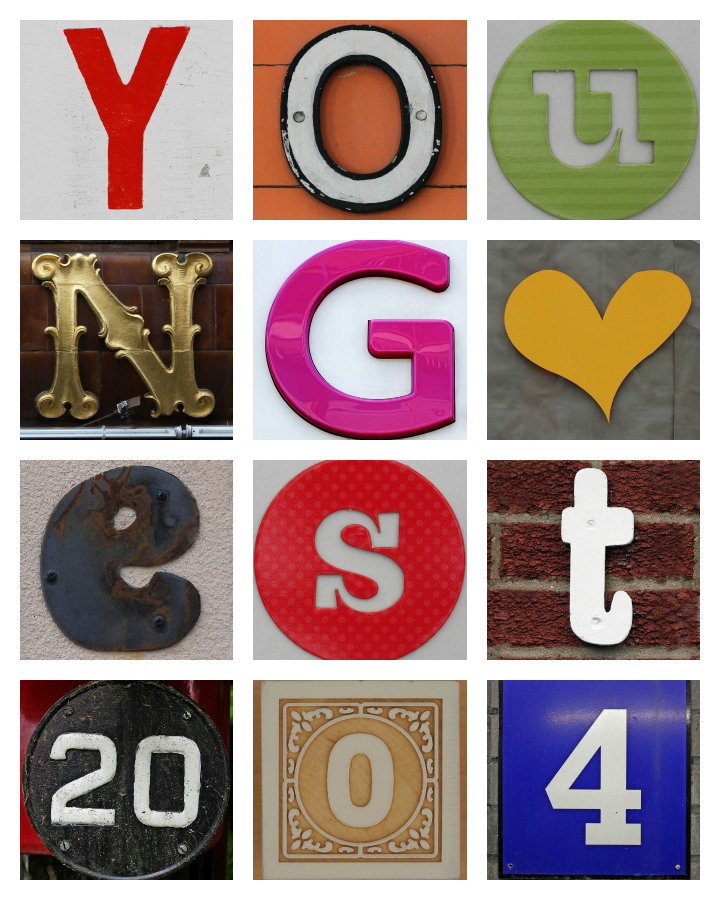
That’s it! I love how the possibilities are practically endless. You can see in the first collage I did, I used mostly neutral colors, but in this one, I used much brighter, more fun colors. I might have to print this one out too and use it somewhere in the house!
Thanks again to Julie for letting me be the DIY contributor for White Lights on Wednesday. I can’t wait to share some fun DIY ideas each month! For more from me, visit my blog, Endlessly Inspired, and follow me on Facebook, Twitter and Instagram!